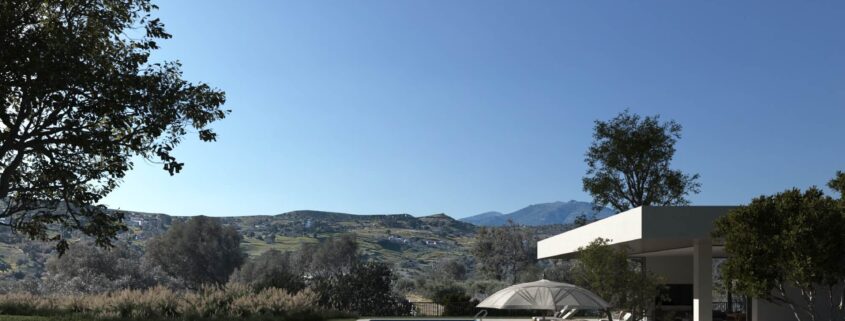
Balahovit House

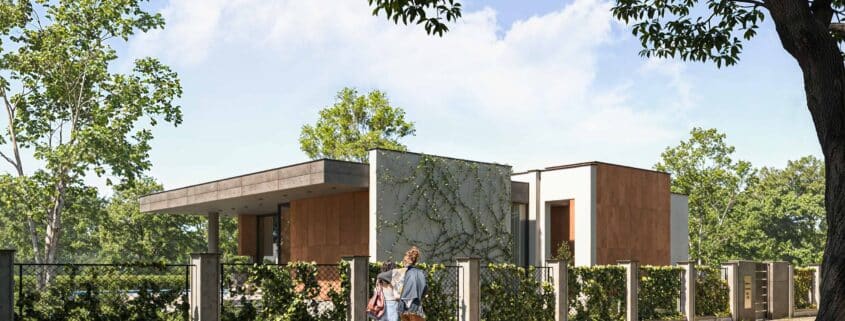
The residence’s design thoughtfully integrates with the local climate, featuring large windows that maximize natural light and provide expansive views of the surrounding landscape. The open-plan living areas foster a sense of spaciousness, while the use of locally sourced materials, such as tuff stone, not only supports the regional economy but also ensures the building harmonizes with its environment. The inclusion of energy-efficient systems further underscores the project’s commitment to sustainability, making it a model for responsible and responsive residential design in Armenia.

Fiscal Hub

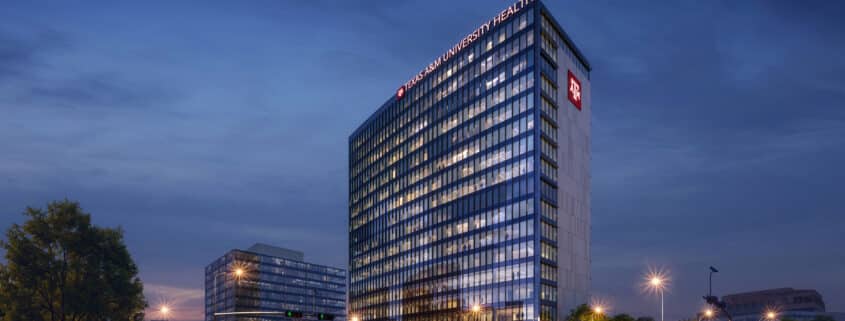
In the heart of Shahrekurd’s highlands, Fiscal Hub establishes itself as a modern government facility dedicated to tax administration, embodying both transparency and purpose. Its design strikes a balance between openness and authority, symbolizing trust and efficiency in public service.

The building’s refined architecture seamlessly integrates with the surrounding landscape, inviting a connection between the institution and the community. Inside, thoughtfully arranged spaces cater to the complexities of governmental workflows. At the same time, public areas encourage civic engagement, underscoring Fiscal Hub’s role as a vital bridge between the government and its citizens.

Sustainability is at the core of Fiscal Hub’s design, from energy-efficient systems to eco-friendly materials, aligning the building’s function with a commitment to responsible governance. As a landmark of modern public service, Fiscal Hub promises a legacy of reliability and integrity, inspiring confidence and connection for future generations.

FROM CONCEPT TO CREATION, CRAFTING A SUMMER VILLA ANIMATION

1. INTRODUCTION:

Animation has always fascinated me with its power to transport viewers to extraordinary worlds and evoke a wide range of emotions. This passion for visual storytelling inspired me to embark on a challenging yet rewarding project: creating a vibrant summer villa animation. In this article, I will walk you through the detailed process from initial concept to final animation, providing educational insights and technical guidance to help artists and enthusiasts navigate similar projects.

2.INITIAL IDEA : A SPARK OF CREATIVITY

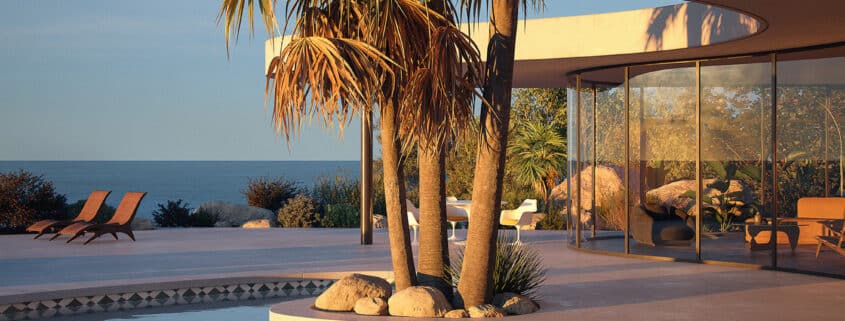
The genesis of this project lay in a captivating villa and pool scene discovered within the RenderCamp tutorials. The scene’s exquisite detail and visual appeal left a lasting impression. While the market for still renders has undeniably surged in recent years, I was drawn to the challenge of imbuing this static image with life. The concept of transforming the villa into a vibrant, summer-infused animation became an irresistible creative pursuit.

3.TECHNICAL CHALLENGES : EMBRACING THE POSSIBILITIES

Creating animations on personal computers has traditionally been a daunting task, often requiring expensive workstations or render farms. This limited accessibility posed a significant challenge for individual artists and freelance 3D creators. However, the release of Chaos’ Vantage software in 2022 opened up new possibilities, democratizing animation creation and empowering artists to transform their visions into reality.

4.CHAOS VANTAGE SOFTWARE : A GAME-CHANGER FOR ANIMATION
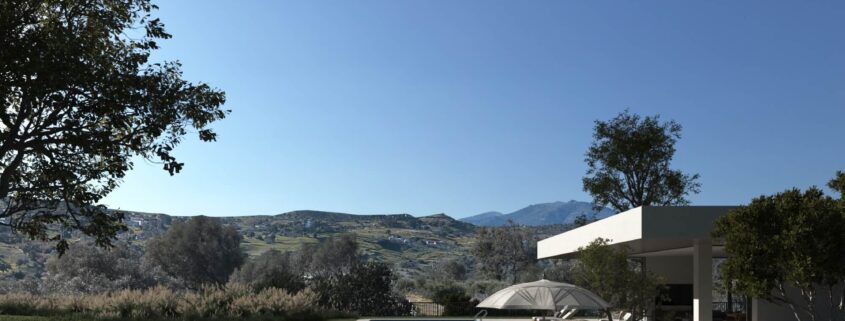
Chaos is continuously refining and enhancing its powerful Vantage software through regular updates. One of the software’s standout features is its ability to create animations in a remarkably short time, empowering 3D artists to transform their ideas and visions into stunning realities. My objective for this project was to capture the movement, vibrancy, and excitement of a summer day at a villa nestled on a hilltop, offering breathtaking views.

5.PLANNING THE NARRATIVE: ESTABLISHING THE STORY
To ensure a cohesive and engaging narrative, I meticulously crafted a comprehensive scenario that outlined the animation’s flow. The story begins at 11 AM, with guests gradually arriving at the villa and enjoying the serene ambiance and warm summer weather by the pool. As the day transitions into evening, the atmosphere intensifies, culminating in an exuberant dance party that lasts until dawn. With the scenario in place, I proceeded to set up the camera shots, carefully considering both static and Dolly Shots to capture the essence of the story. In one segment, I employed the Dolly Shot Vertigo technique, a cinematic masterpiece first introduced by Alfred Hitchcock in the film “Vertigo.”

6.ENVIRONMENT DESIGN AND DETAILS: CRAFTING THE SCENE
With the camera settings and shots finalized, I delved into crafting the environment, details, objects, and landscape design. I began by editing the building and adding a backyard. Next, I designed the villa’s interior in a modern style. The dance area was meticulously crafted to allow guests to move freely and create captivating scenes. I then proceeded to design the landscape and subsequently the pool. The initial landscape design was completed, and the preliminary plant placement was determined. For the pool, after applying materials, completing it, and adding objects, I incorporated the main pool area and added moving water to the Spa section. To achieve this, I employed Noise and Keyframe techniques to enhance realism.
7.COMPLETING THE LANDSCAPE: ADDING LIVELINESS
With the initial environment design in place, I turned my attention to finalizing the landscape. My aim was to create an environment that evoked the essence of a hot summer day with a gentle breeze. To achieve this, I incorporated vegetation that would sway with the wind. I employed the “Bend” modifier for the grass and bushes to control their movement and utilized Chaos Scatter to distribute them across the terrain. This technique contributed to a natural and lively atmosphere, capturing the true spirit of summer.
8.TREE PLACEMENT AND PLANT MOVEMENTS : ACHIEVING REALISM
When positioning the trees, I paid meticulous attention to creating a harmonious interplay of light and shadow within the scene. For this project, I selected trees with animation capabilities to effectively convey the sensation of a gentle breeze. I utilized SpeedTree software for this purpose, employing its Wind feature to animate the leaves and branches with captivating realism. These movements infused the scene with a sense of freshness and vitality, significantly enhancing the overall aesthetic appeal of the animation.
9.IMPORTING OBJECTS INTO 3DS MAX : ASSEMBLING THE SCENE
Once the tree animations were complete, I imported them into 3ds Max and positioned them according to my scenario. After a final review of all the vegetation, I proceeded to place the characters in the scene. For the characters’ movements and positioning, I utilized free products from Render People and AXYZdesign that seamlessly aligned with my scenario. Additionally, in one segment of the scene, I incorporated a character from the Mixamo collection. I downloaded its animation from the same website and rigged the object based on their instructions. Employing these exceptional products enhanced the characters’ natural appearance and visual appeal, contributing to the overall realism of the animation.
10.ANIMATION CHALLENGES : TROUBLESHOOTING AND SOLUTIONS
With the design and pre-production phases complete, the animation process commenced. One of the initial challenges I encountered was the discrepancy between CPU and GPU rendering outputs. The Vantage software, which utilizes GPU-based real-time rendering, had not yet fully implemented all features. This issue was particularly evident in the Caustics created on the pool floor.
When rendering and adjusting the sunlight, enabling Caustics options results in a stunning effect in the render. However, GPU Rendering doesn’t adequately support this feature. To address this challenge, I delved into numerous YouTube tutorials and repeatedly contacted the Vantage software development team for assistance. Ultimately, by creating a light plan 1 centimeter below the pool’s surface and applying a Caustics texture sequence to this light plan, I successfully resolved the issue and achieved the desired outcome.
11.ENHANCING CAUSTICS TEXTURE FRAMES : A SCRIPTING SOLUTION
The next challenge I faced was the limited availability of Caustics texture sequences. The online resources offered only 30 frames, while my animation required approximately 120 frames. To achieve a natural and visually pleasing result, I decided to explore the world of computer programming. Utilizing Python, I developed an interpolation script that automatically generated three additional frames between each of the existing 30 frames. This technique effectively increased the total number of frames to 120, significantly enhancing the animation’s quality and realism. This experience highlighted the immense value of learning even basic computer programming skills for animators.
12.FINALIZING CAMERA FRAMING : APPLYING CINEMATIC TECHNIQUES
With the preceding steps completed, I turned my attention to finalizing the framing of the cameras and shots. During this stage, I meticulously applied the principles of cinematic framing. These principles, readily accessible through YouTube tutorials and industry resources, are among the crucial elements of animation creation and demand considerable attention and dedication. Adhering to these principles contributed to the production of impactful and professional visuals, significantly enhancing the overall project’s quality. I carefully considered camera angles, shot composition, and transitions to ensure a cohesive and engaging narrative flow.

13.FINAL STAGE: FINALIZING THE PROJECT
The final stage involved rendering and editing the animation. Typically, in Vantage software, the vrscene format is used for output. However, due to the massive file size of the original (5GB), generating an output in this format would have been time-consuming and impractical. Therefore, I turned to one of Vantage’s best features, Livelink. Utilizing Livelink’s settings and Post-Production configurations, I commenced rendering according to the defined scenario. Once the initial animation was complete in Vantage, I transferred all shots to After Effects. At this stage, after reviewing approximately 23 music pieces and 65 footages that aligned with the animation’s mood, I made the appropriate selections and applied all necessary effects. Finally, I produced the final output, which you can now admire.

14.CONCLUSION : A JOURNEY OF LEARNING AND GROWTH
This project proved to be an immensely rewarding and challenging experience. It marked my first animation endeavor based on the full principles of animation with moving elements, and my animation skills acquired at a university in New Zealand played a pivotal role in guiding me through this journey. In the course of creating this animation, I delved into 48 YouTube tutorials, garnering valuable insights and techniques. I extend my heartfelt gratitude to all those who generously share these tutorials freely with the world.

15.LOOKING AHEAD: EMBRACING FUTURE OPPORTUNITIES.

With an optimistic outlook, I pledge to continue contributing to the remarkable realm of animation through captivating projects in both architectural and non-architectural domains. I extend my sincere gratitude to the Chaos family for their unwavering dedication and support in developing this exceptional product for 3D artists. These advancements empower us to collectively propel ourselves towards greater achievements and continuously elevate the animation industry.