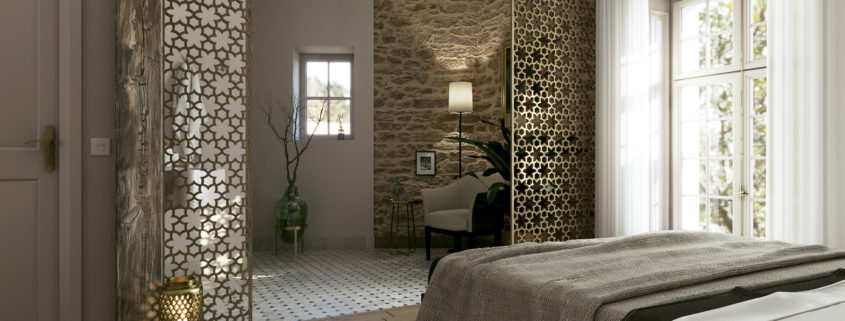
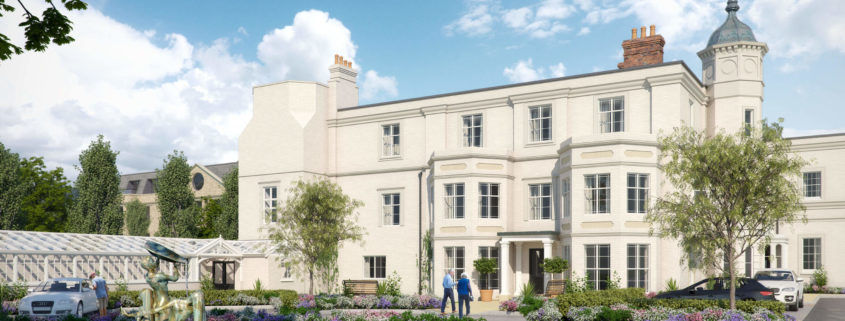
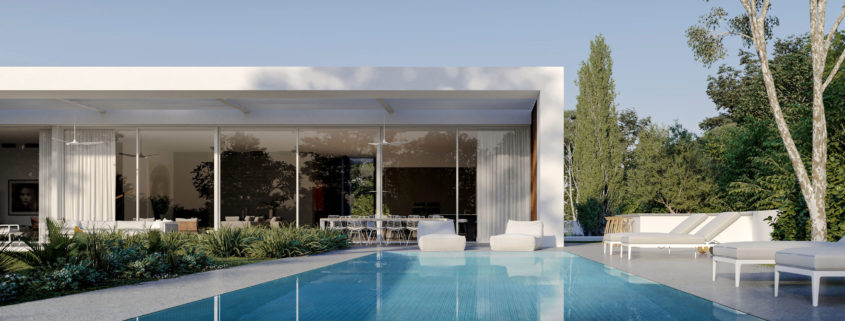
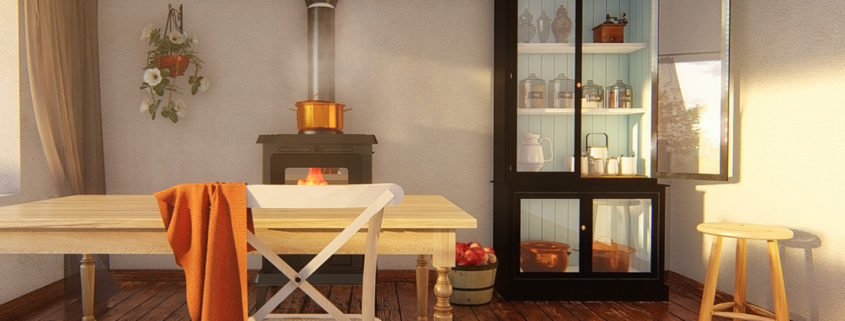
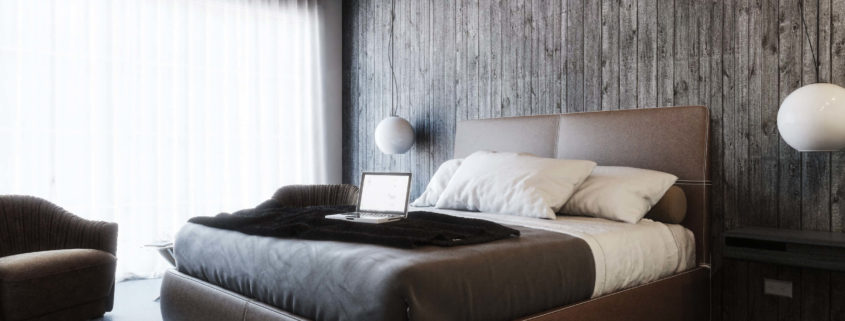
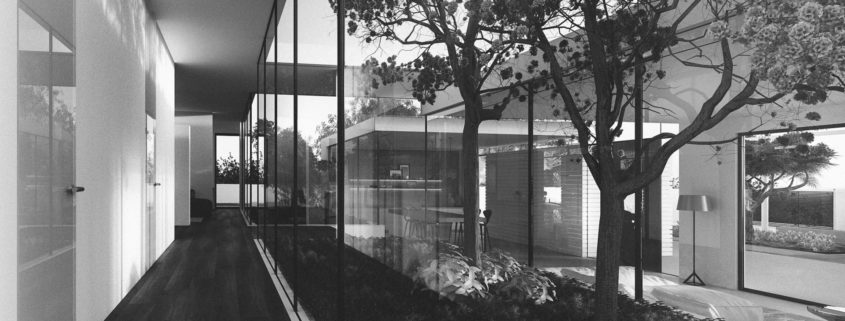
3D modelling for this project was mainly in SketchUp, based on the architect’s proposed plans and elevations.
The SketchUp file was then imported into 3ds Max where I finished modelling the details and added in the vegetation and scatters using Corona renderer’s in-built tools.
Texturing was a mix of traditional images found online through texture libraries but the white bricks were done using substance designer as was the reconstituted stone details.
Lighting is with Corona Sun and sky only with default settings. The marketing team wanted to convey as much light as possible. My main concern was getting a nice balance of lights and darks in the composition and so tested the Sun in various positions until I had some nice shadows playing off of the surfaces. Sometimes I moved trees to suit the composition to frame elements or so their shadows could play off different surfaces.
I try to complete most of my images in 3d and minimize post production. In this case Photoshop was used to add in the sky and entourage. Other than that I adjusted levels and made colour adjustments. I rendered out a Z-Depth pass which I used for subtle DOF and an inverted version as an atmosphere layer to create a little more depth.


