Making of The Wine Ayutthaya
“The Wine Ayutthaya” CGI set was the best of December 2017, and today Wittaya Wangpuk from ZuzuStudio34 is kindly sharing the process of making these amazing images! Done for educational and experimental reasons using 3dsmax, Corona Renderer, Forest Pack and HDRI’s from PG SKIES.
Introduction
First of all, I would like to thank Ronen. I always admired Ronen Bekerman’s Blog, and I’m very grateful to be invited to write an article about my recent project – The Wine Ayutthaya.
Inspiration & Concept
I do a few photo-real 3d recreation projects from time to time by chosen Architects / Projects that I have seen on various websites. I realize that since I lived in Thailand, therefore I should at least do some projects in my country. Many research has been done with lots of images from the internet and on-site visit. I then ended up with “The Wine Ayutthaya.”
This project was designed by Boonserm Premthada, the place has its fascinations and attractions, and this is my starting point of creating the photo-real 3D for studying and experimenting with architectural visualization.
Basic 3D Scene Setup
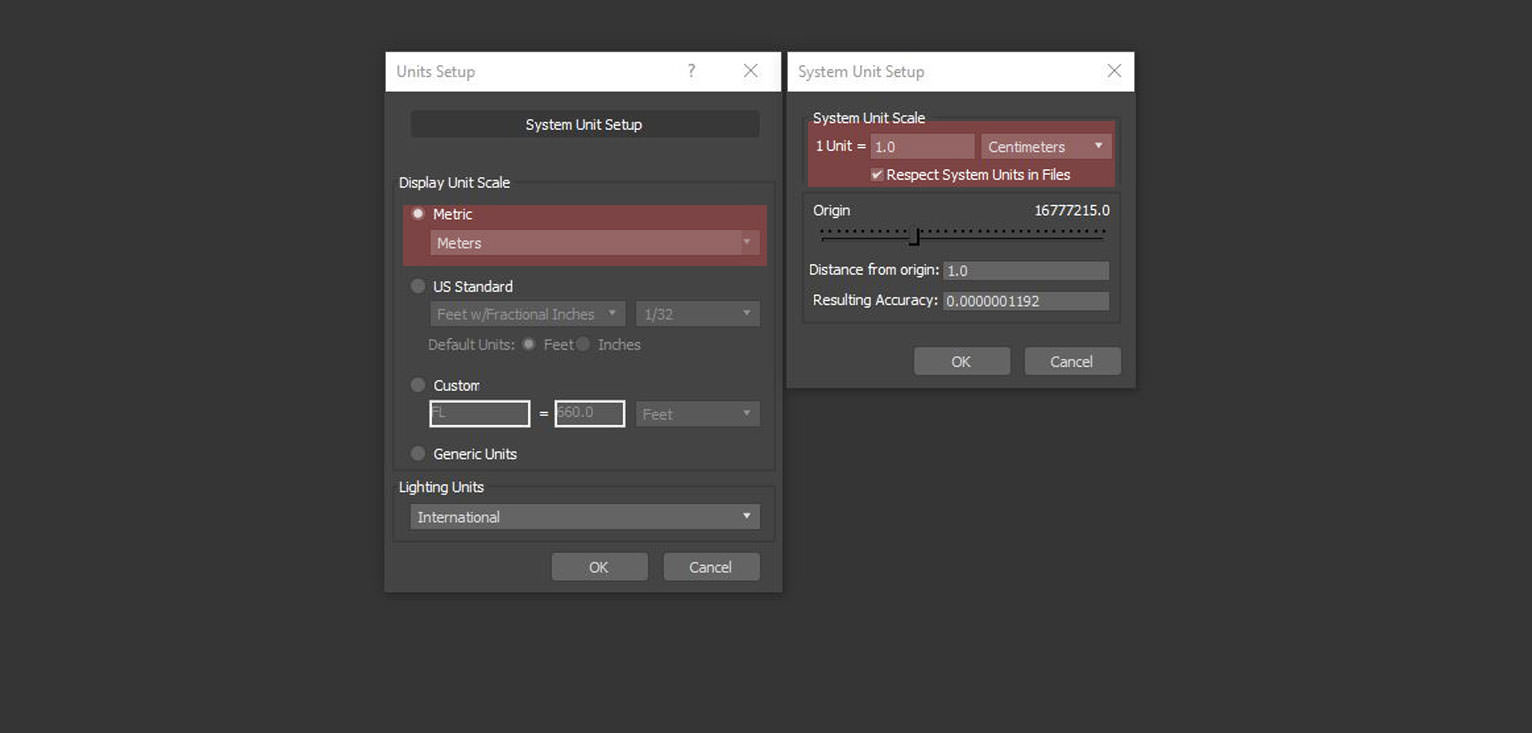
Before starting up all the projects, I always set the “Unit setup” like this.
3D Modeling
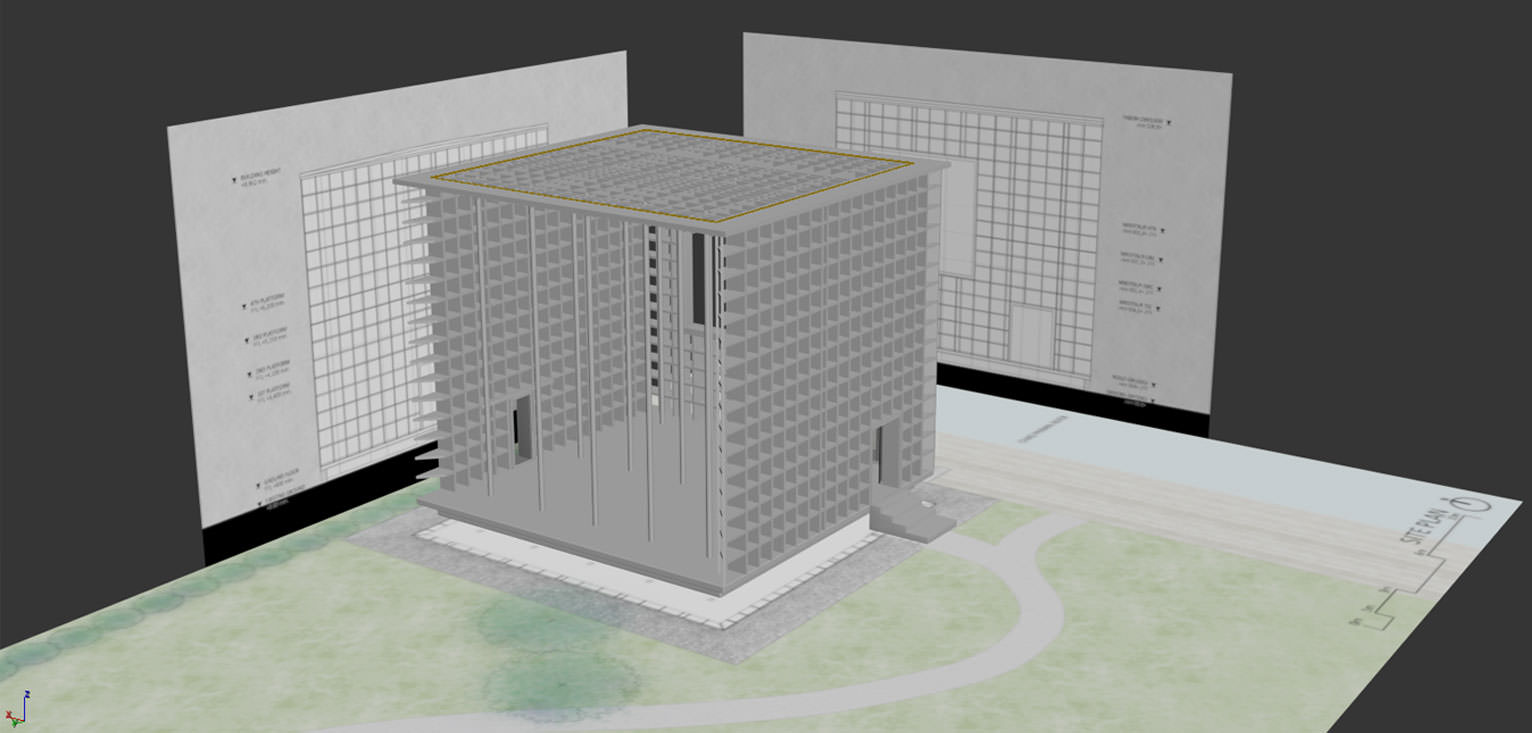
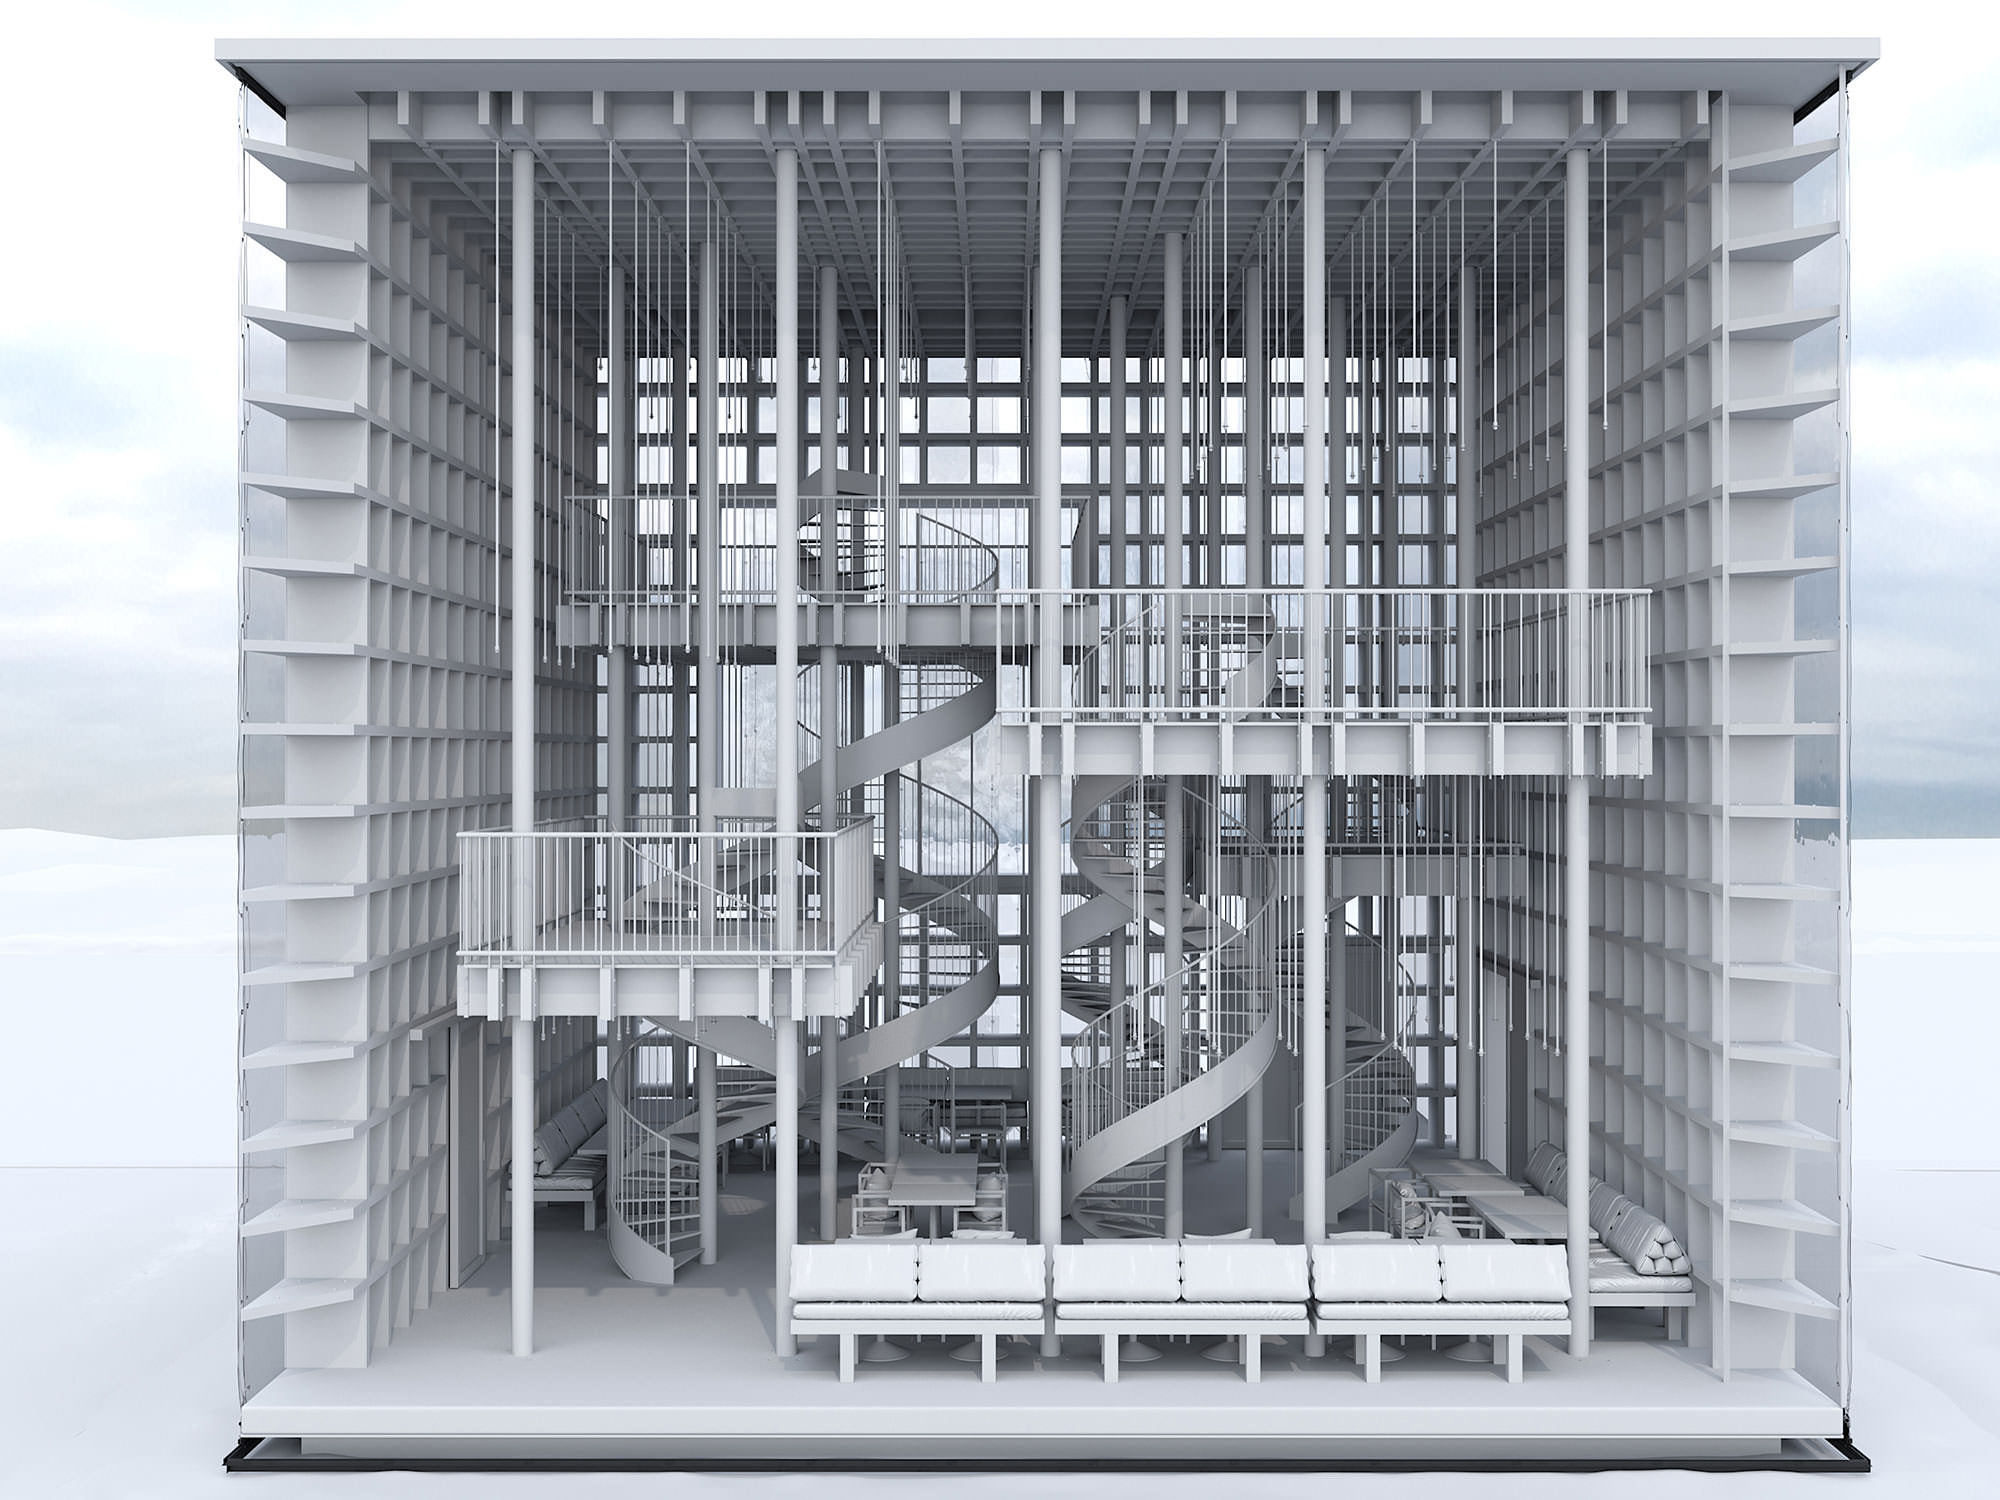
I then started building up the model based on information I found on Archdaily website. I always use basic geometries, which will be converted to editable Poly afterward.
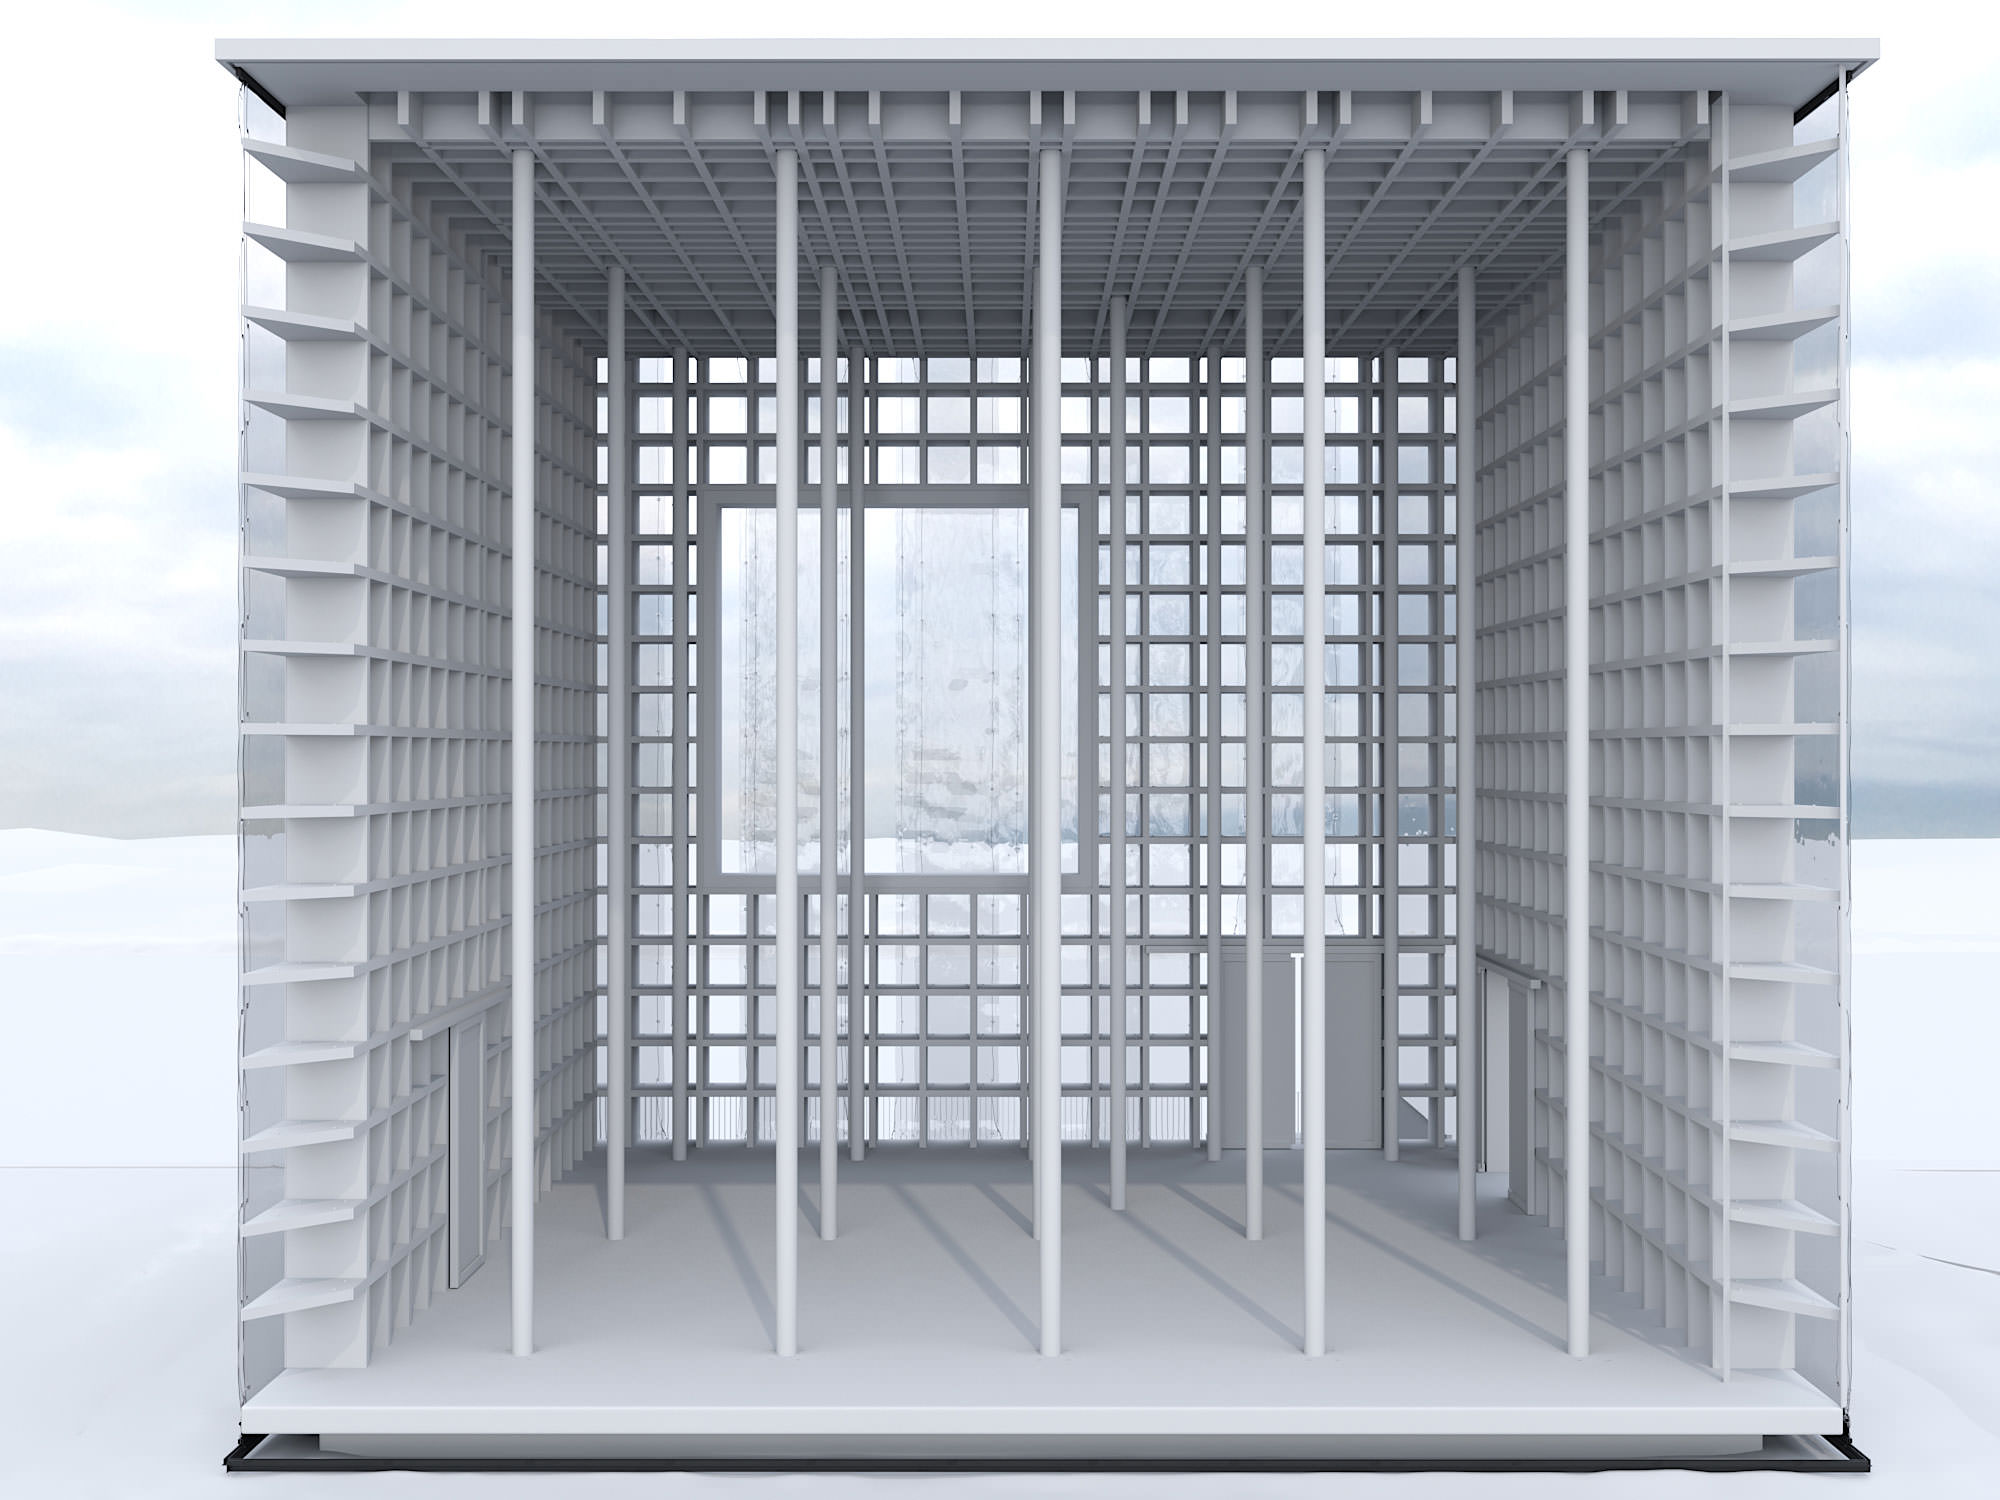
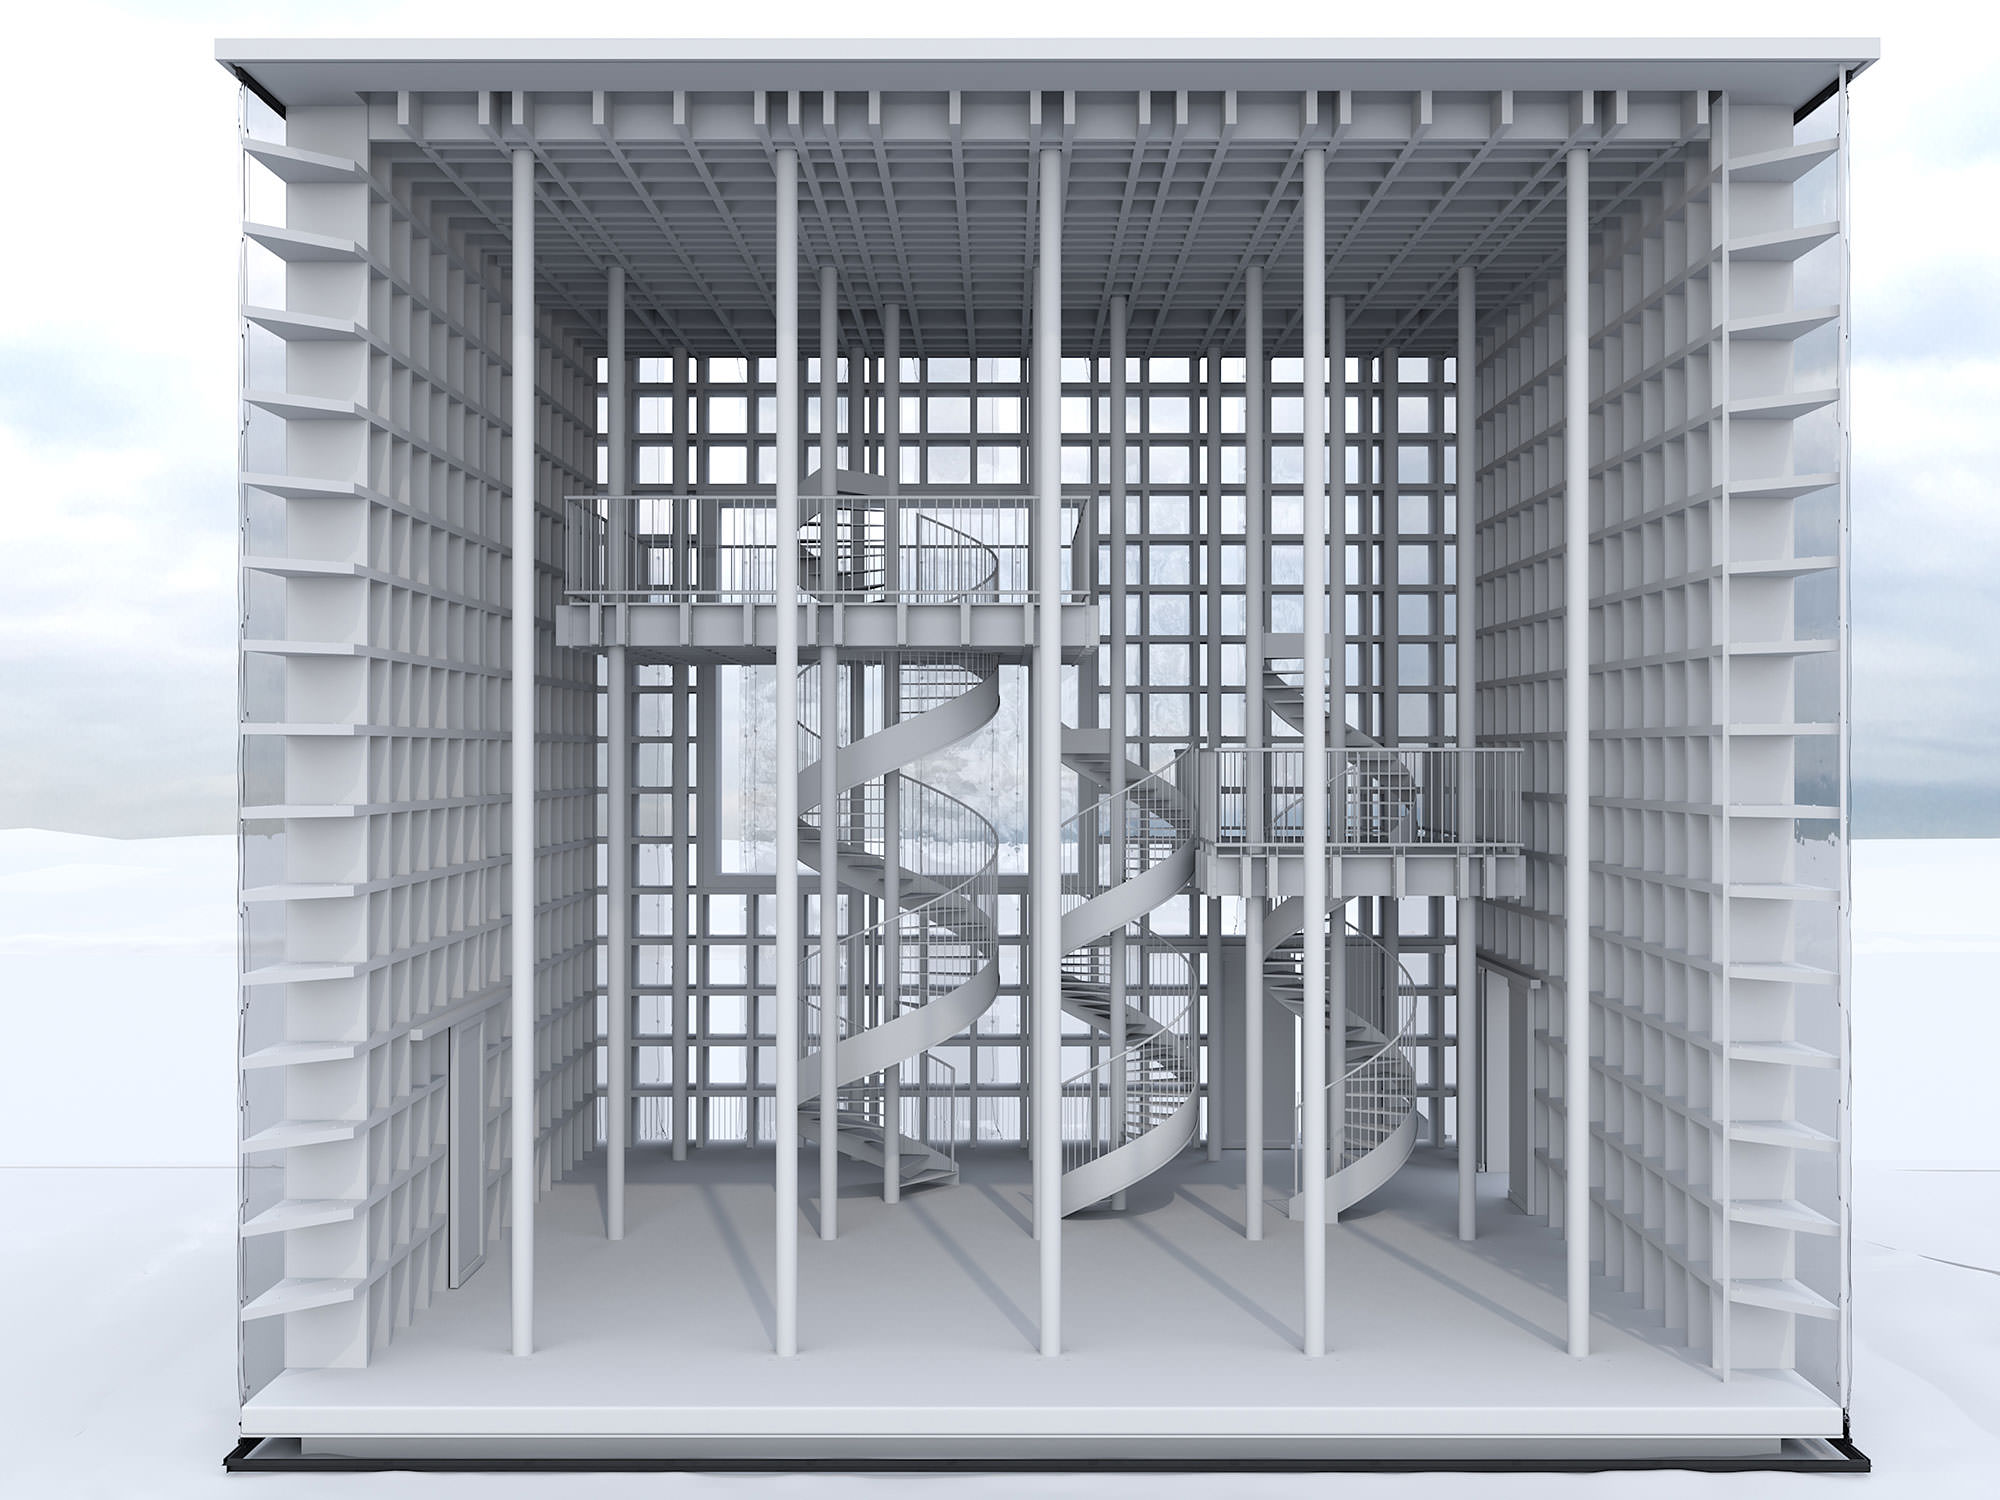
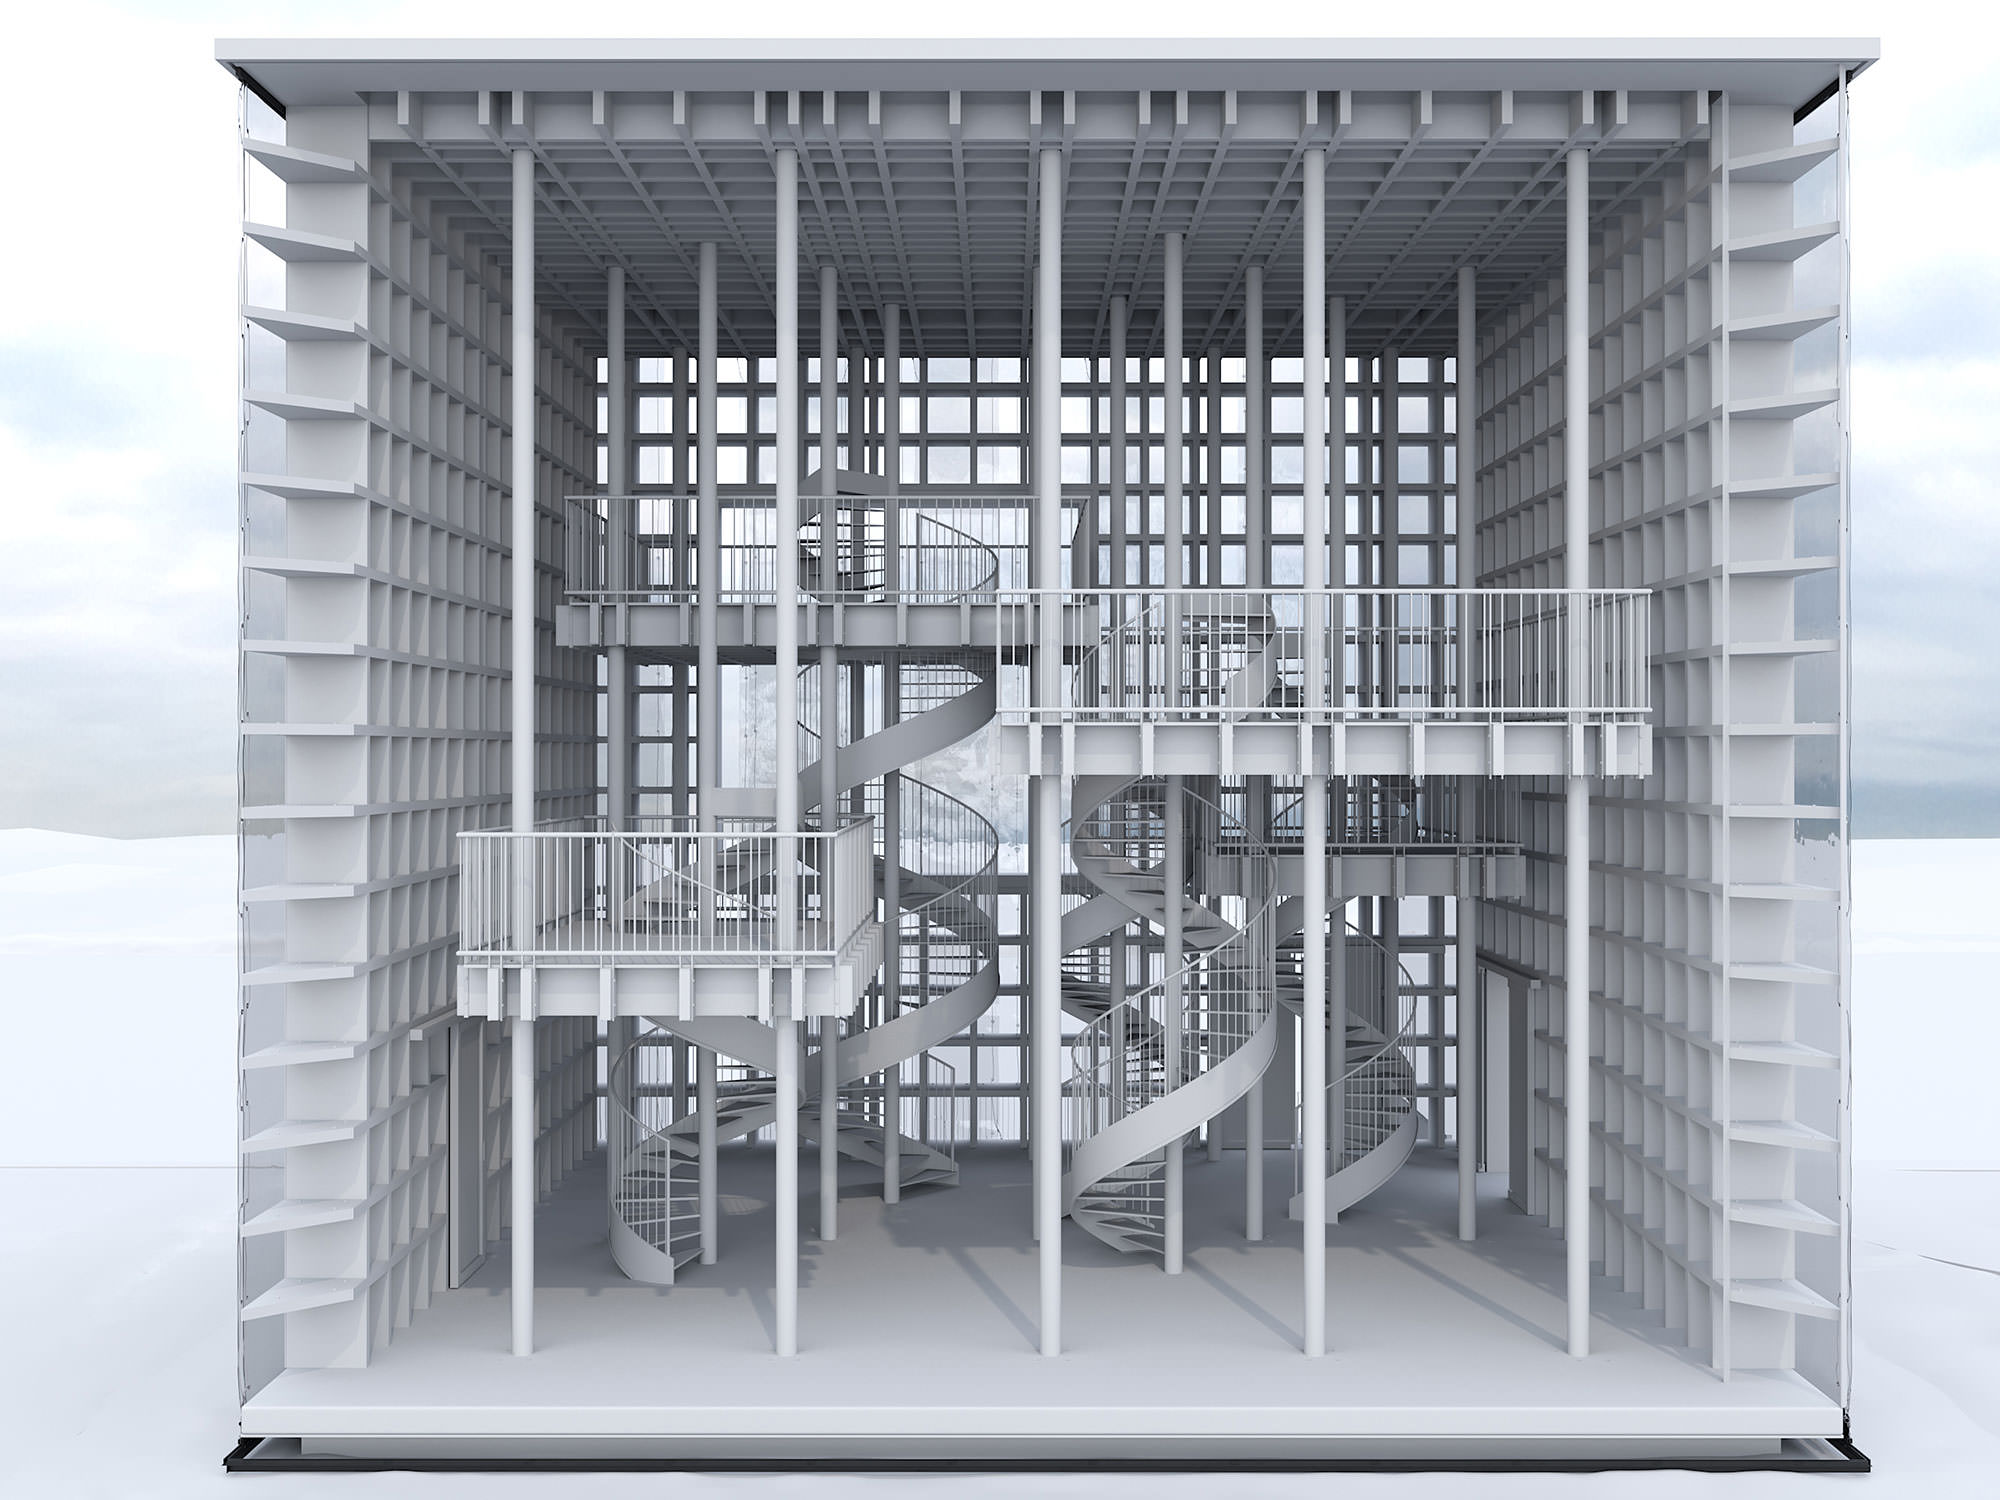
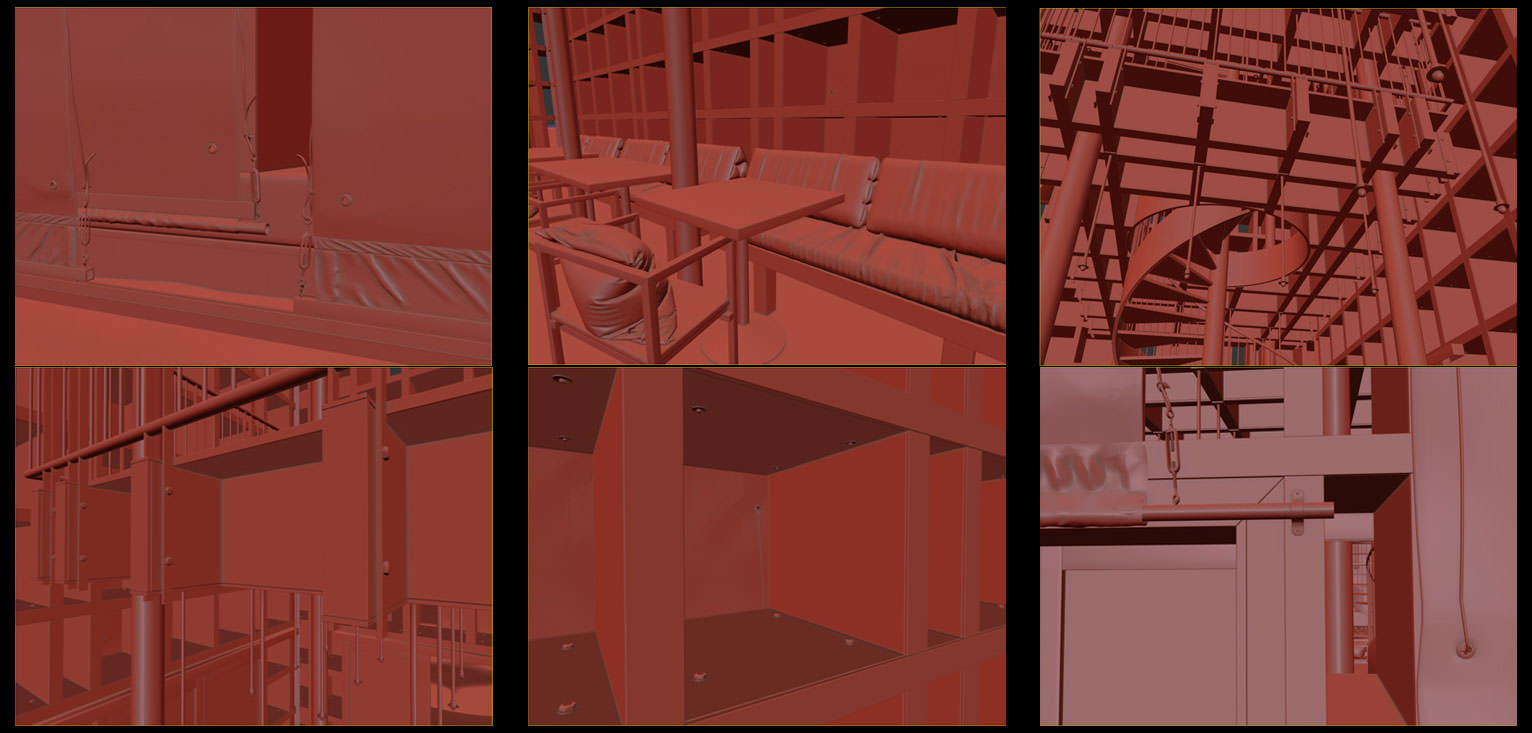
Once the main structure was done, I started adding some details step-by-step as shown in images below.
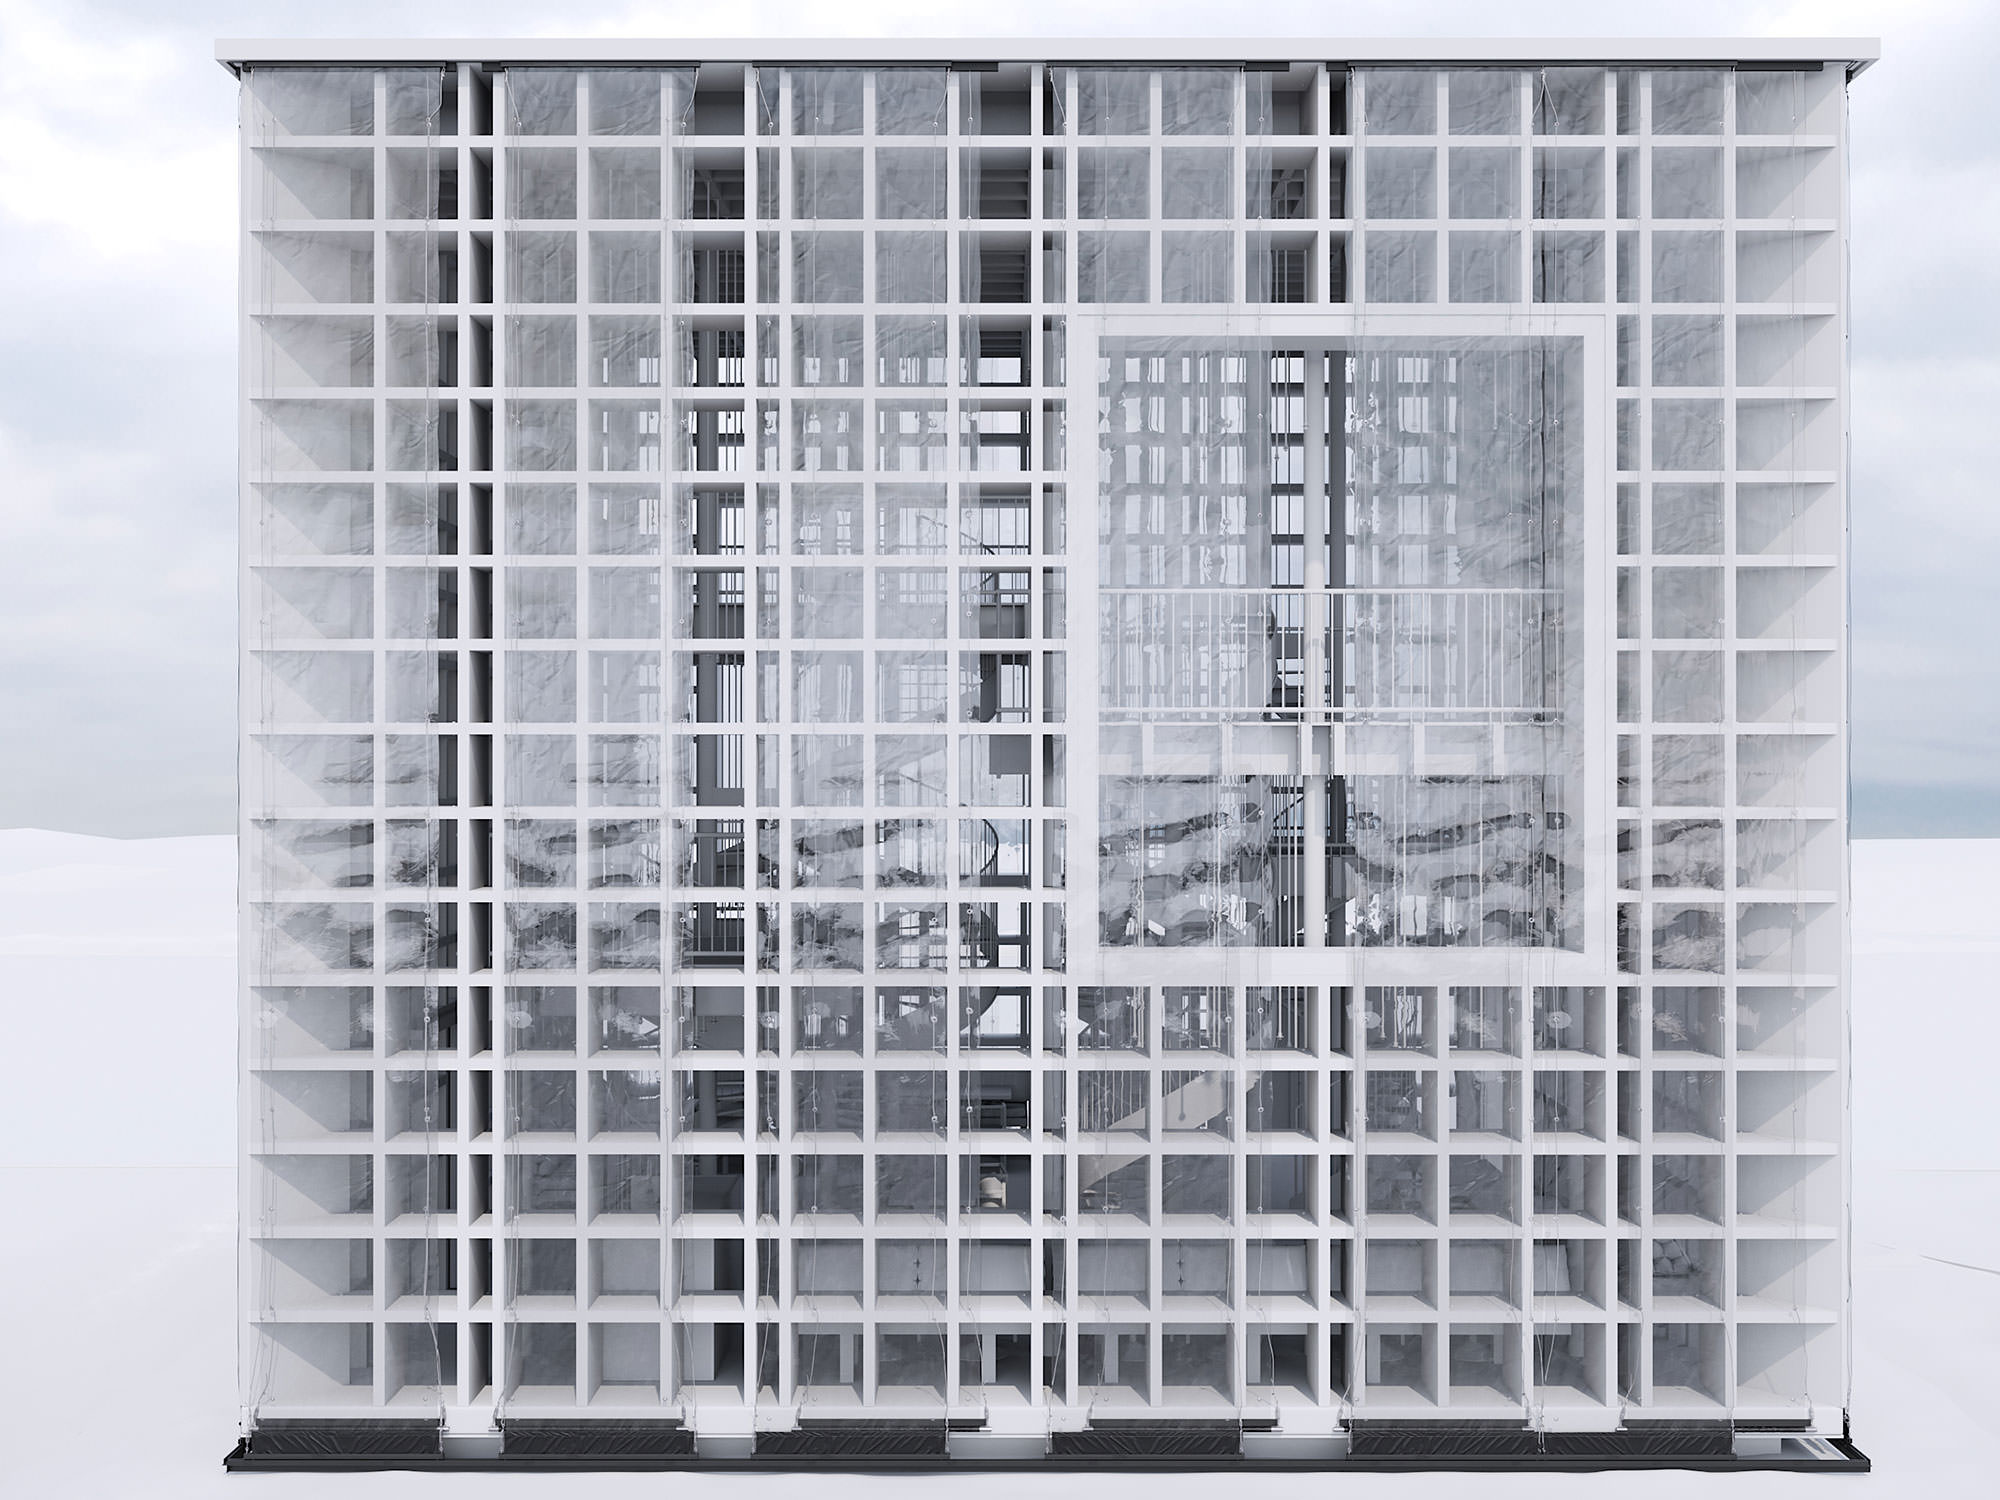
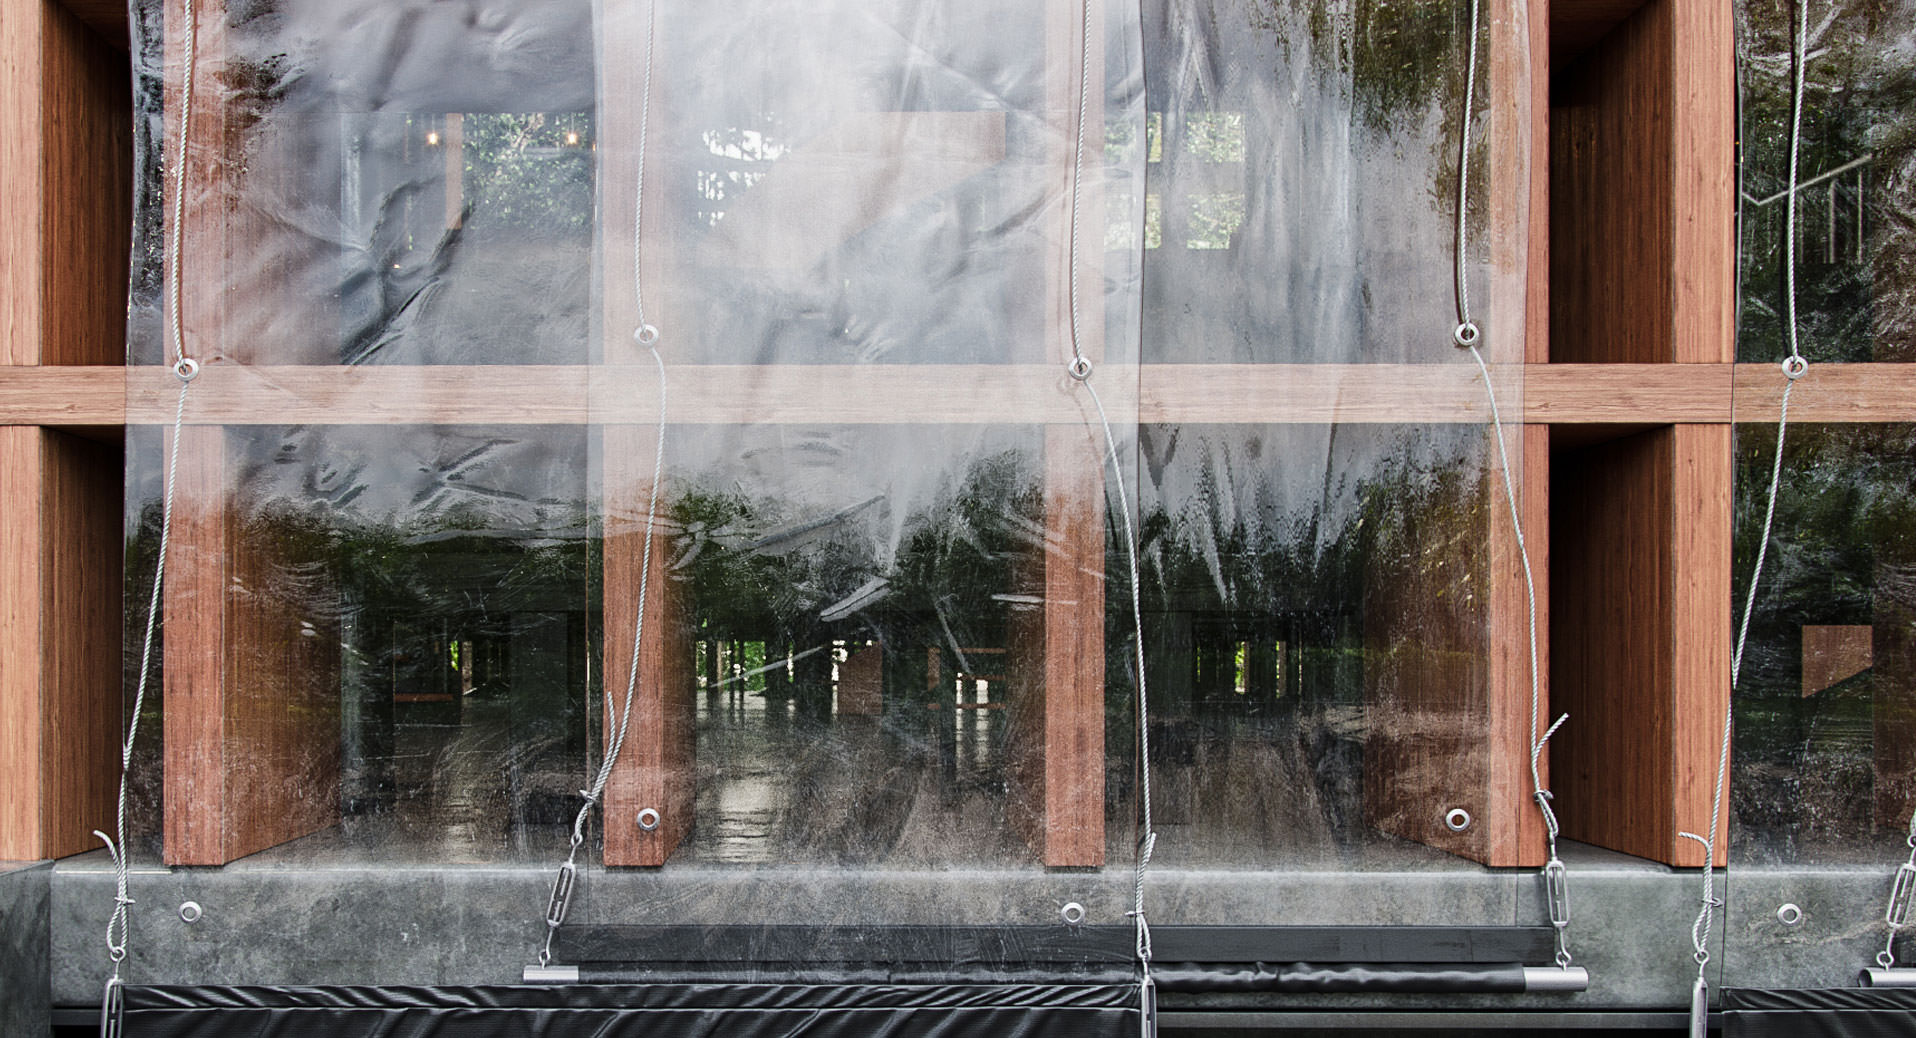
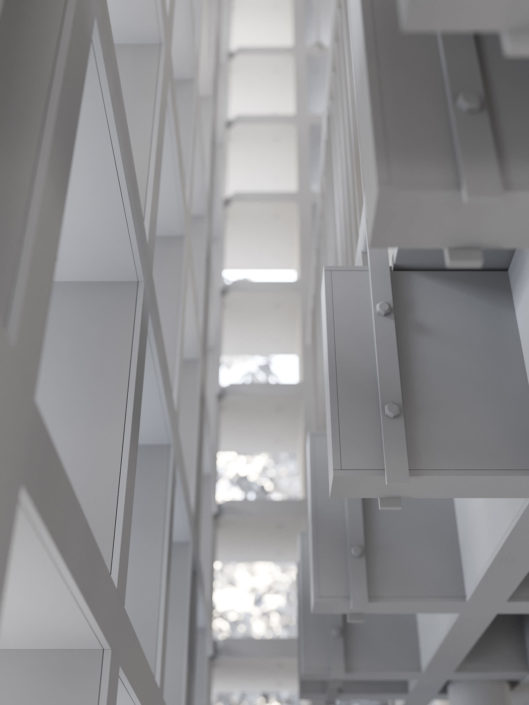
At this stage, I applied more details to the model as much as possible to create realistic renders. I used the Marvelous Designer software in some parts of the scene such as to make the crease effects on the PVC sheets.
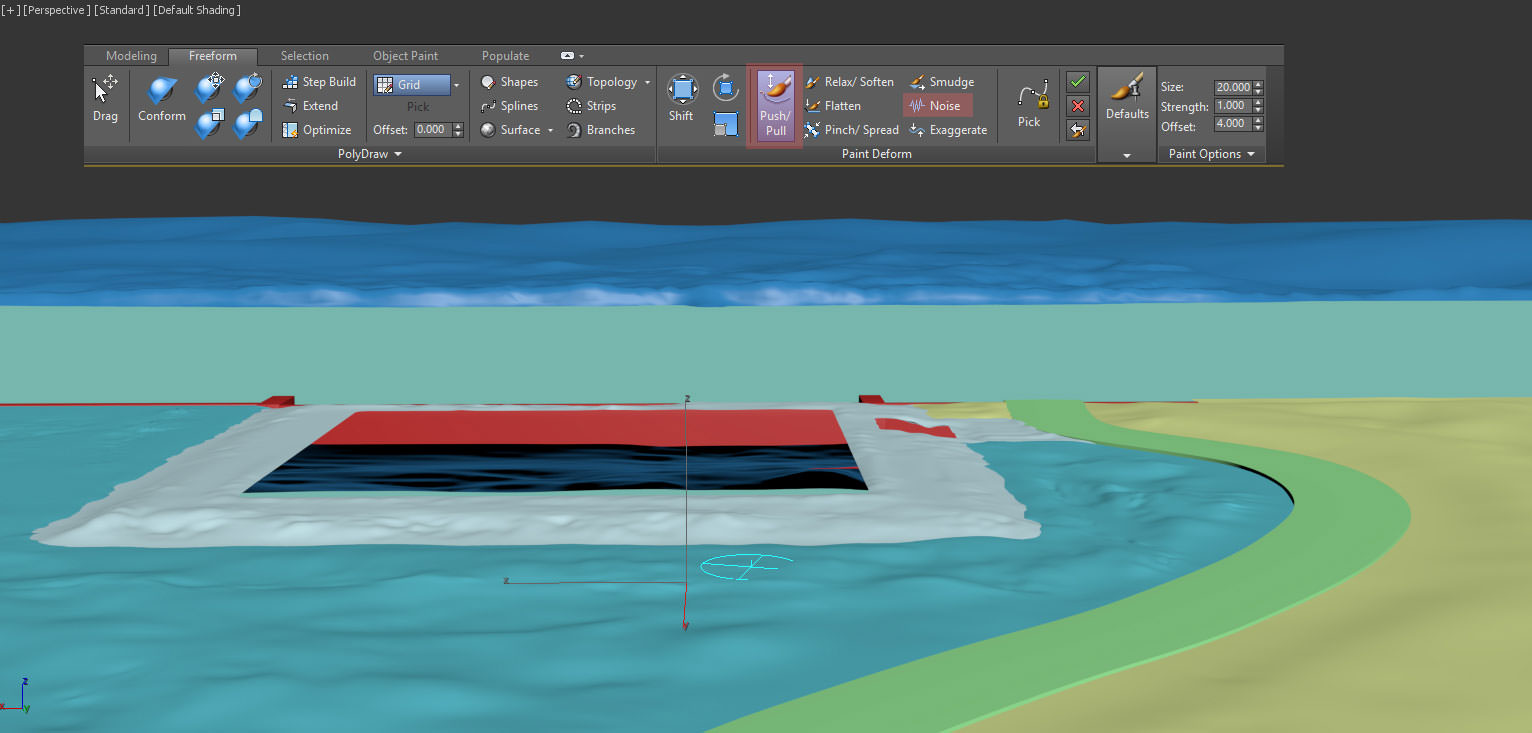
As for the landscape part, I used simple Plane then converted to editable poly as well as using MSmooth and UVW Mapping in some area. I always divide the geometries so that it’s easier to manage for future amendment. Furthermore, I’ve added Push/Pull, Noise, to make uneven terrains similar to our world in reality.
Environment
After the landscape has been prepared, the next step is the vegetation.
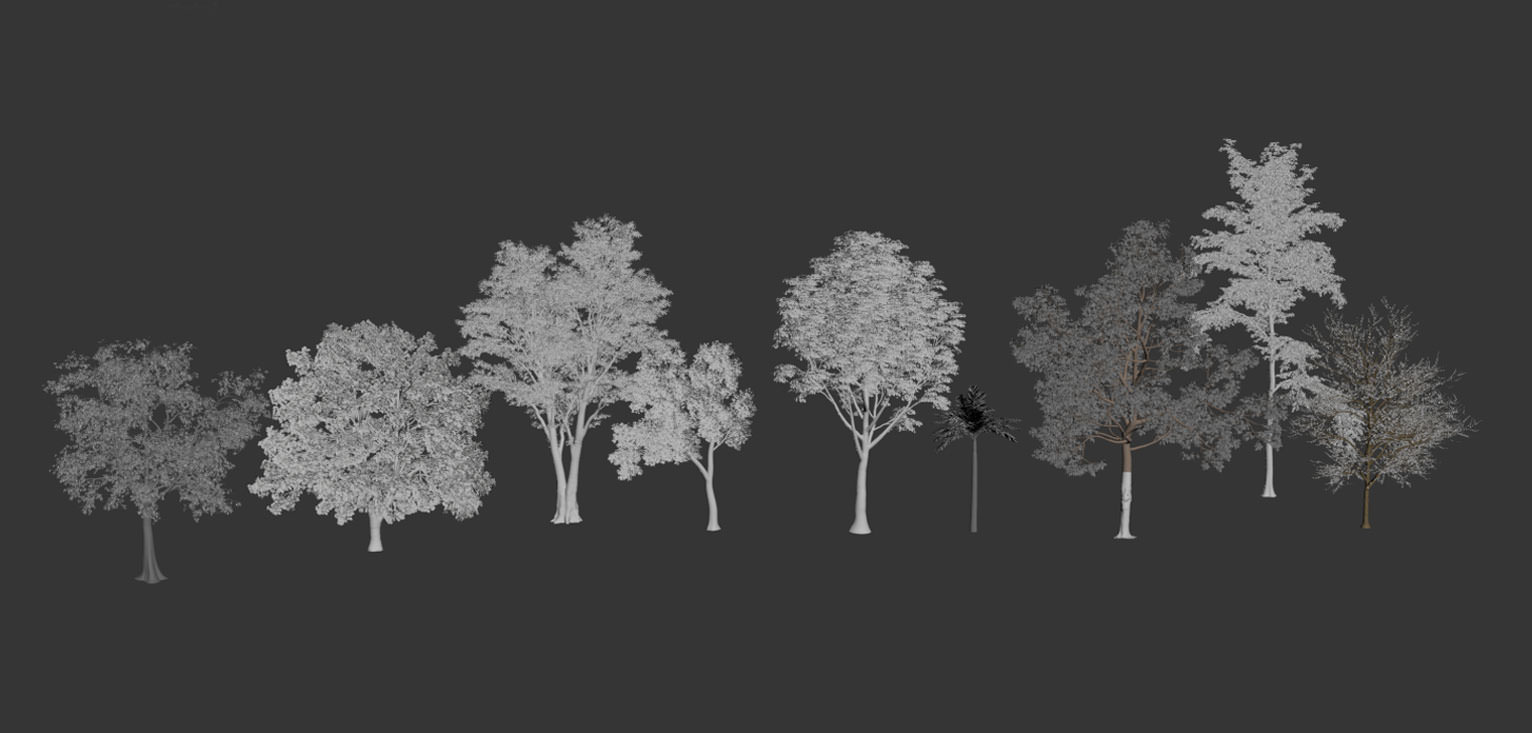
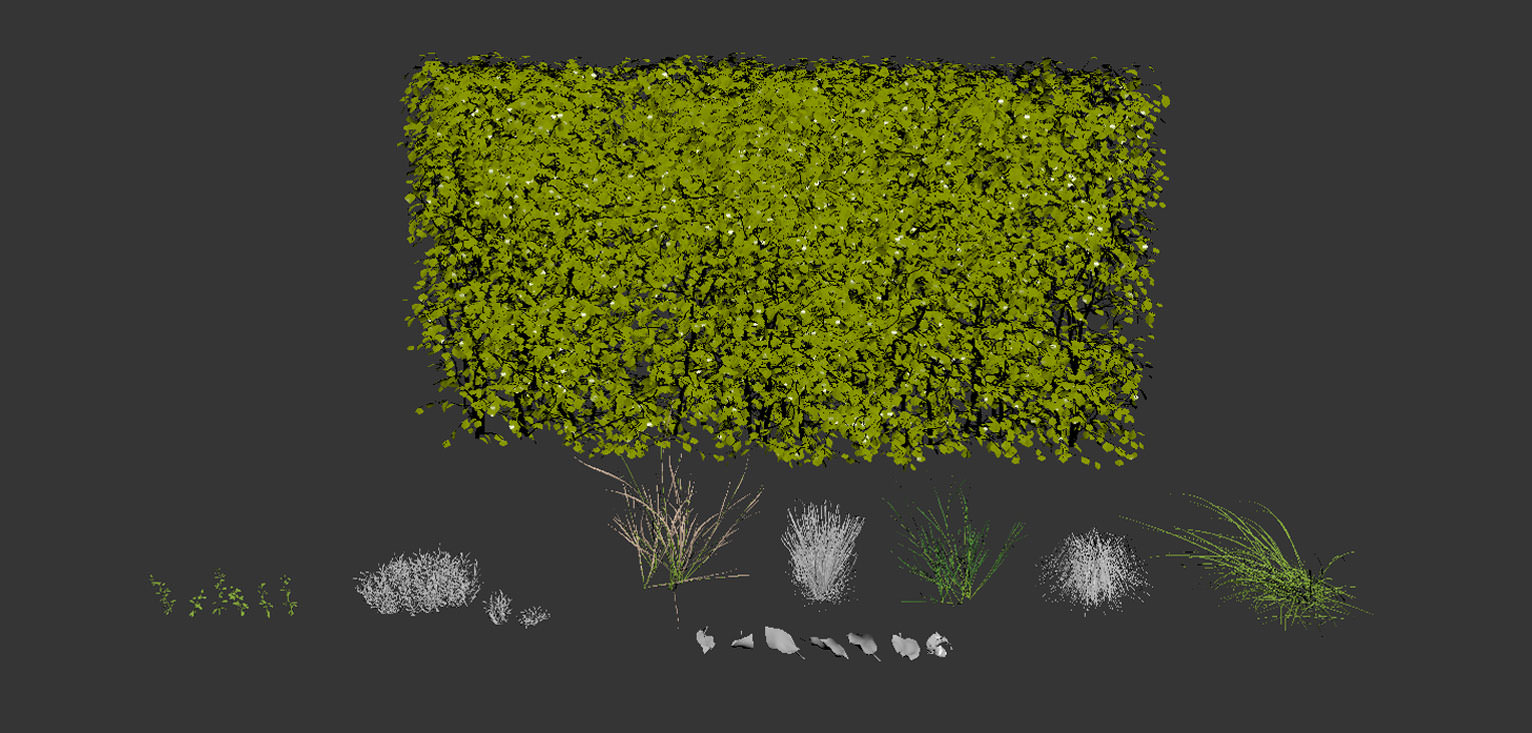
By looking at the reference photos, the surrounding of the project is quite straightforward. I used various 3d plants from VIZPARK, HQ Plants, Evermotion, and iCube.
Then applied all new textures and adjusted them to match the reference photos.
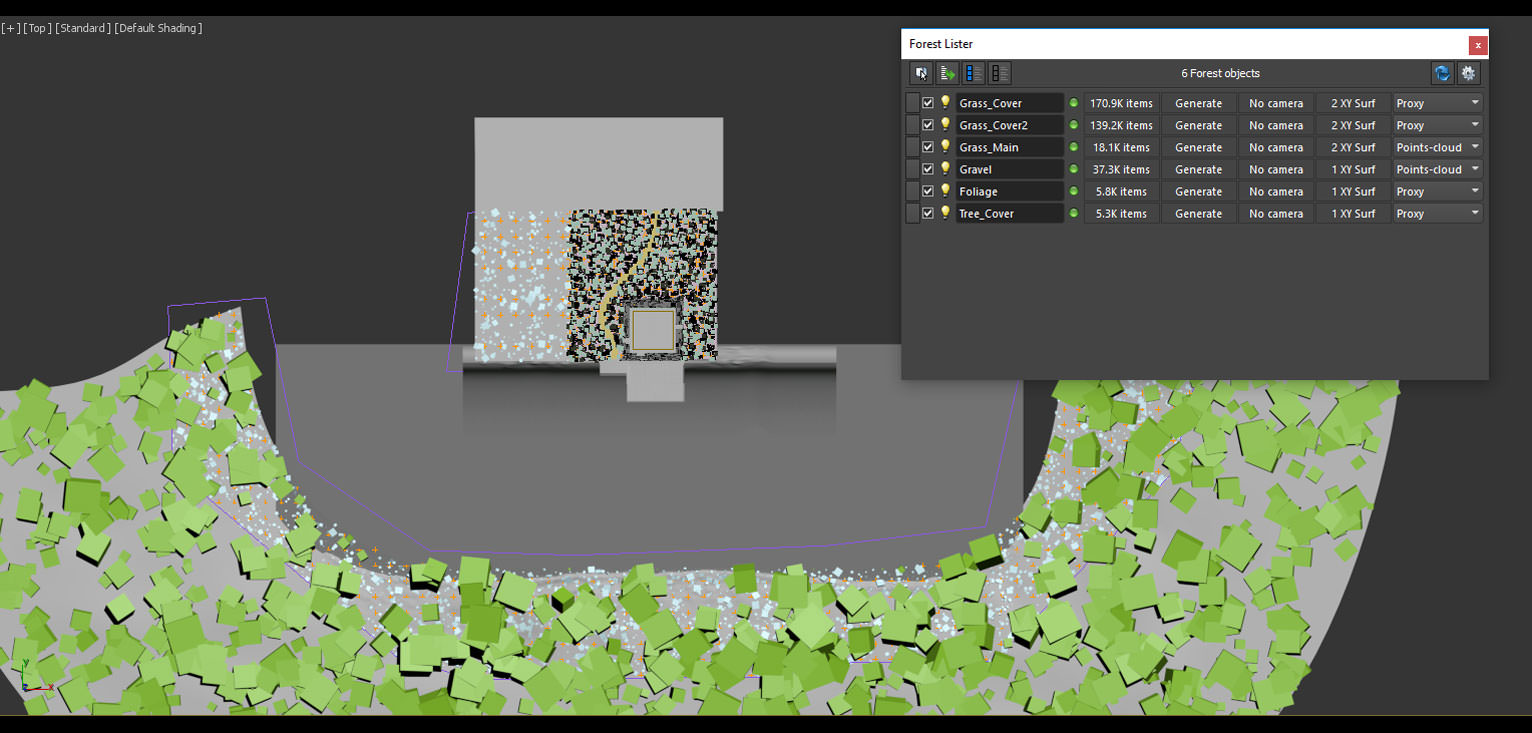
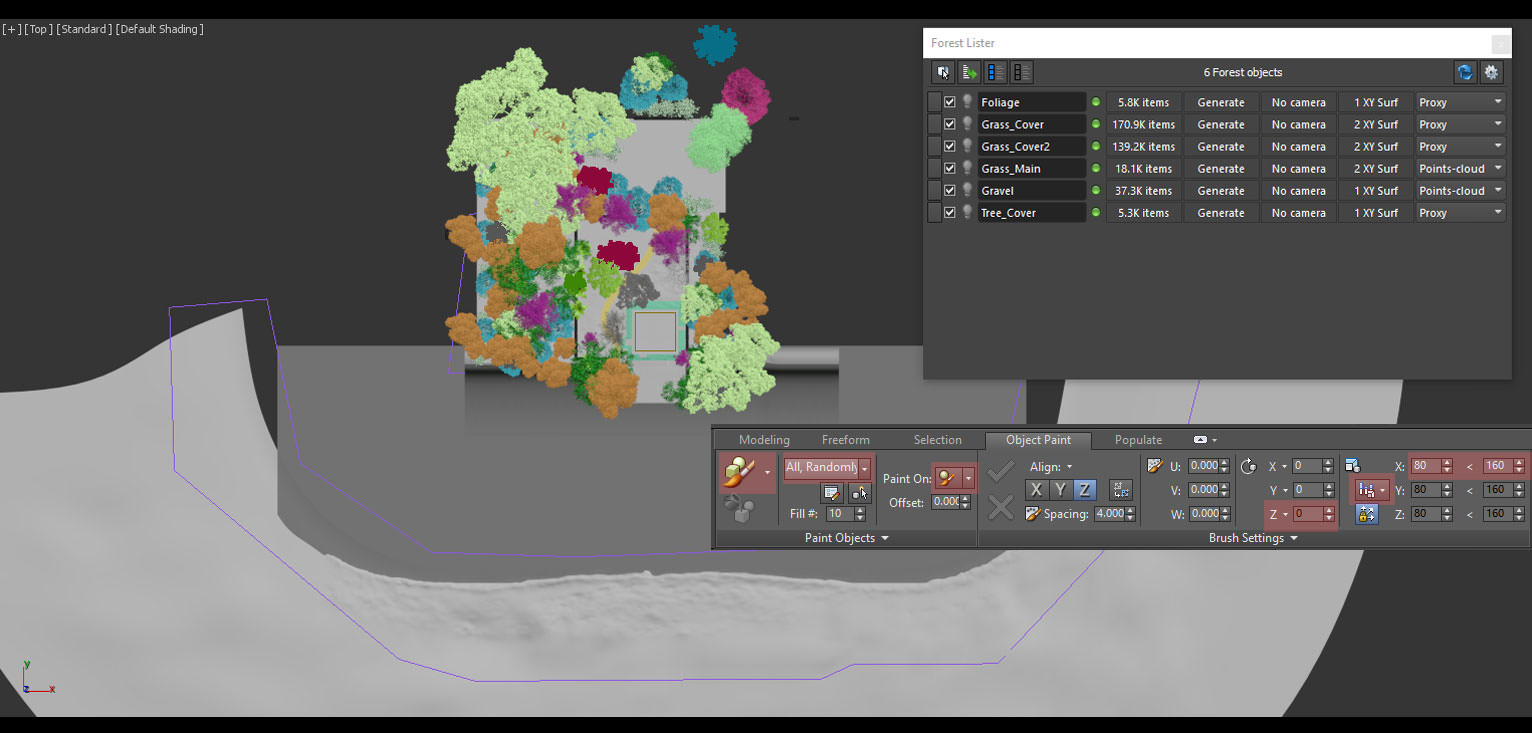
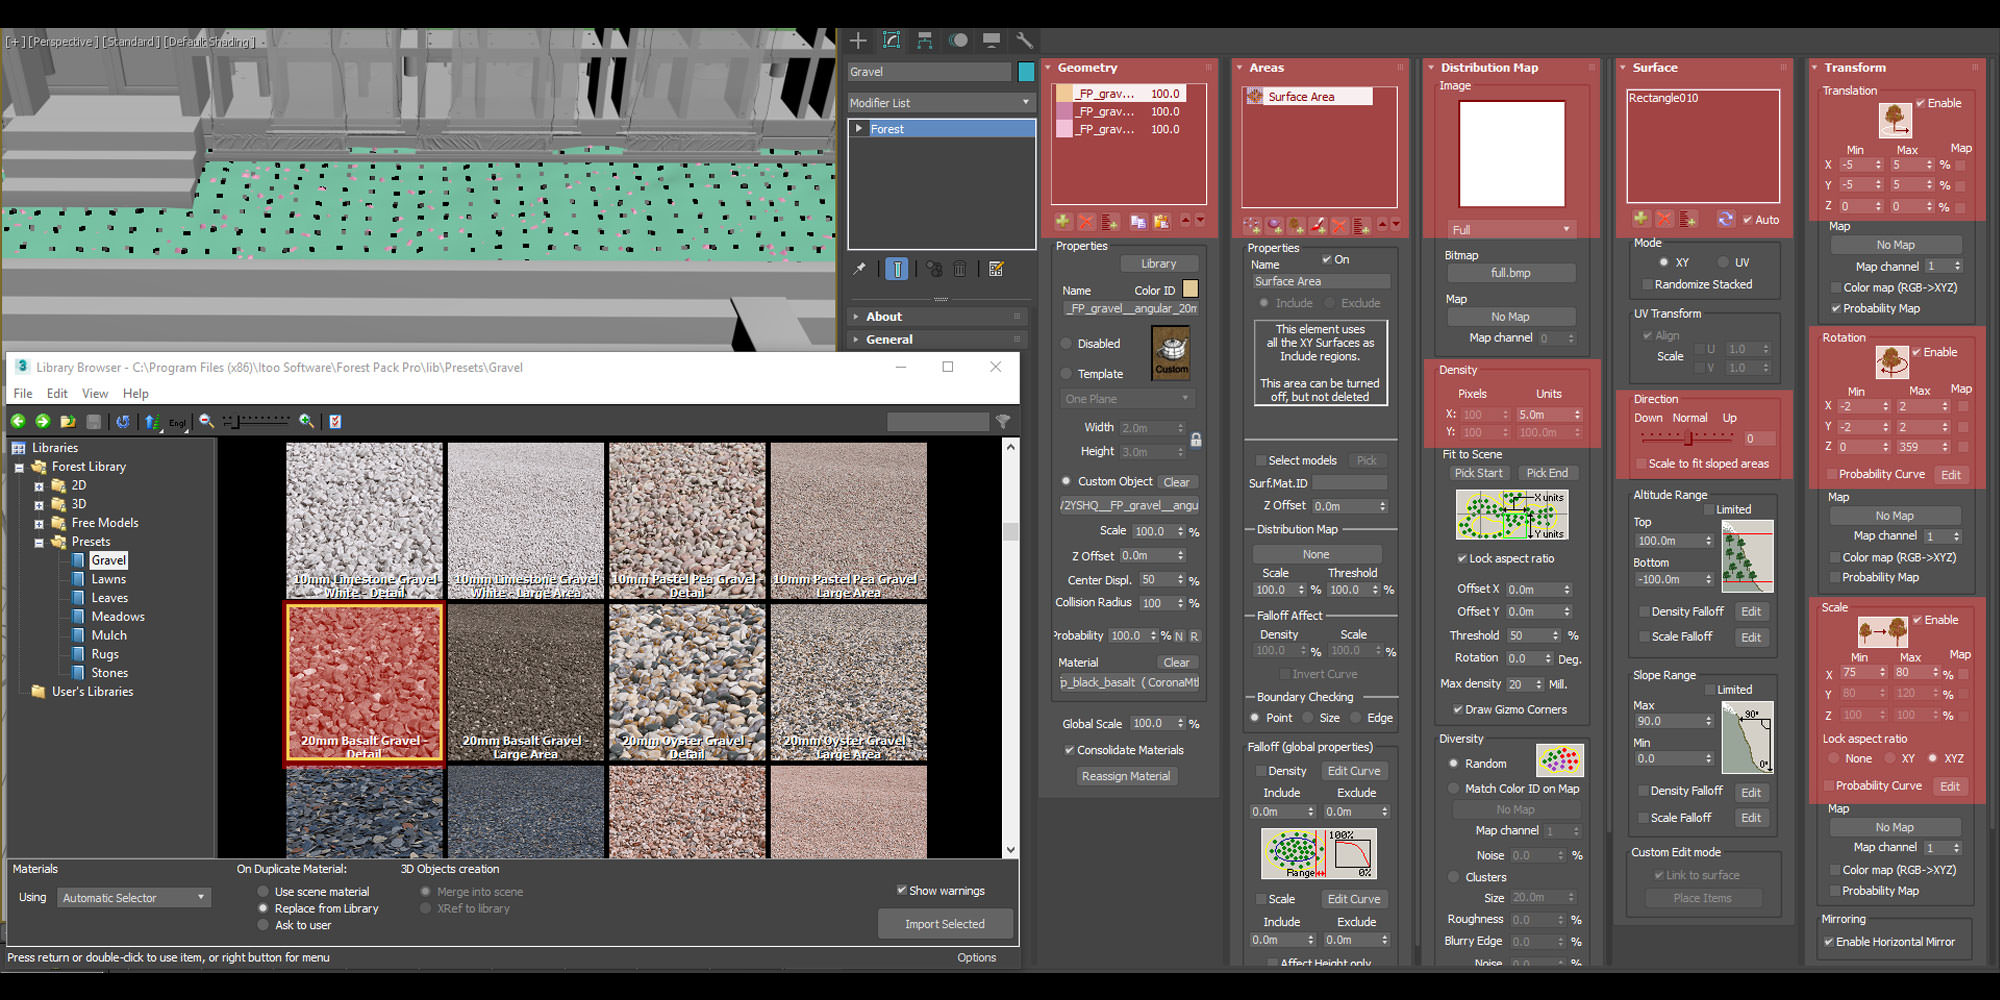
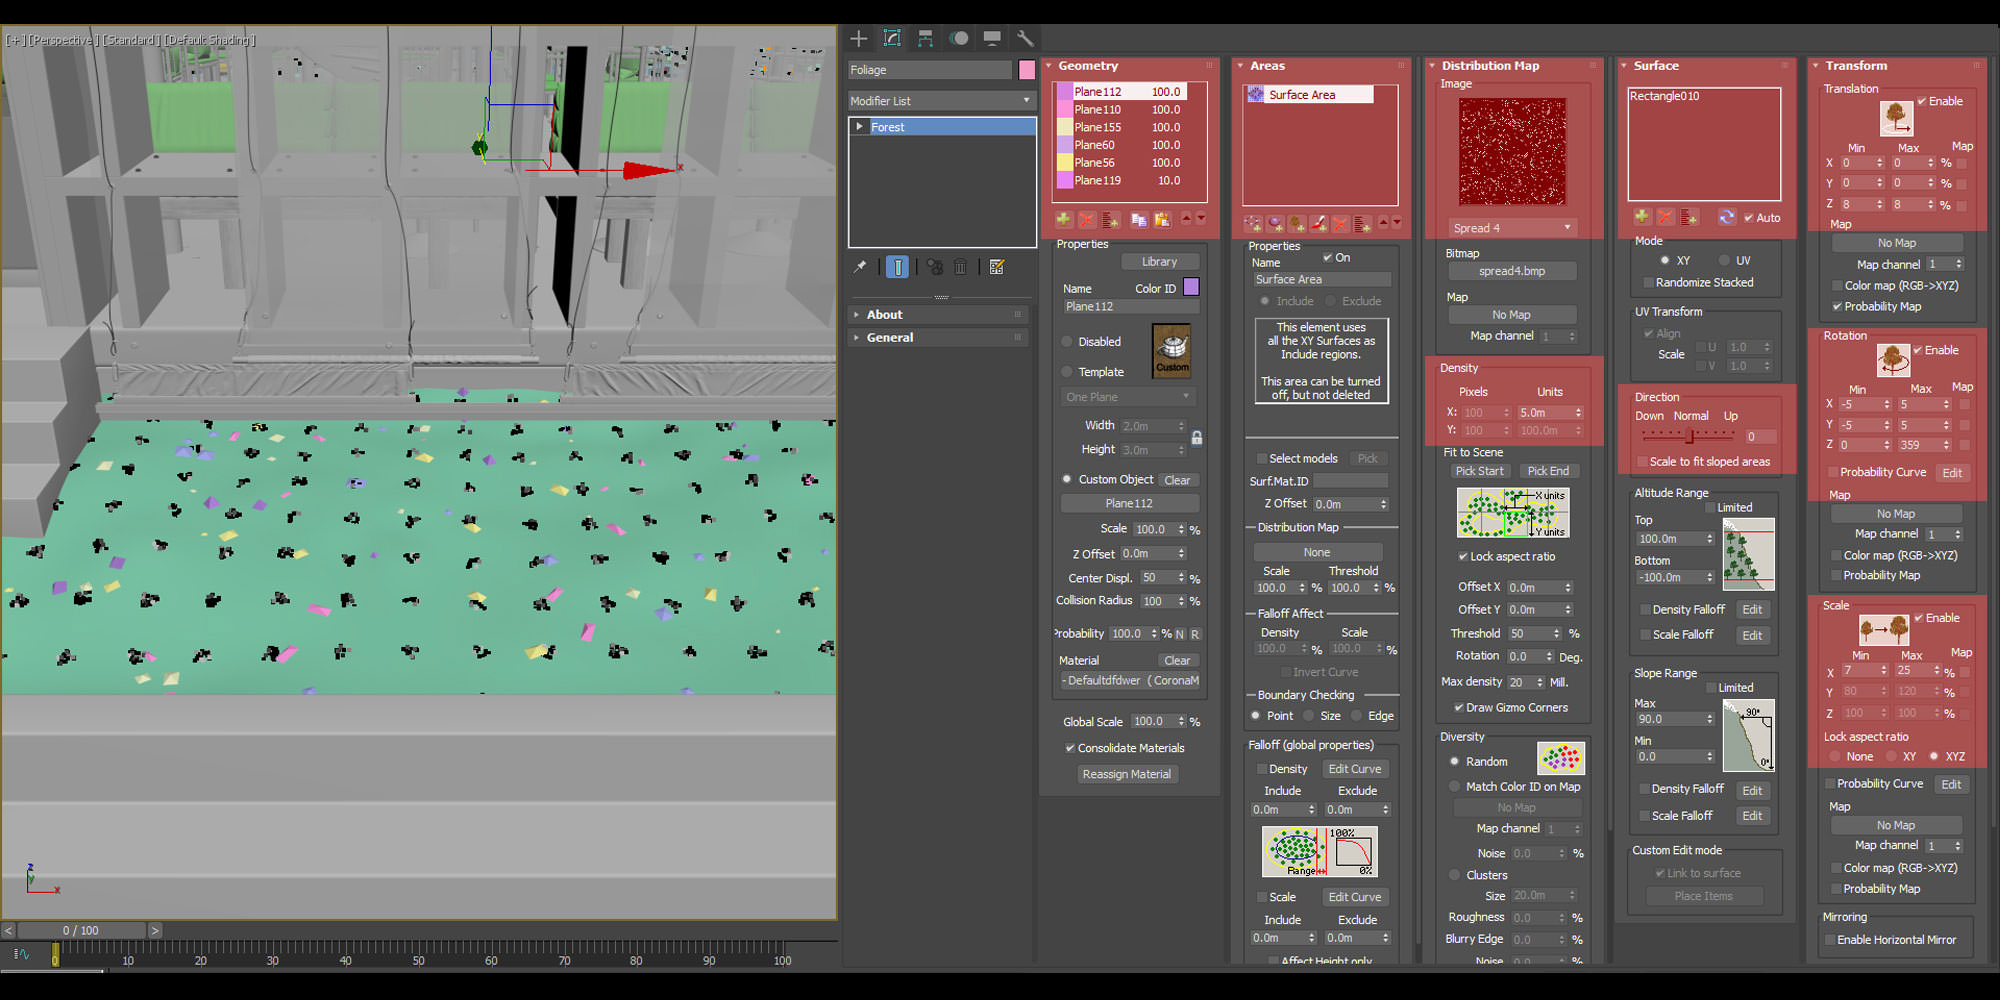
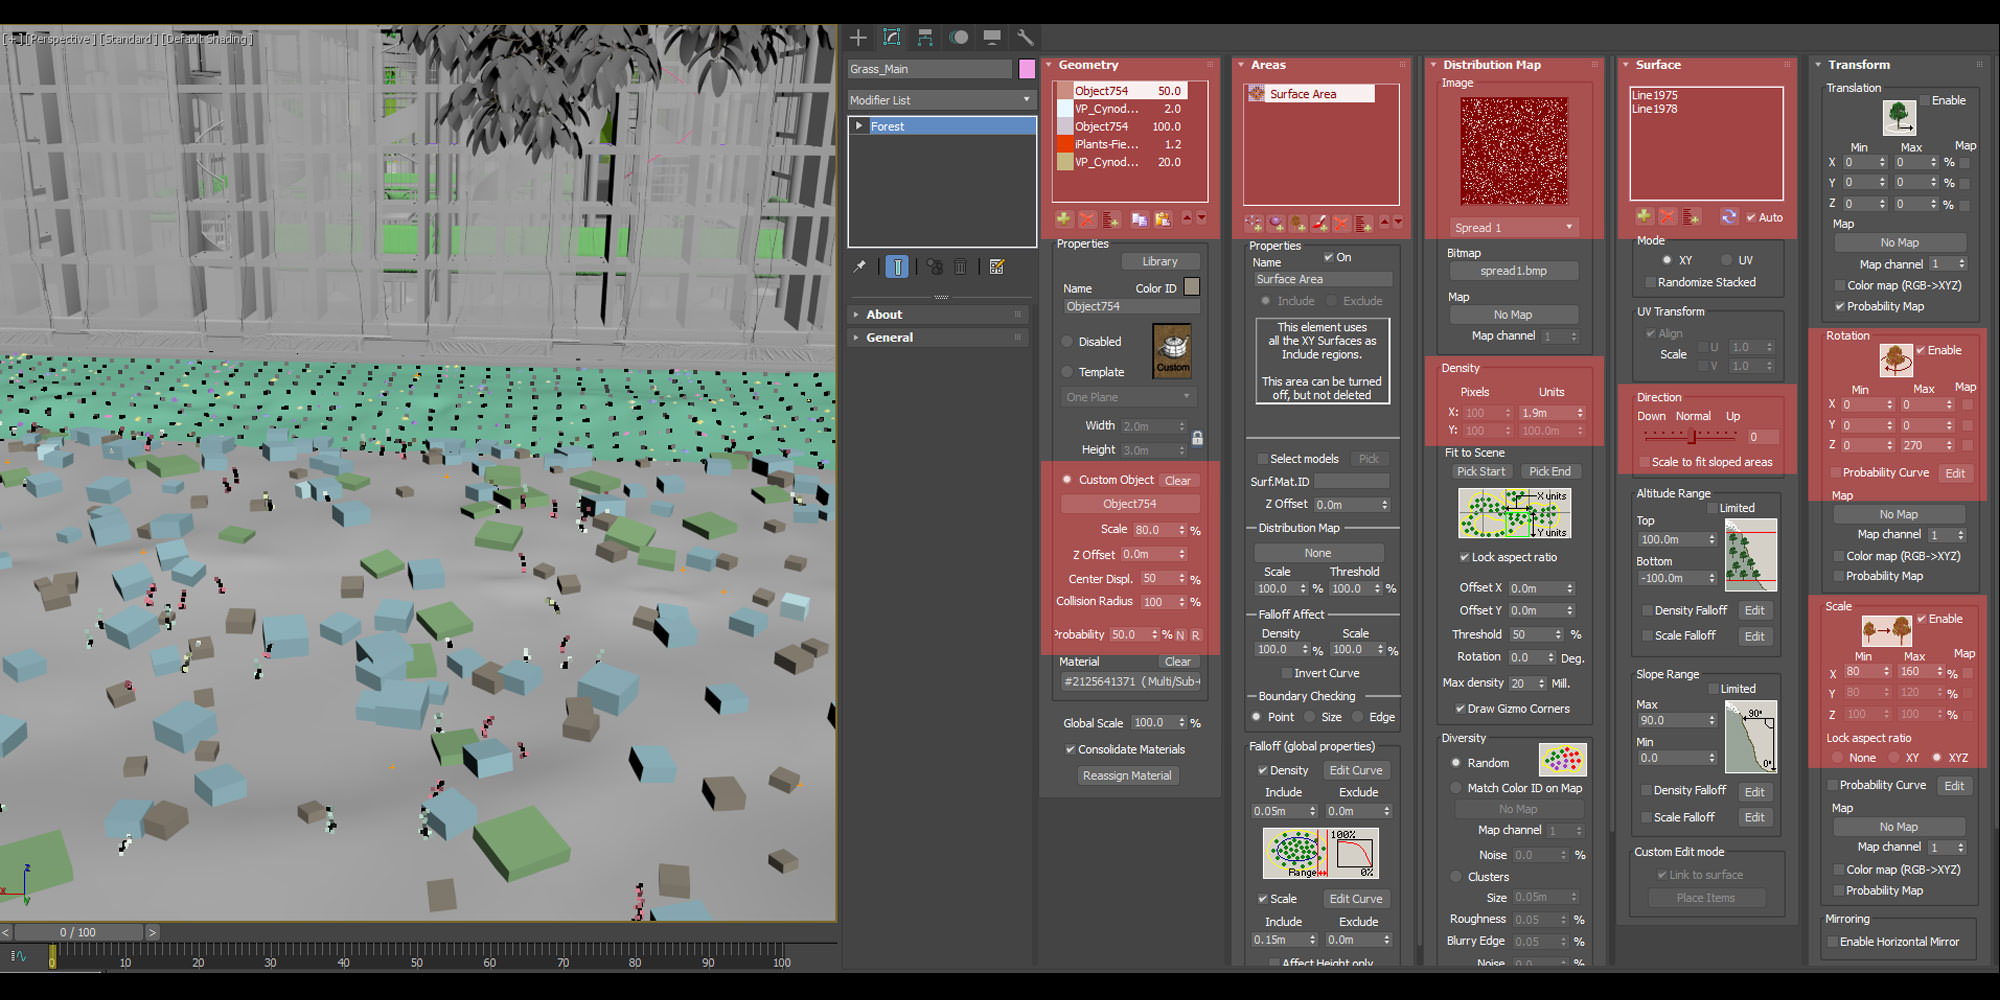
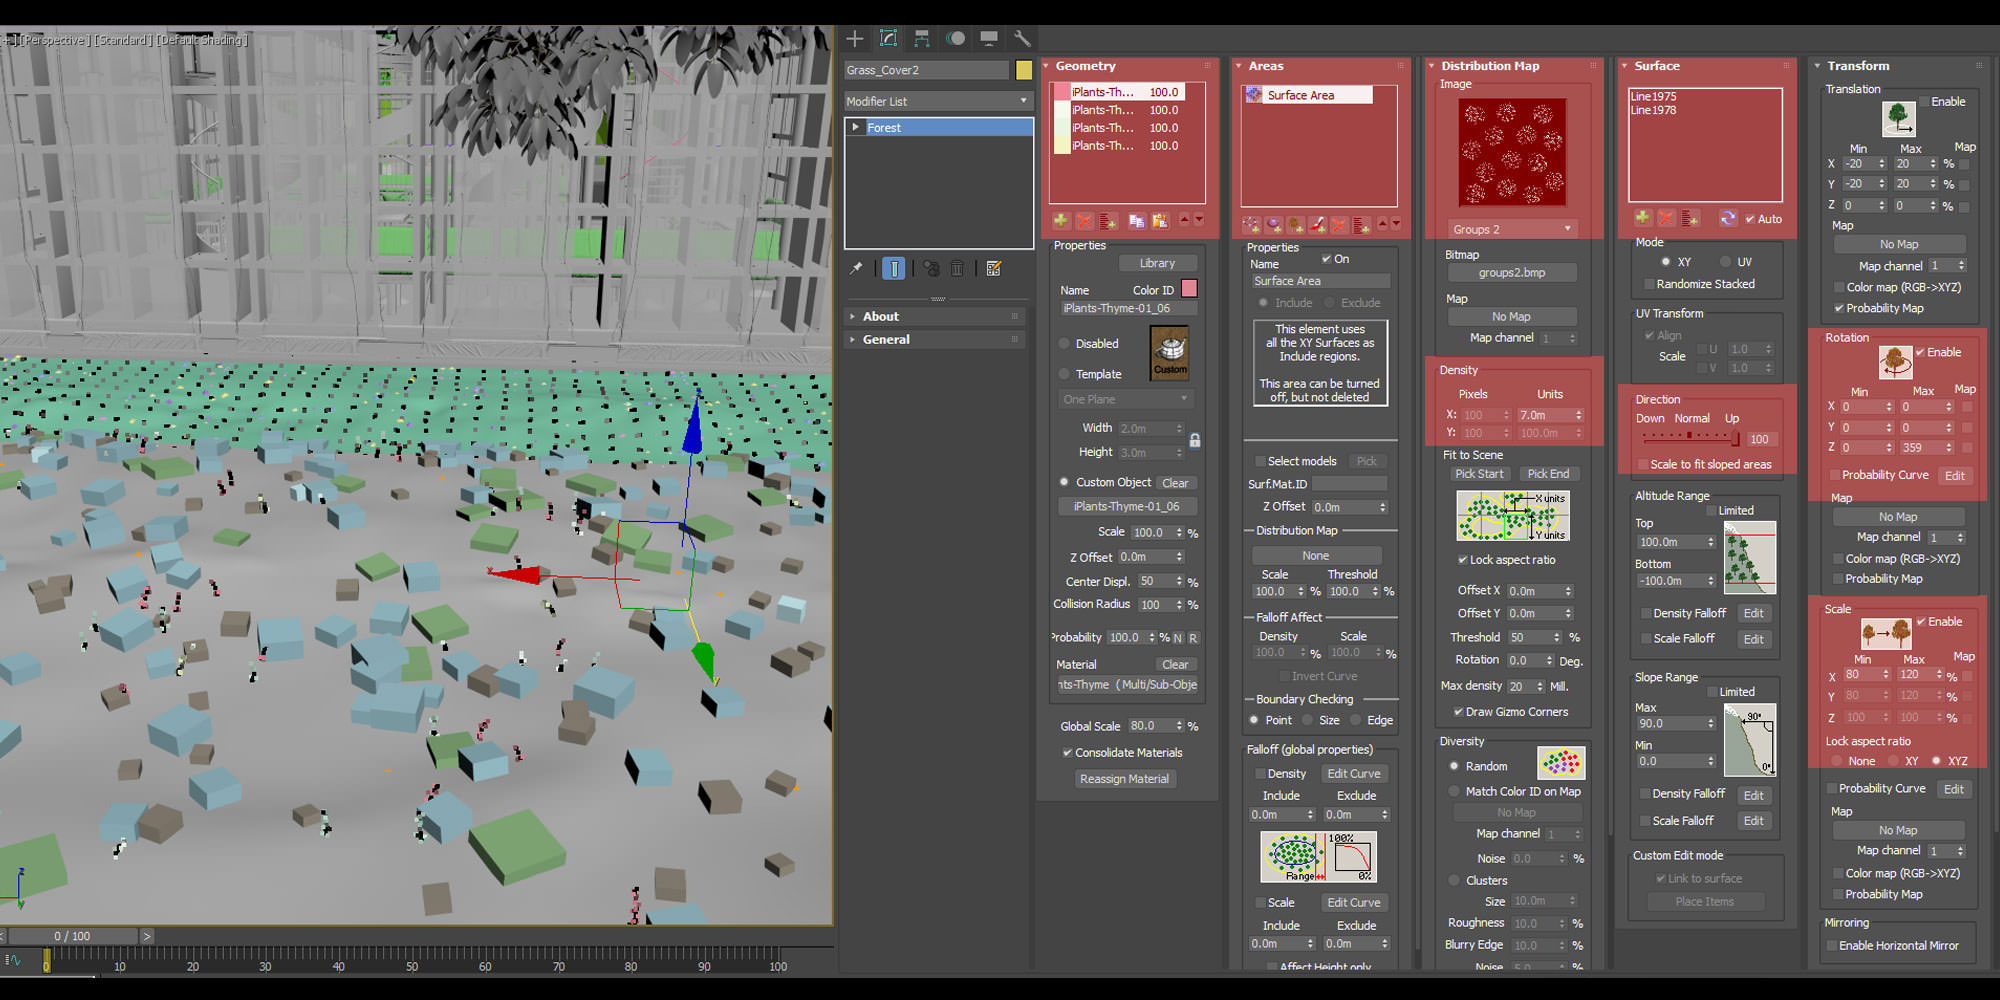
I use iToo Software Forest Pack and Object Paint in every project including this one.
I paid attention to all details such as inserting gravels, grass, and trees.
These are important elements to generate the finest quality of this work.
Gravel on the first part
The final image of the Gravel after using Forest Pack
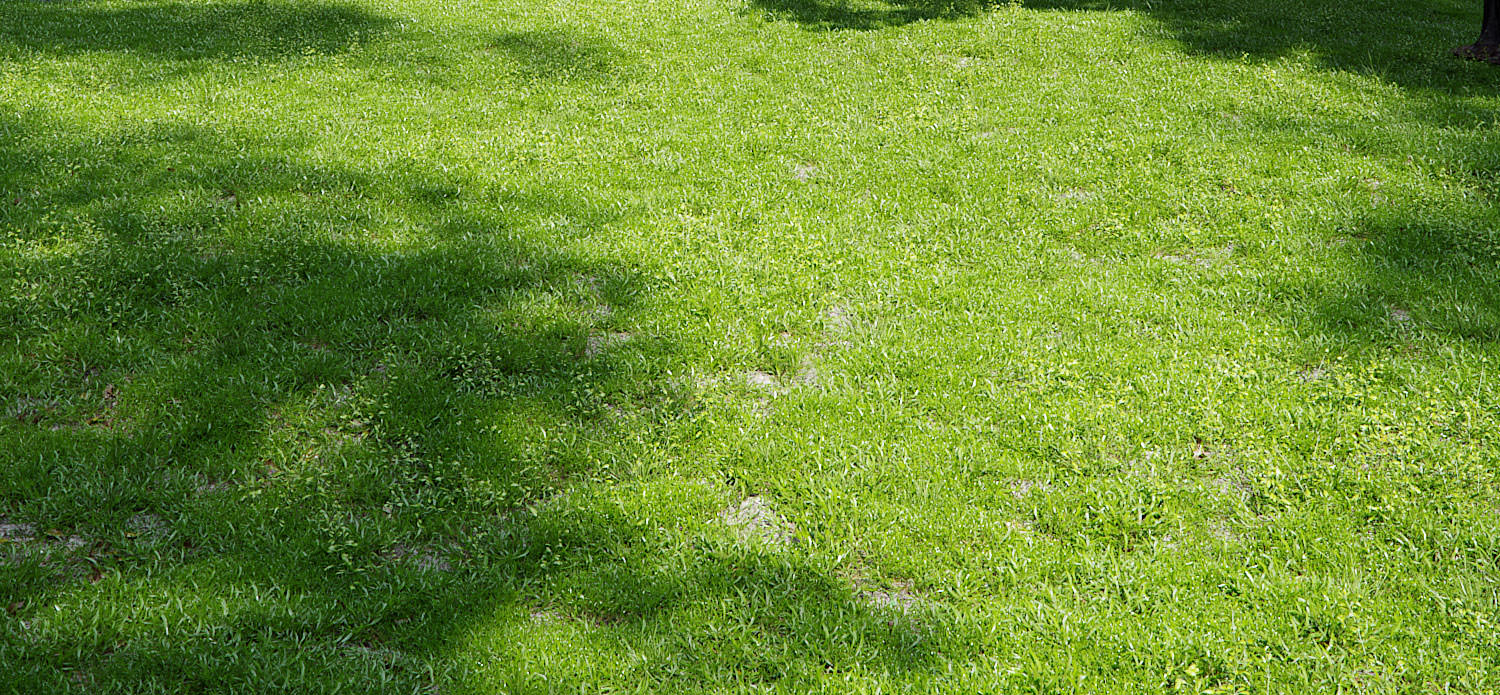
Grass on the second part
The final image of the Grass after using Forest Pack
Shading
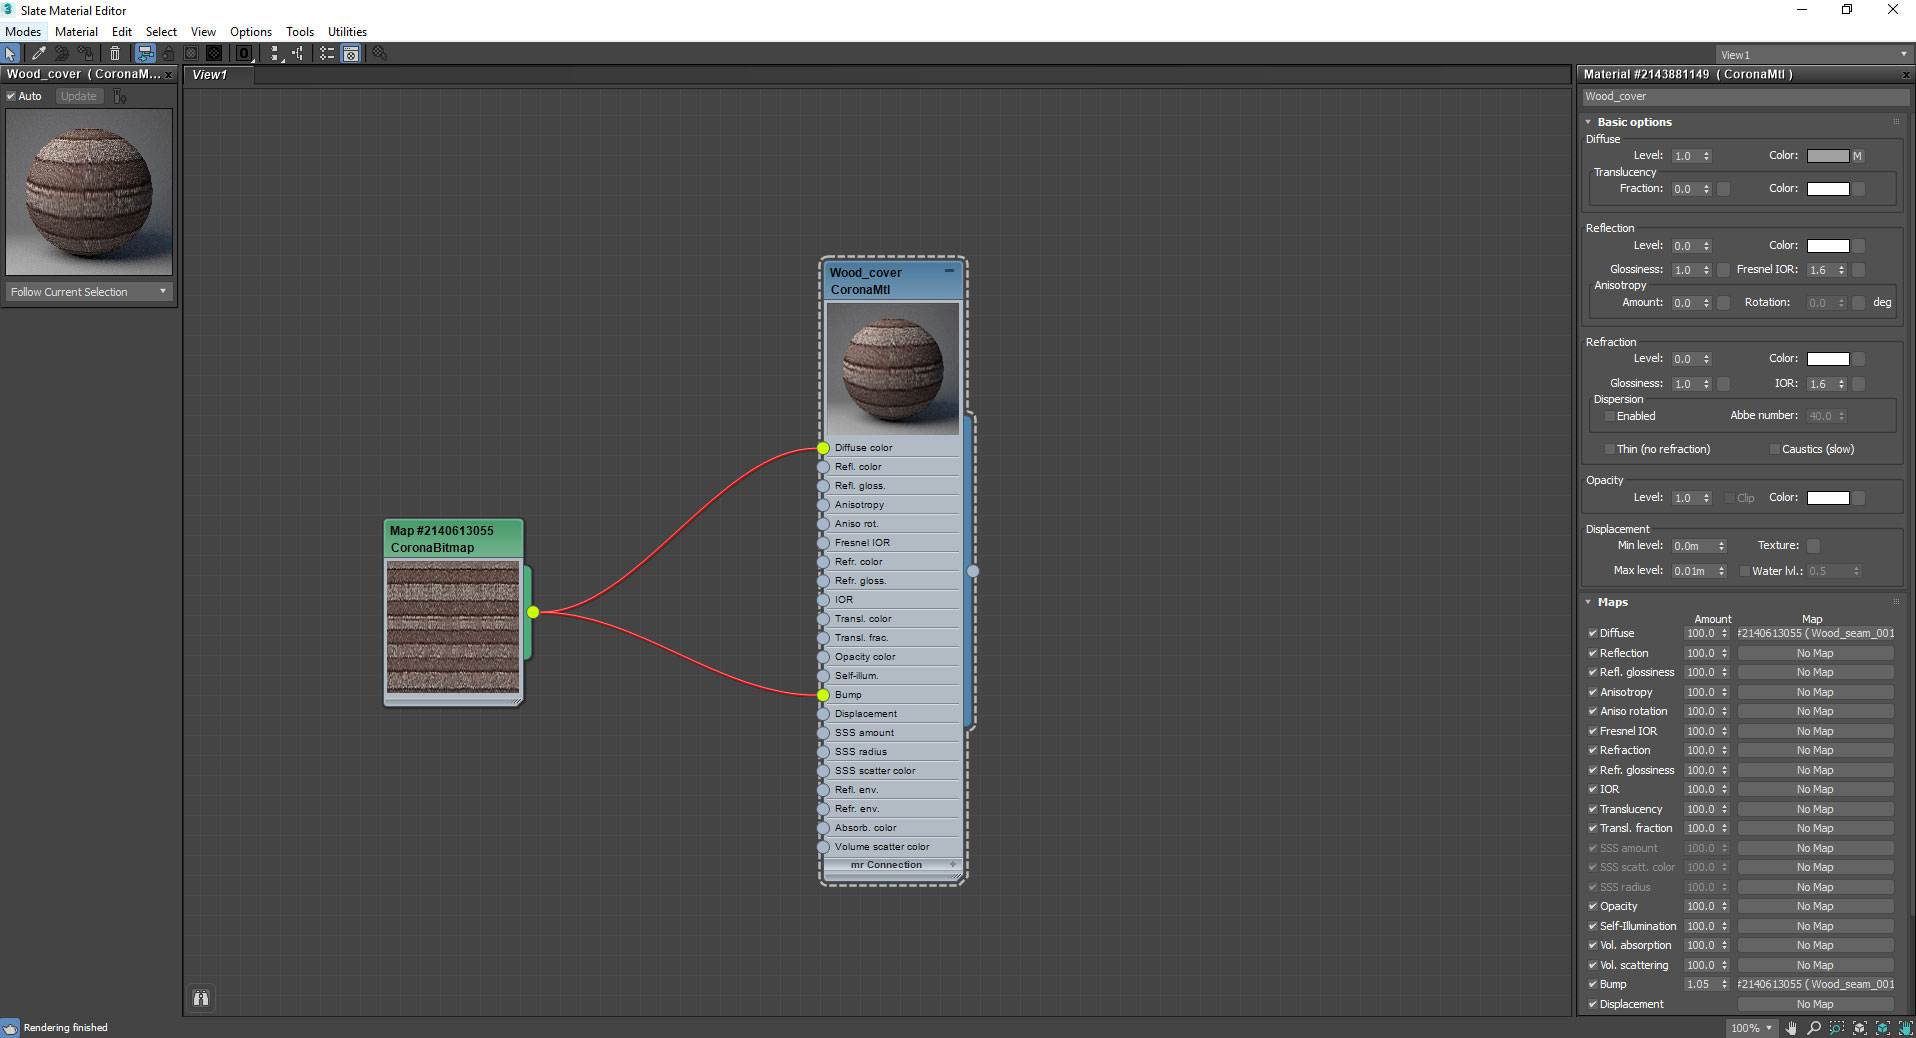
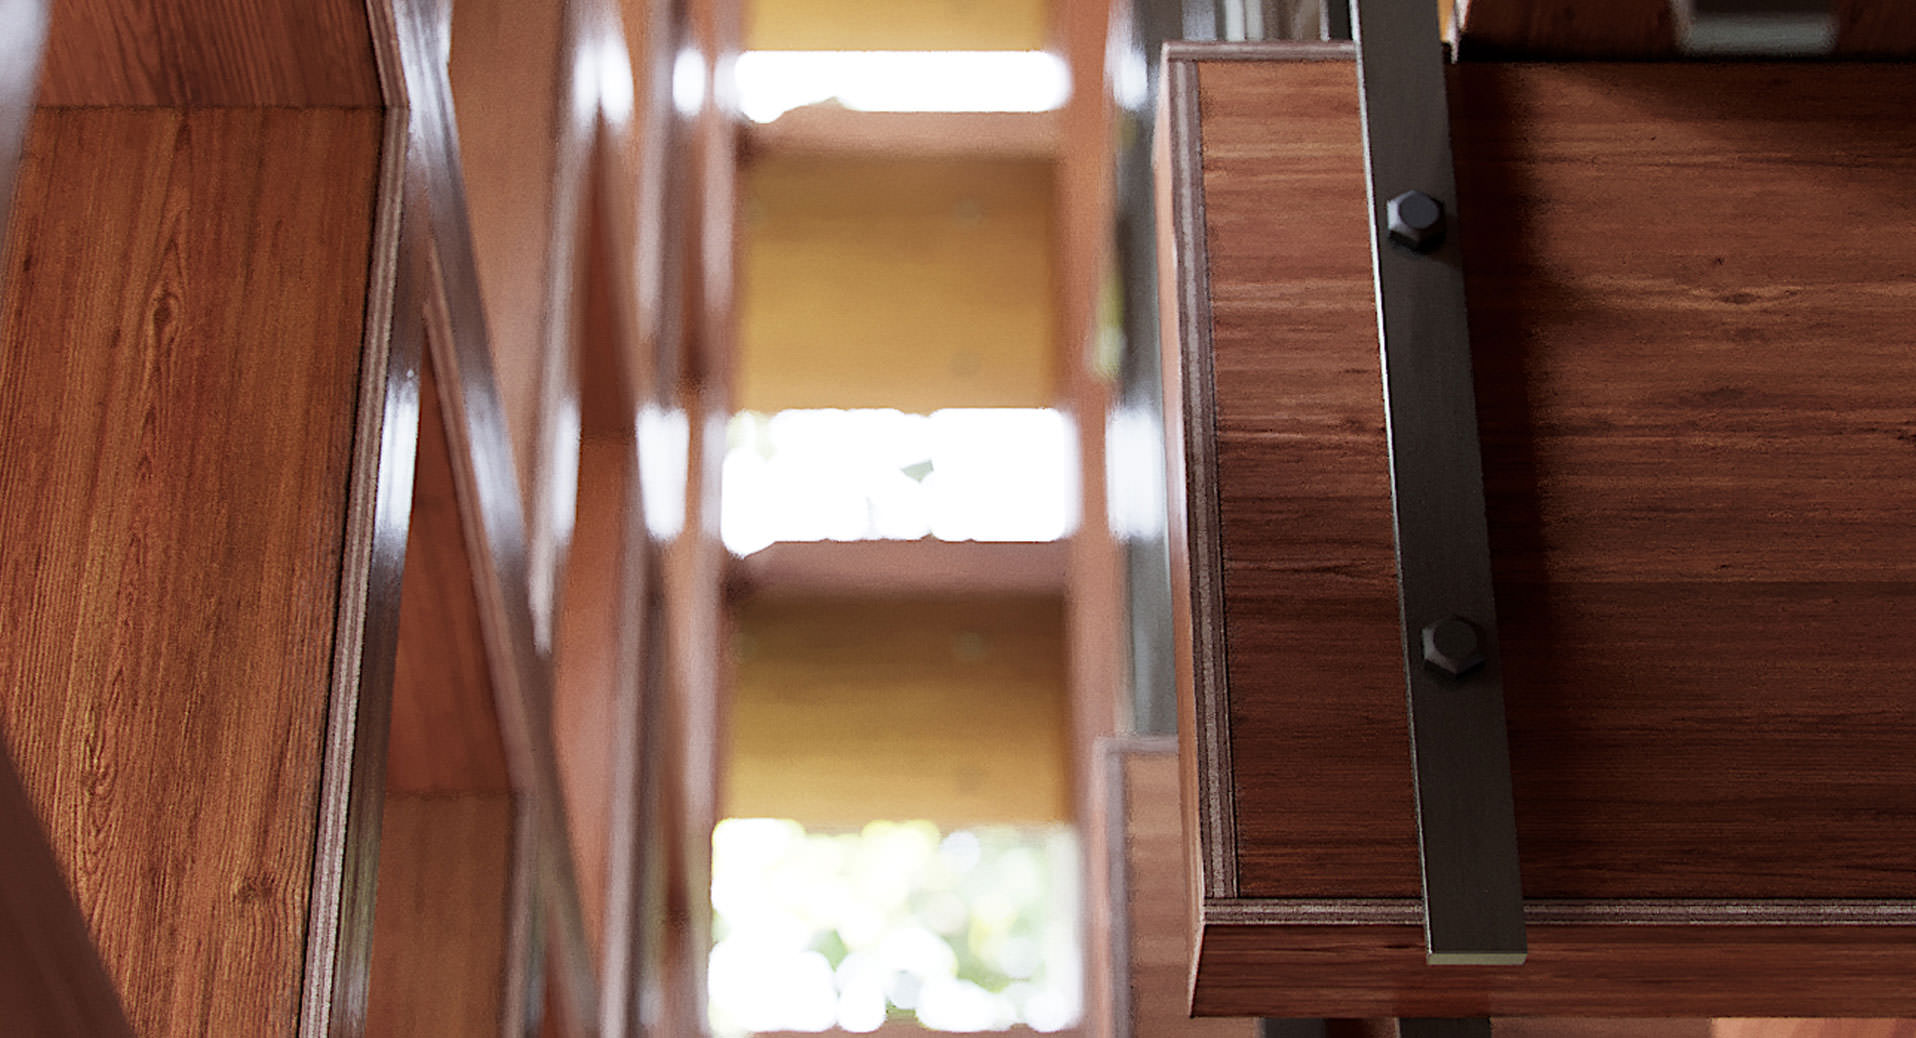
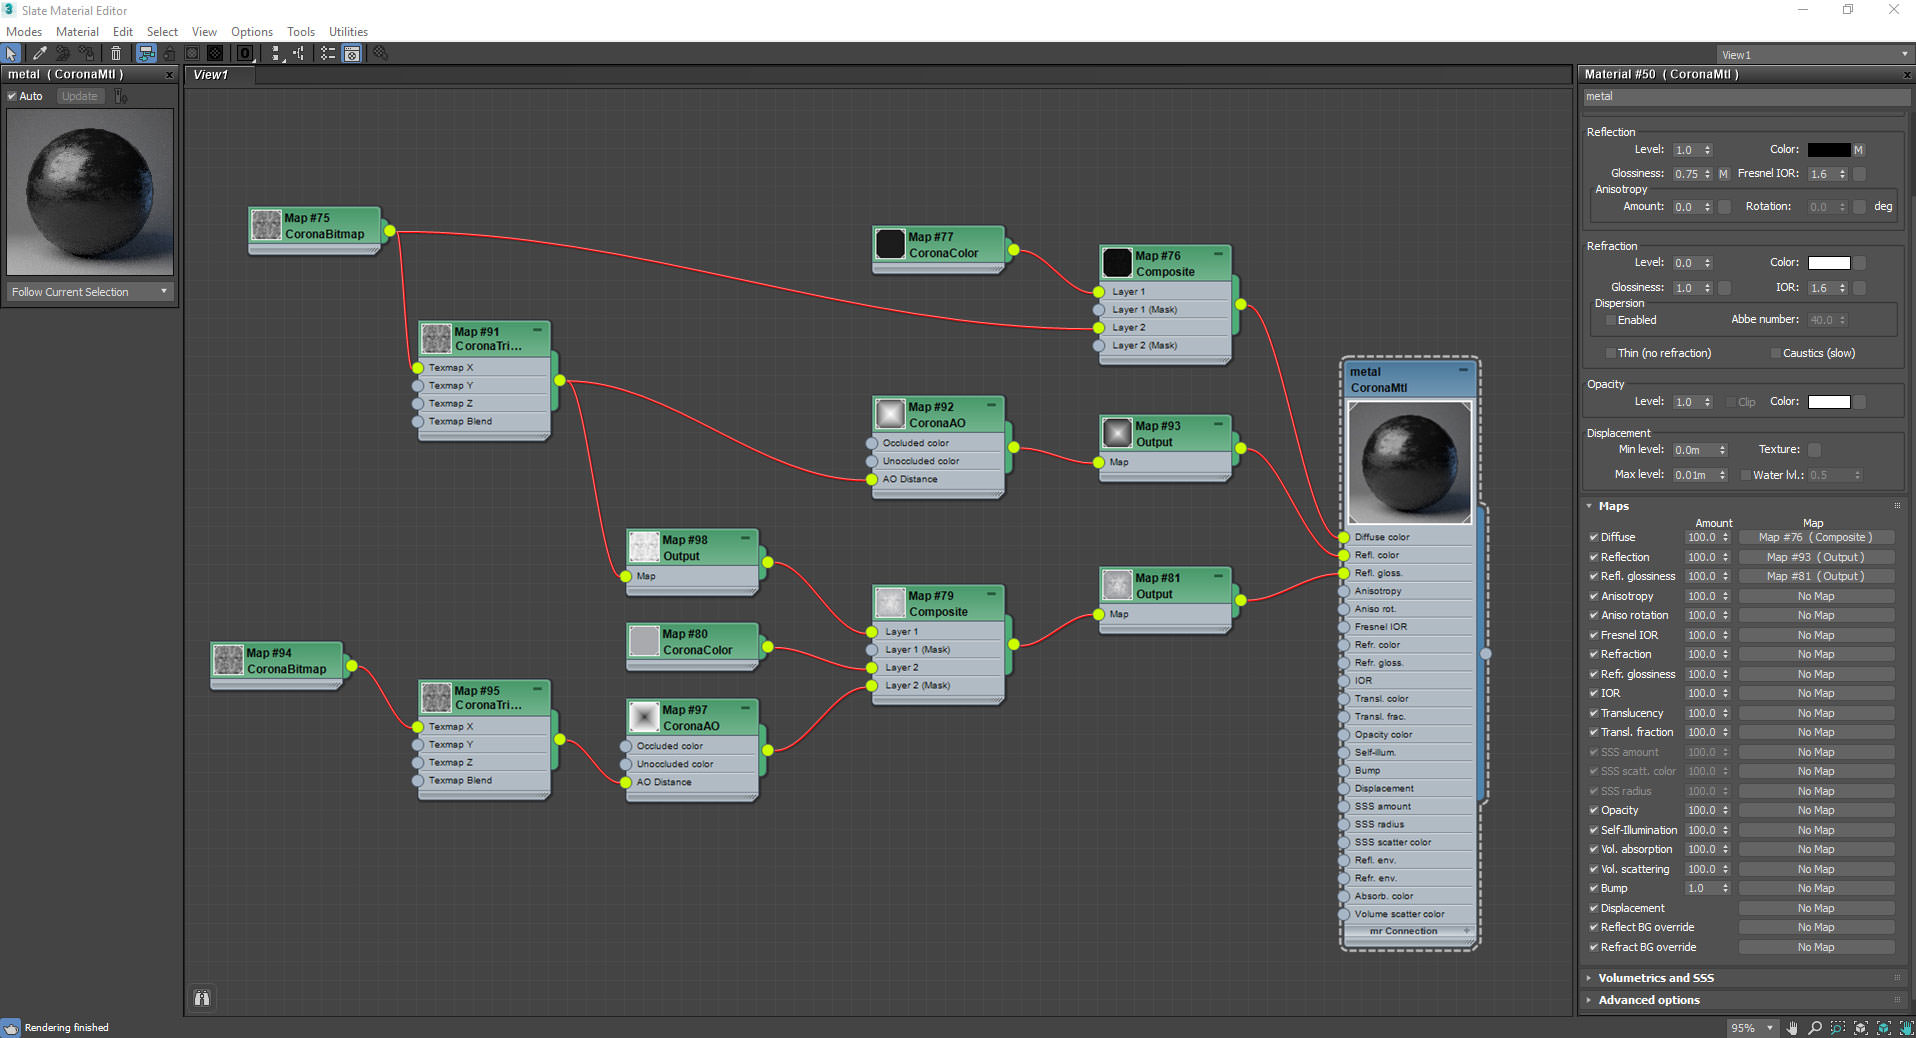
Based on the images, making realistic materials is one of the most challenging parts to do, as it requires our creativities and imaginations to produce realistic renders.
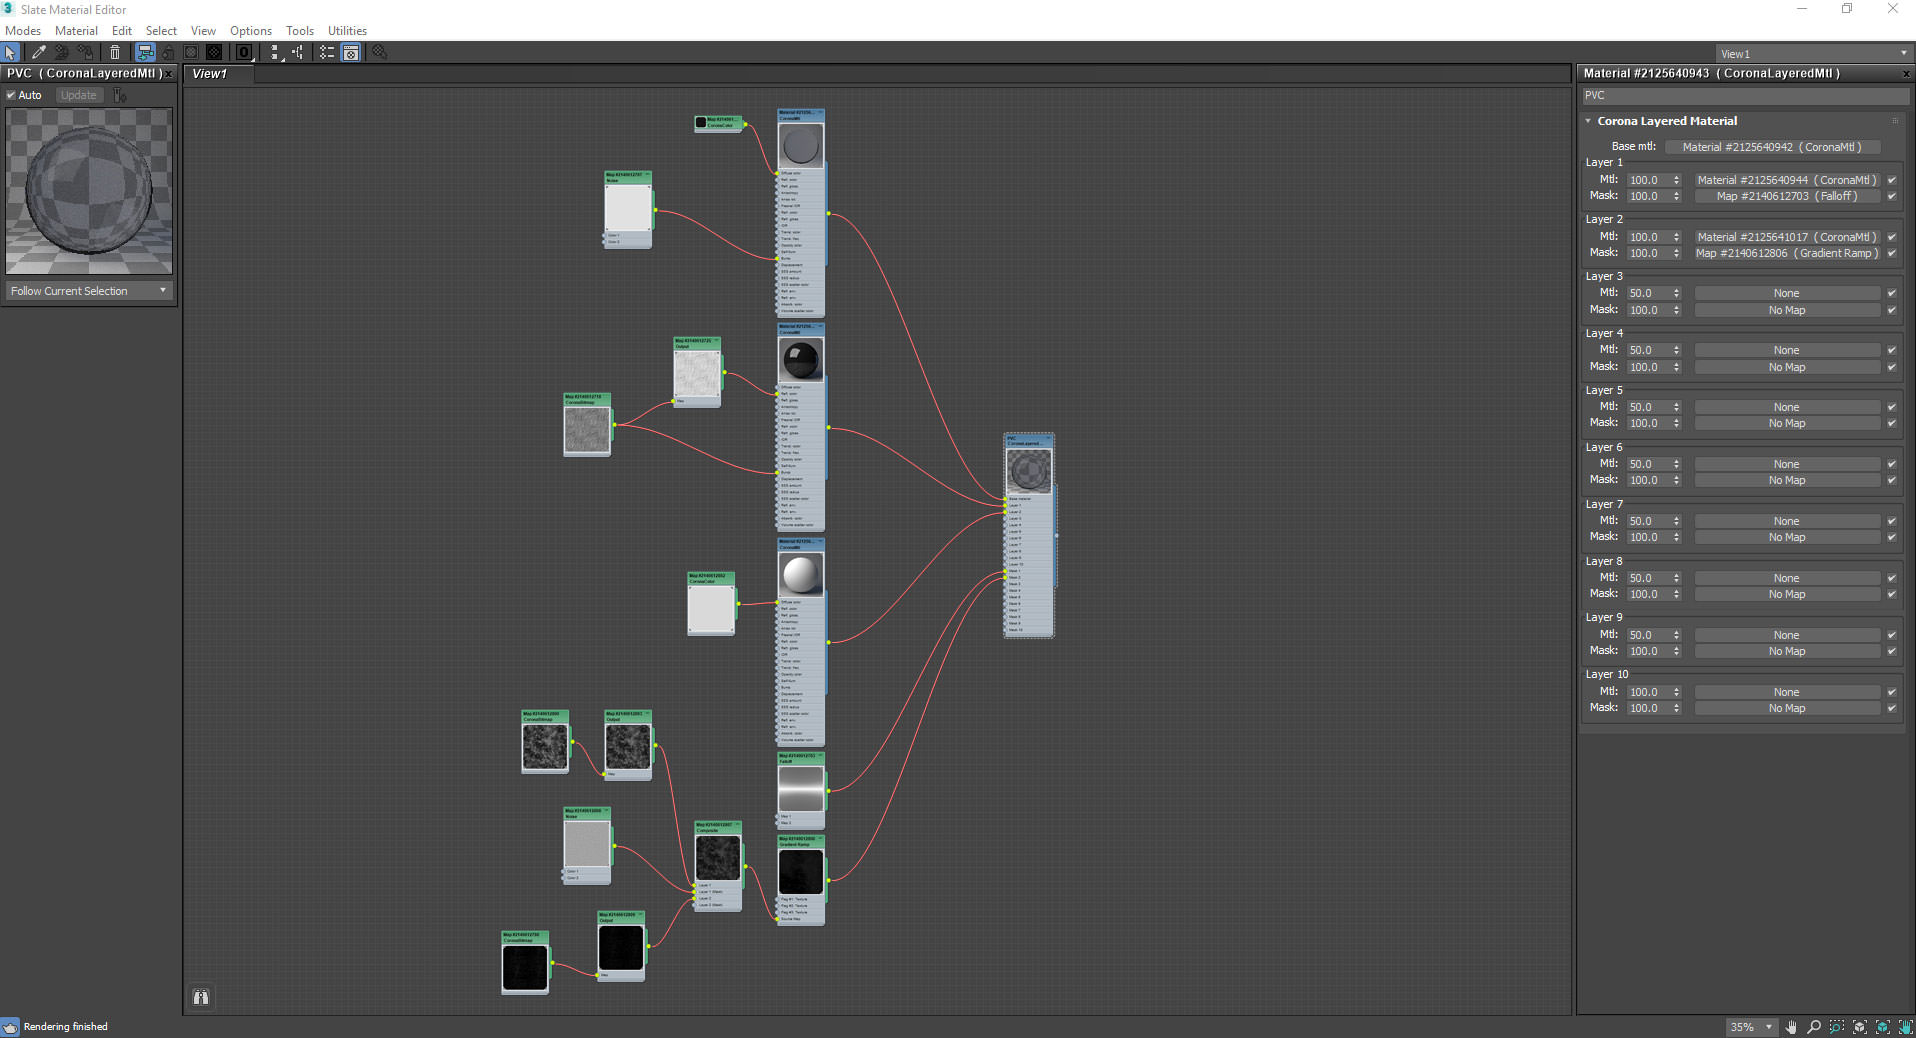
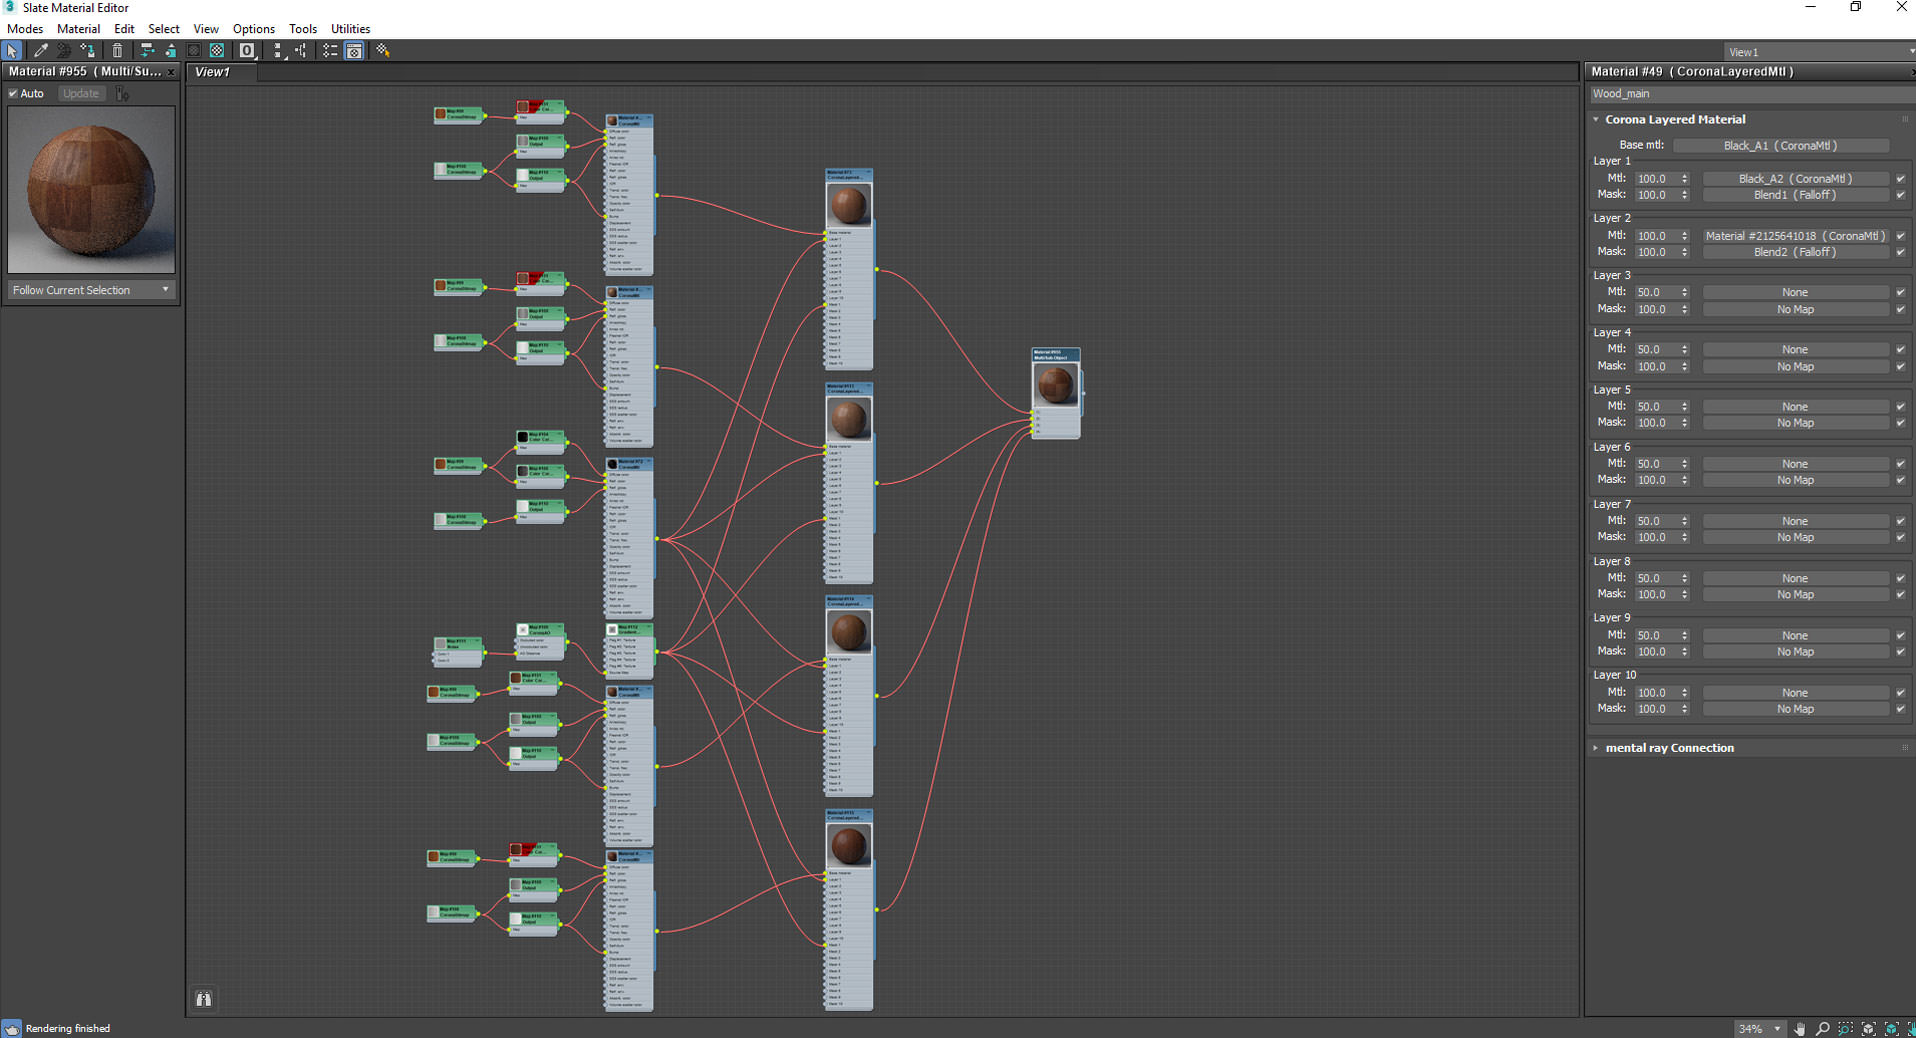
I spent a lot of time on this process to make the realistic materials. Here are some images of the main materials.
Plastic PVC
Wood
Lighting & Camera
Lighting is one of the most important things to make rendering images look realistic; it has a direct impact on the viewers by creating feelings and making some attractions in the images.
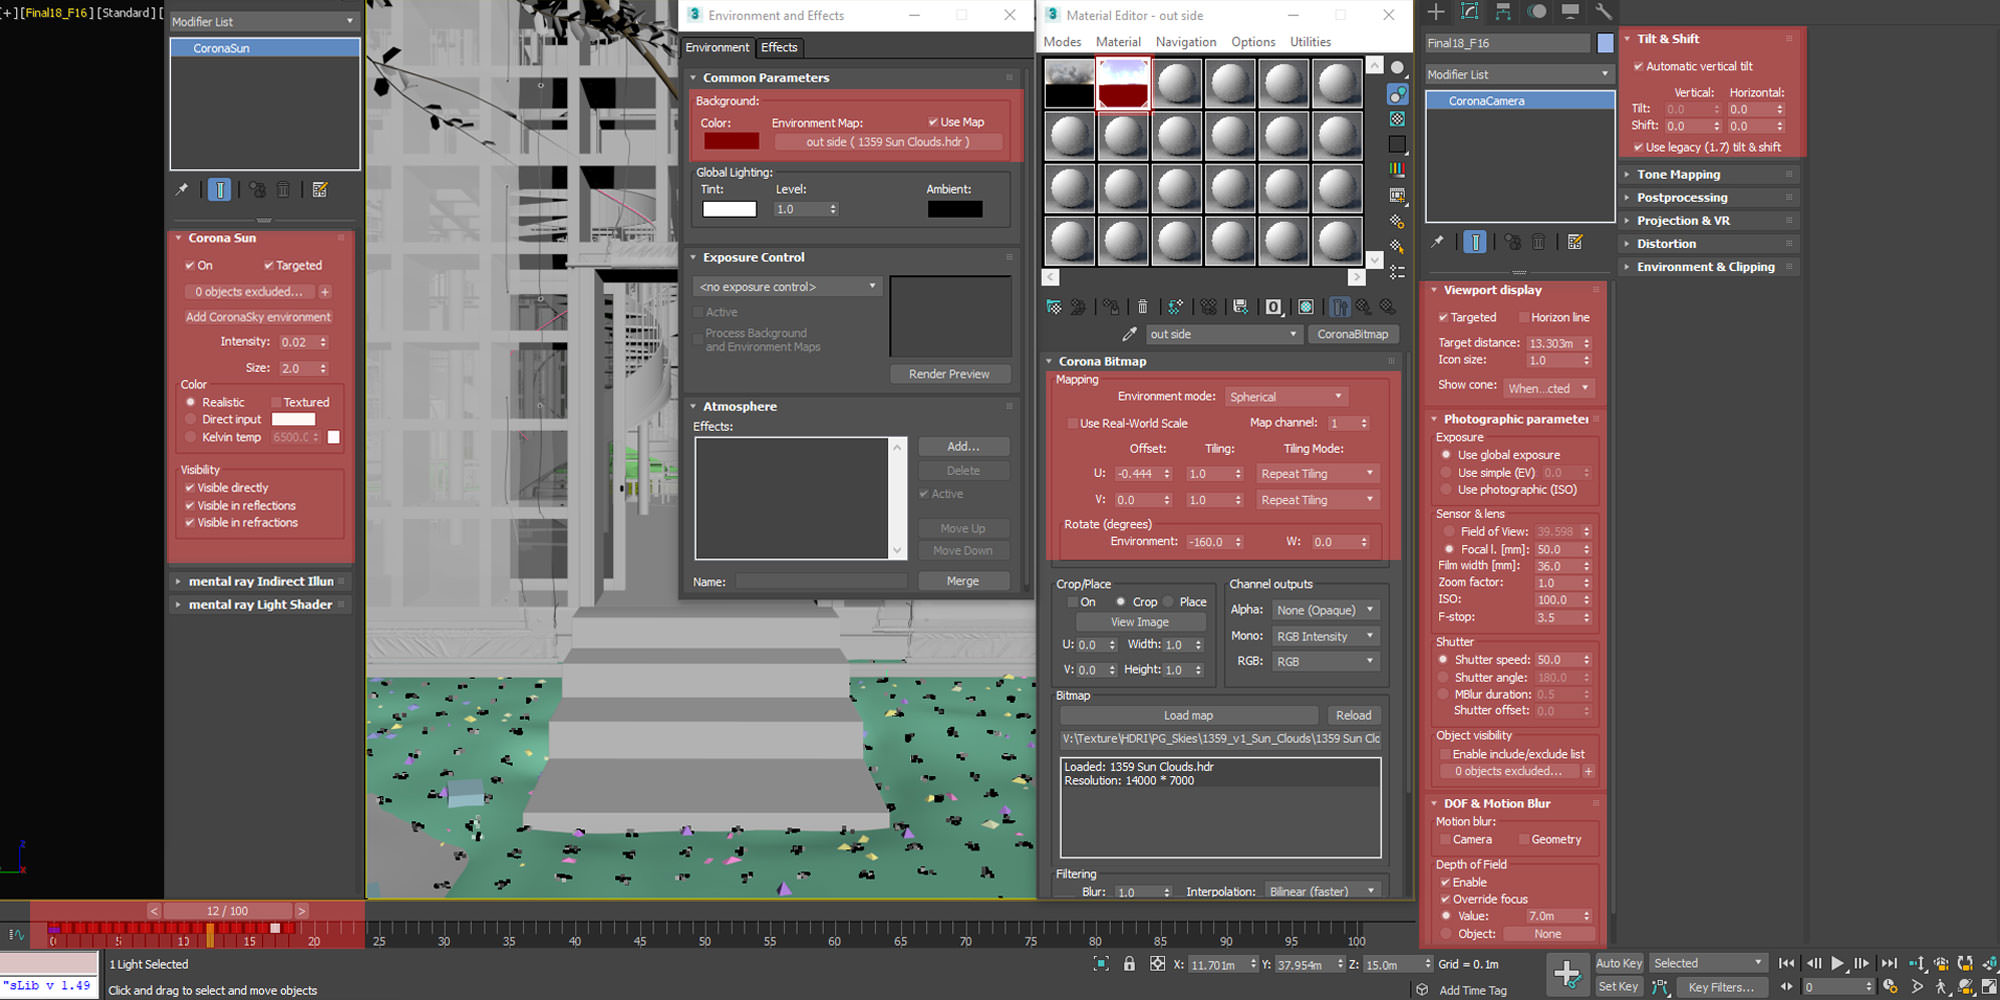
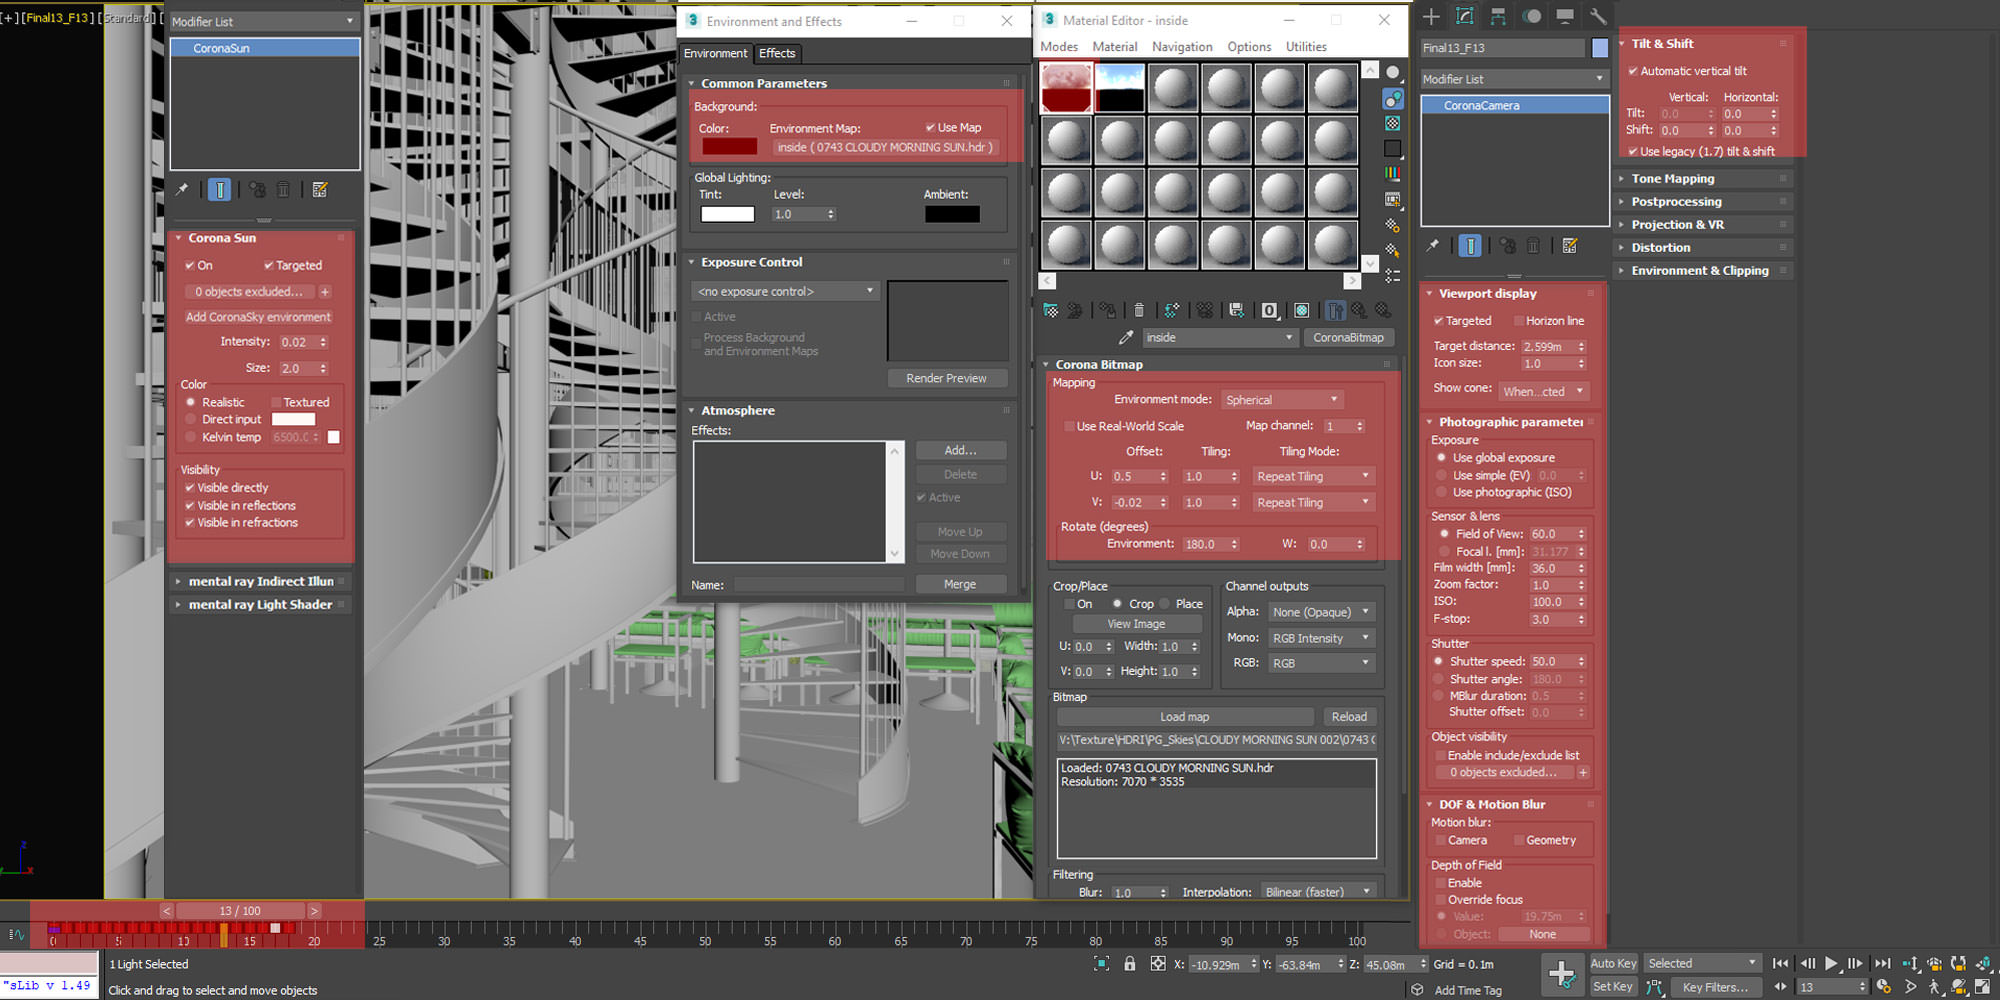
I simply used the HDRI from PGSKIES to make the overall atmosphere.
HDRI for the exterior scene
HDRI For the interior scene
Since there are so many cameras in this project, since I wanted to have different sun direction for each angle, I animated the position of CoronaSun in each frame for each camera to make my life easier.
please see images below…
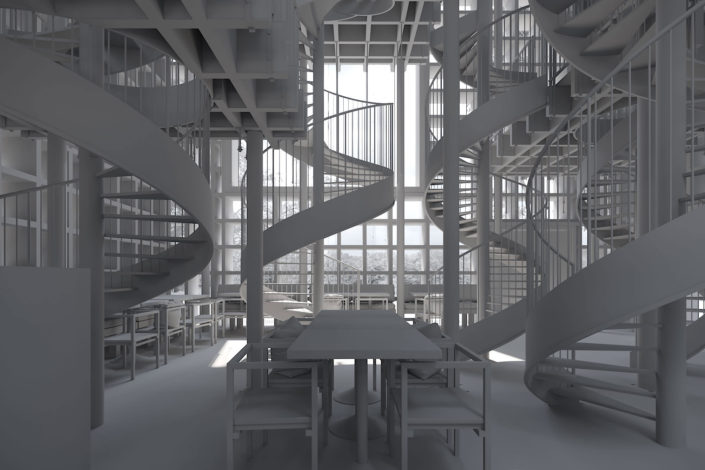
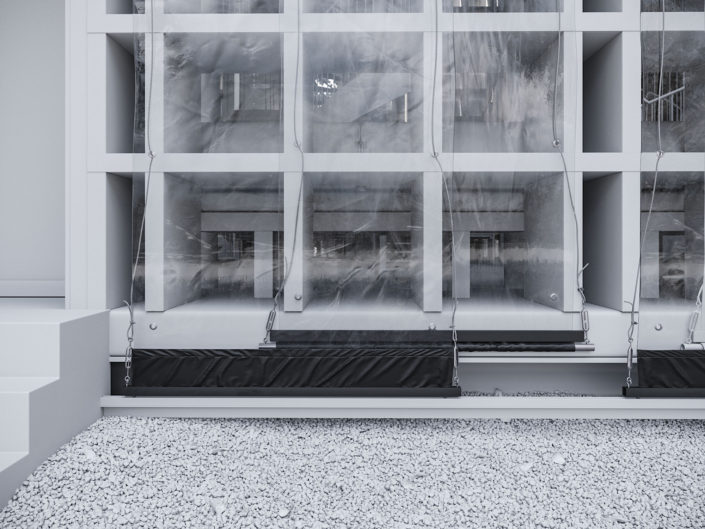
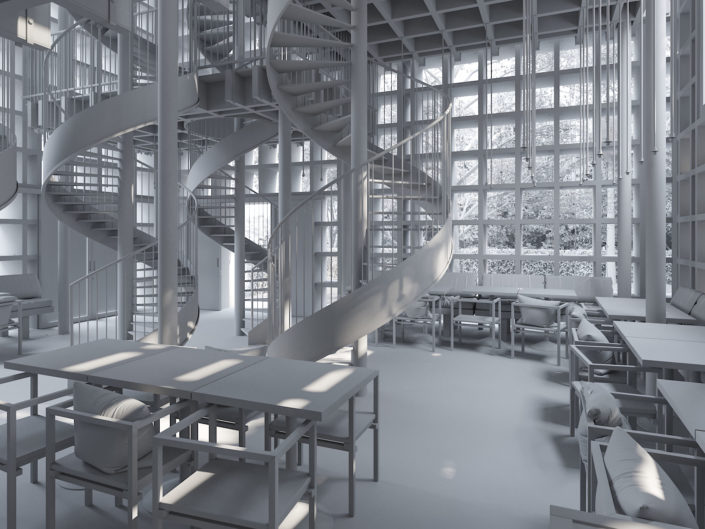
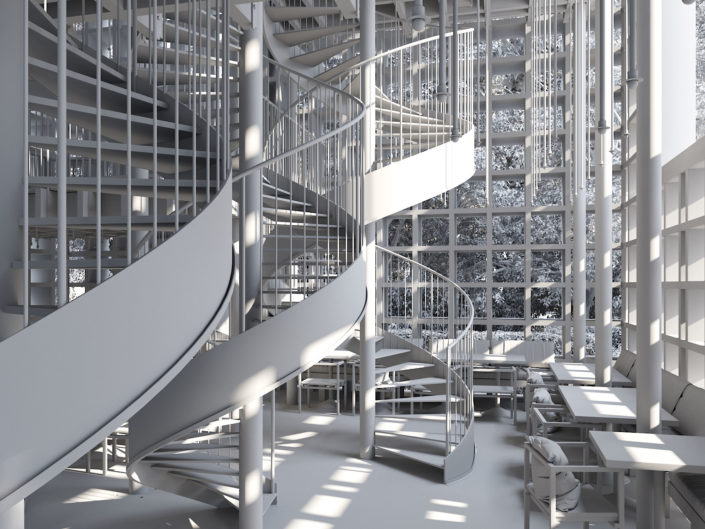
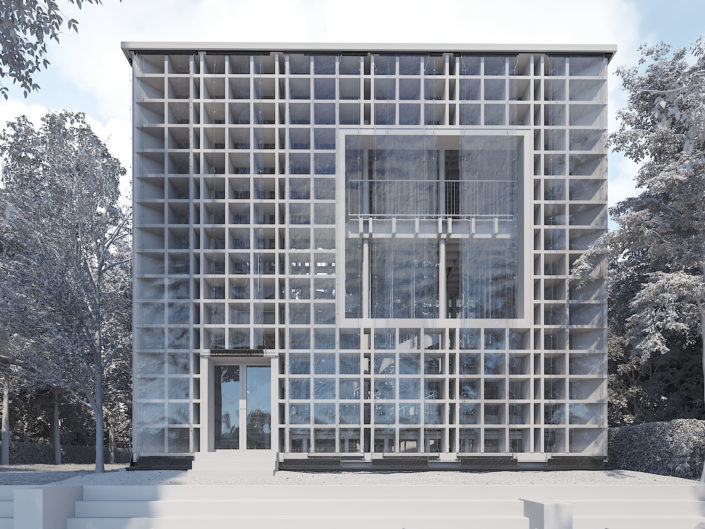
Here are the results of different sun directions in the grey model.
Rendering
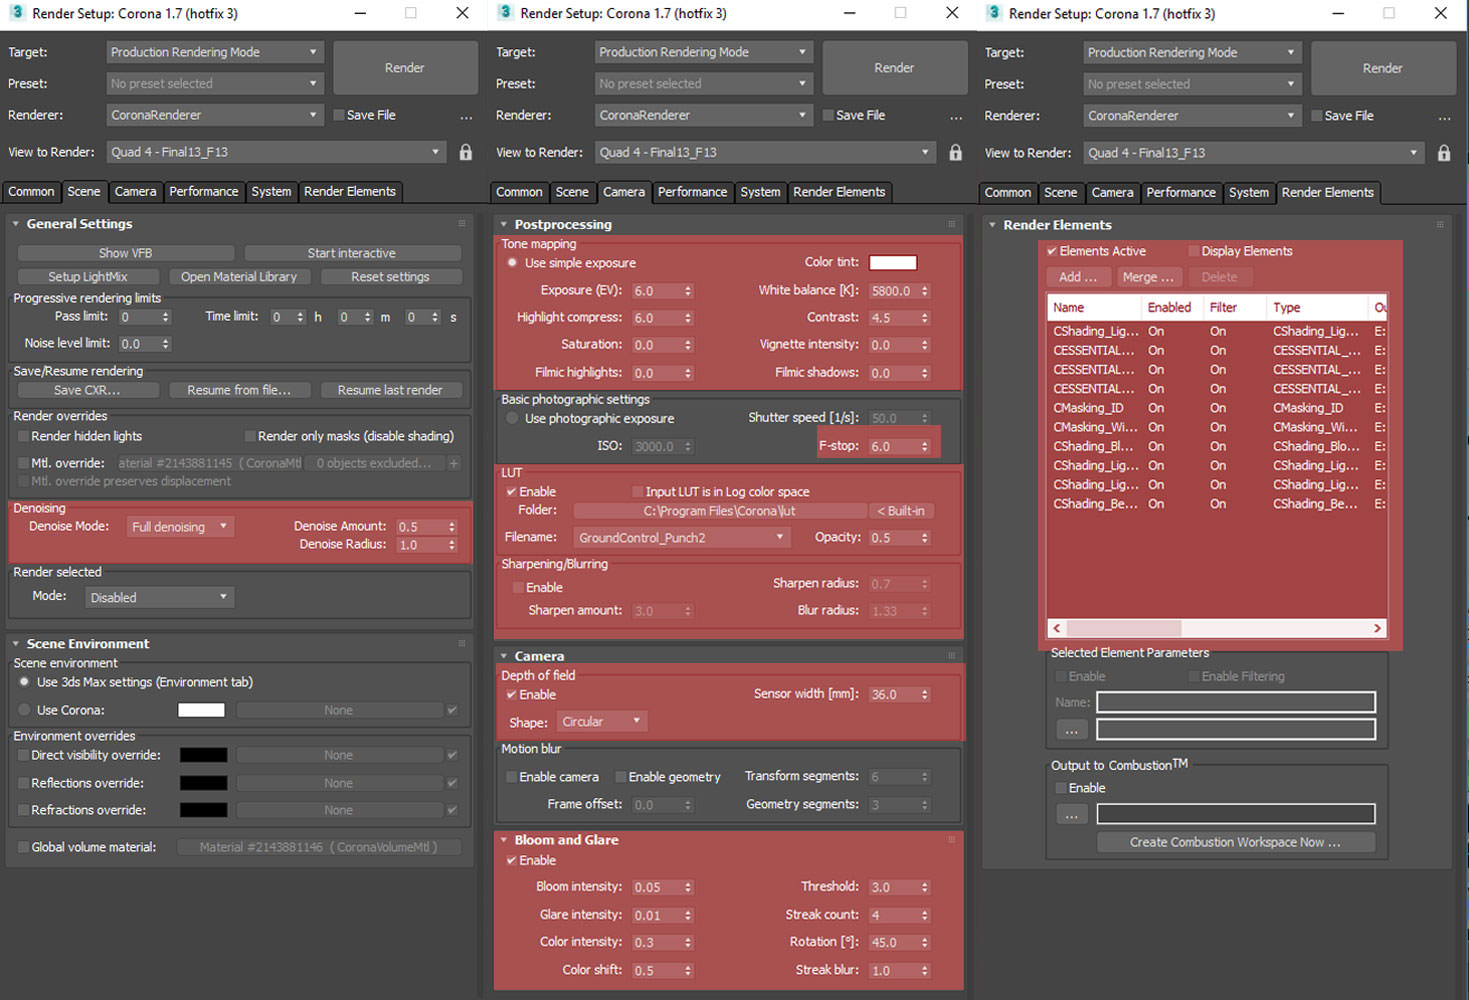
I used Corona Render for this project because It’s straightforward to use, flexible to adjustable. It delivers fast rendering with great result!
Below are the two settings I used.
Post Production
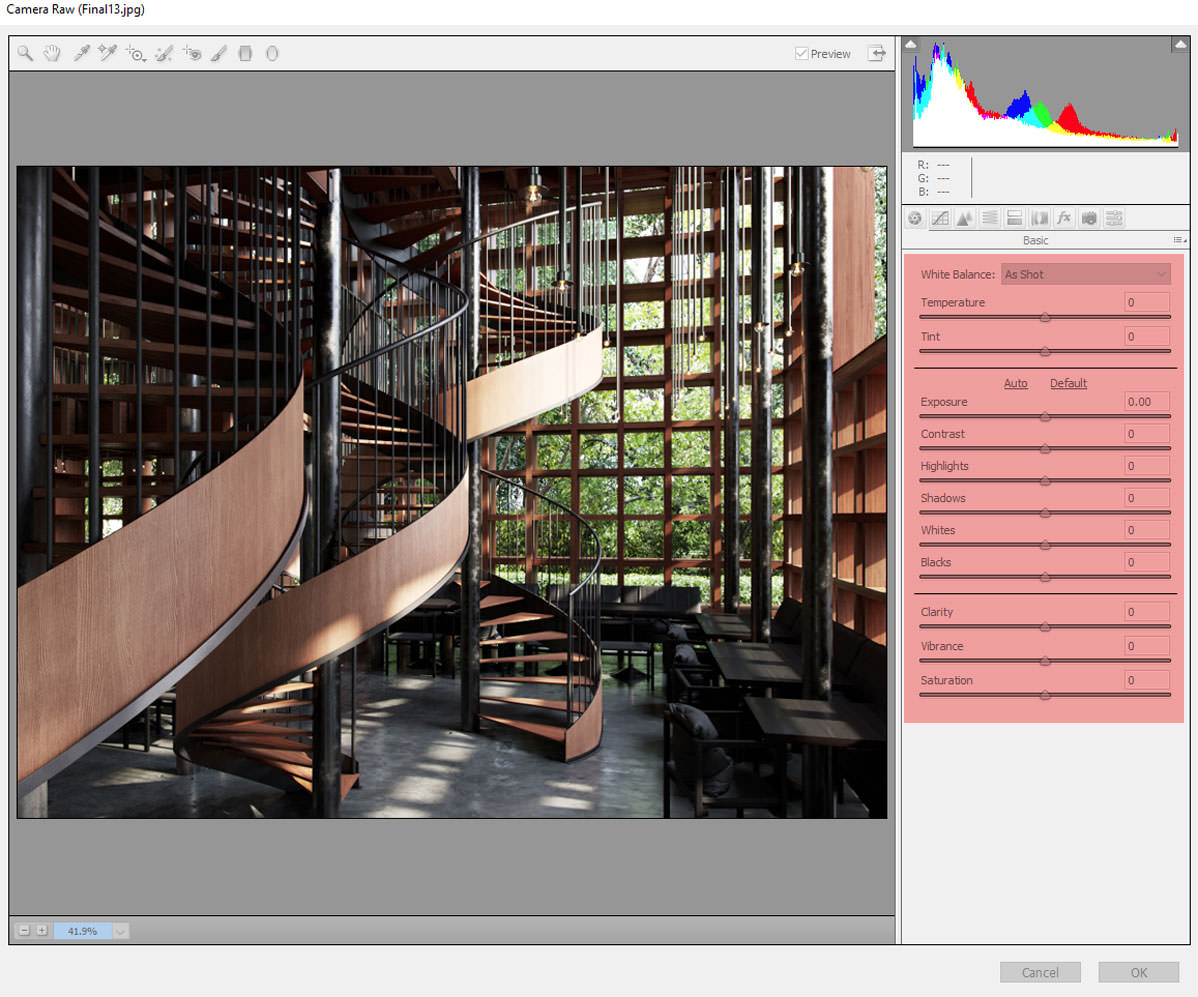
There is nothing special about Post Production. I used Camera Raw Filter to correct some colors and adjusted brightness and contrast to make the images a bit more interesting.
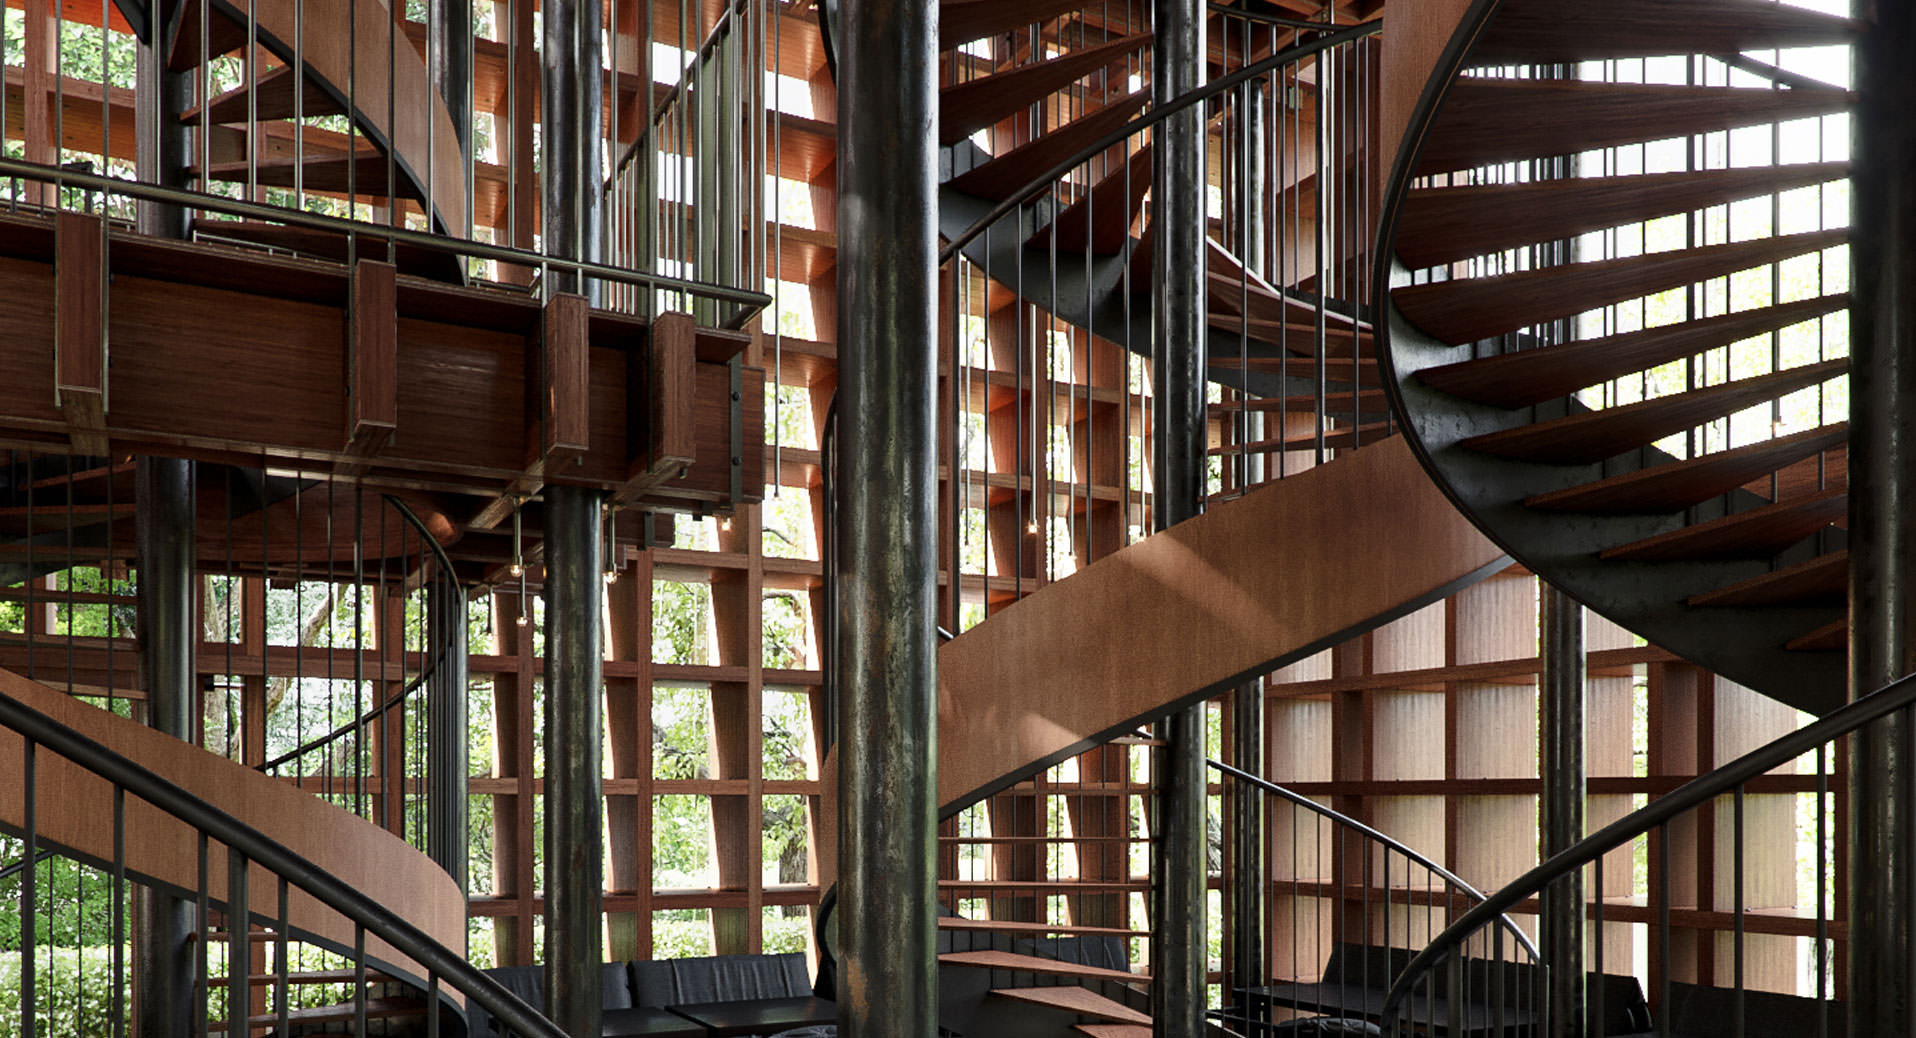
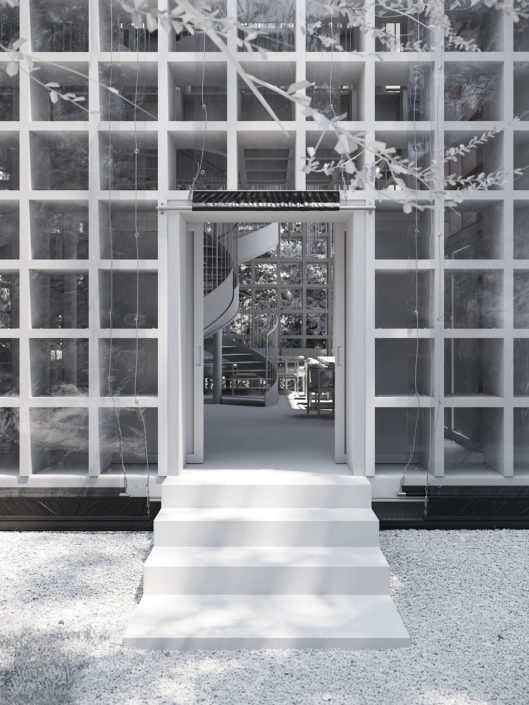
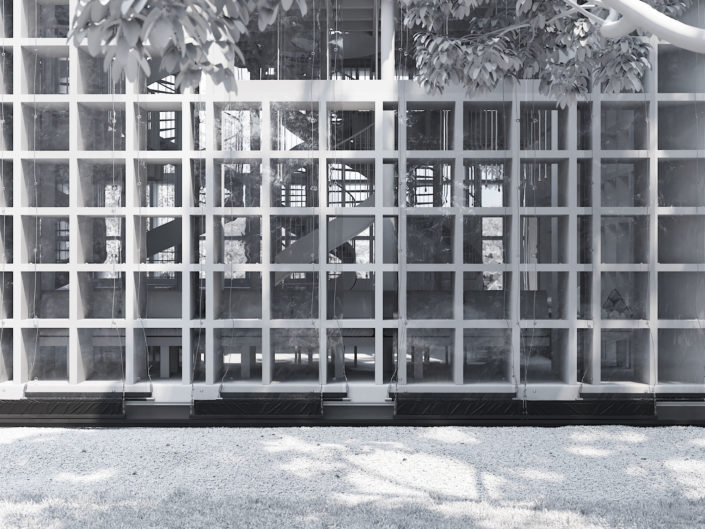
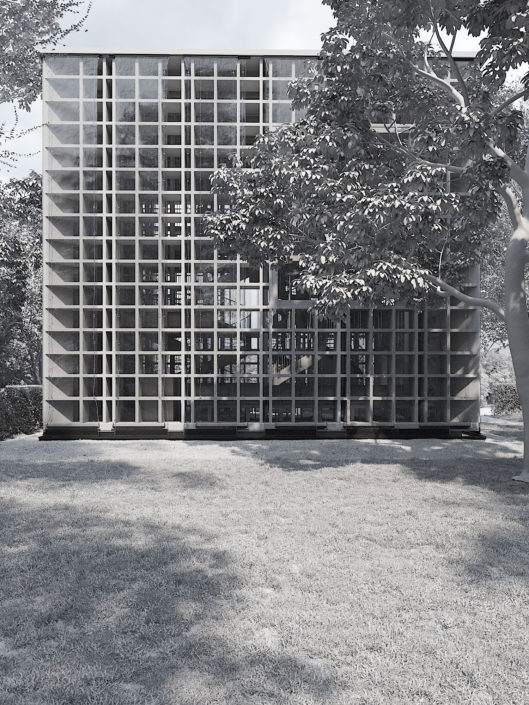
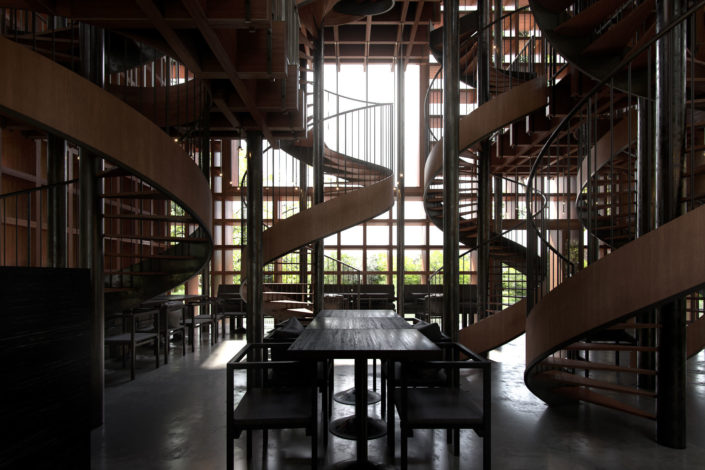
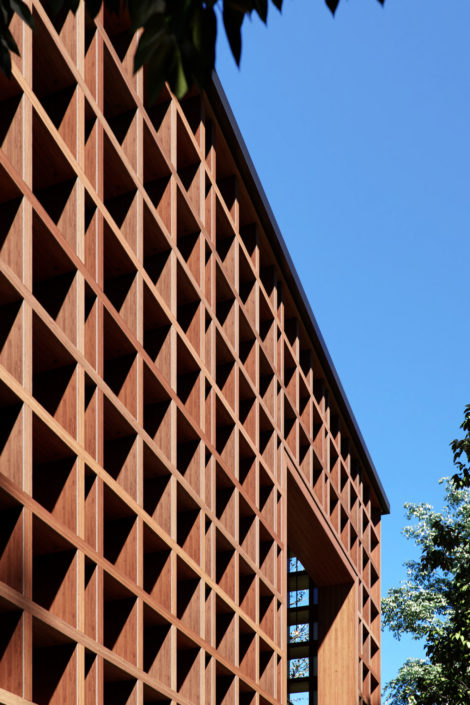
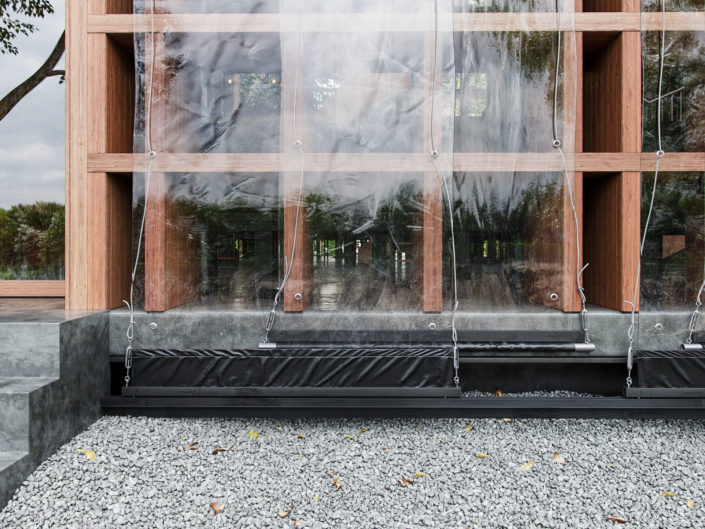
Final Renders
Thank you for your attention. I hope this making of will help you, even if it’s just a little.
Wittaya Wangpuk


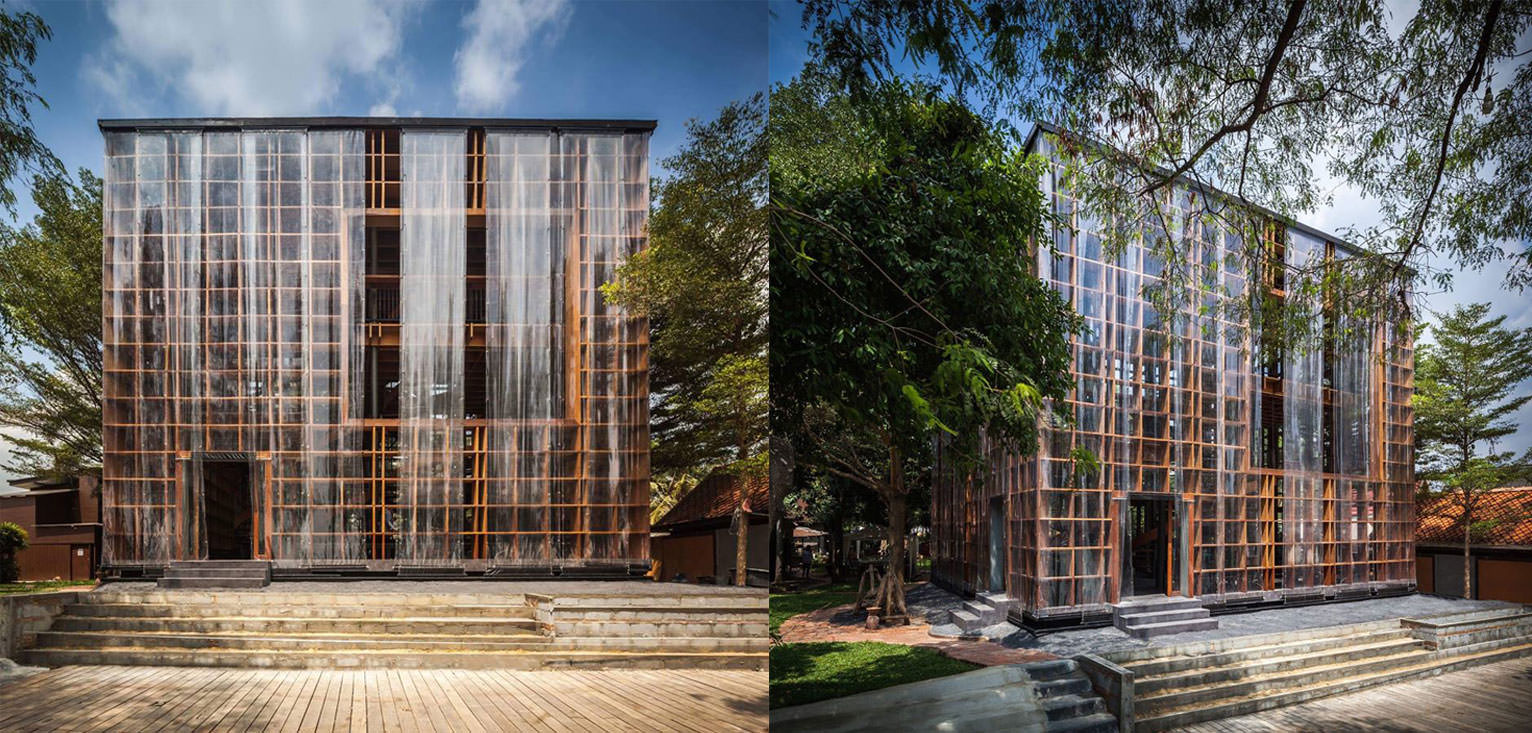
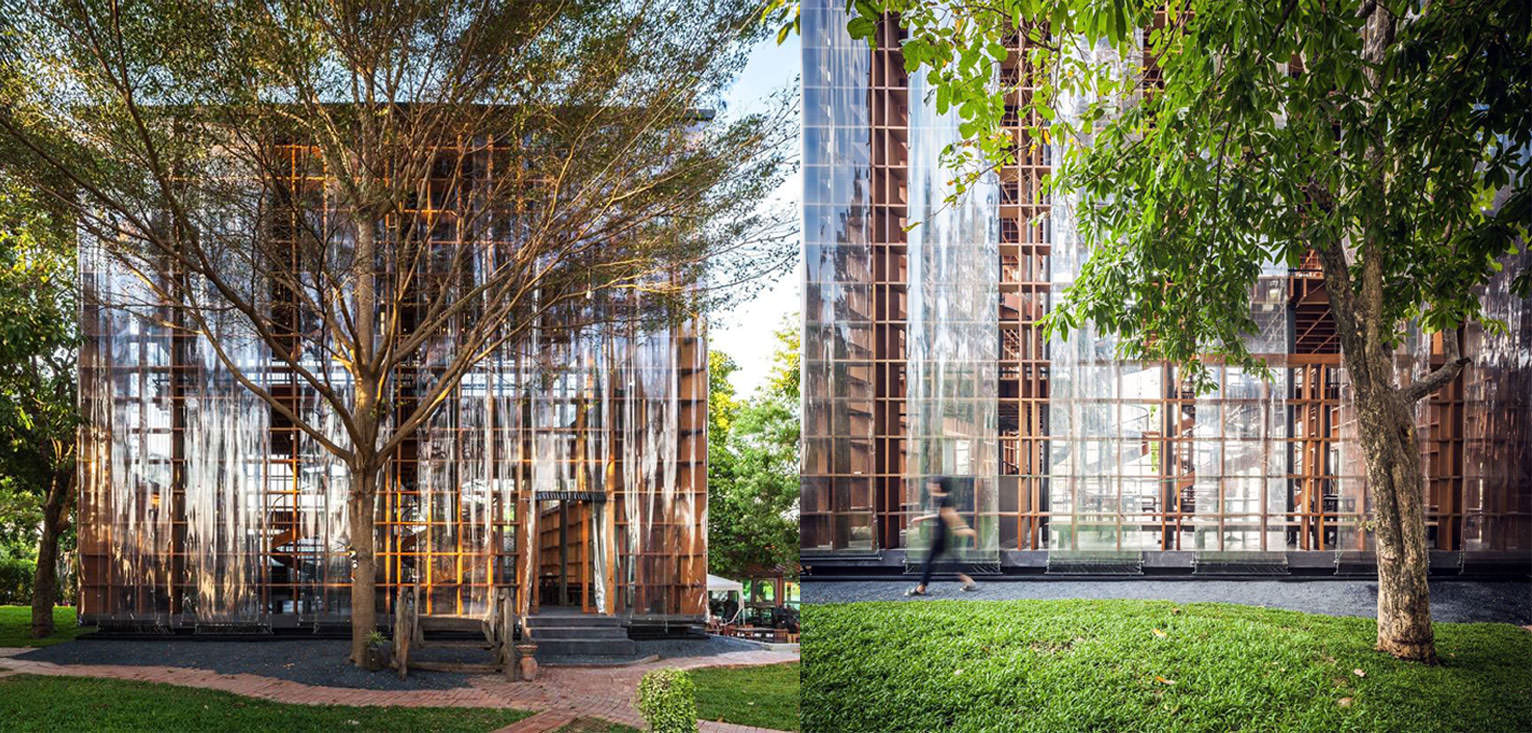
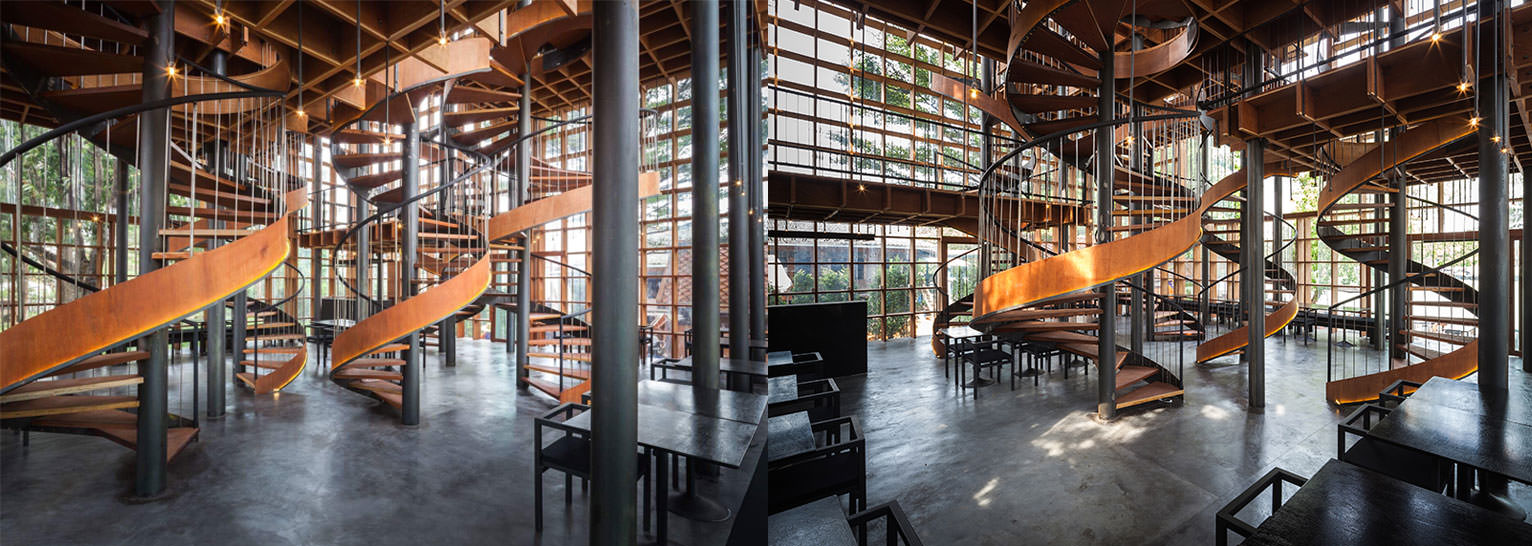



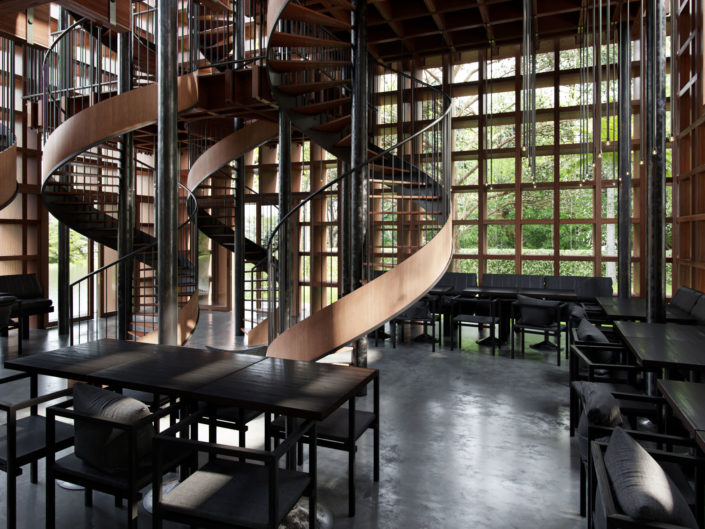
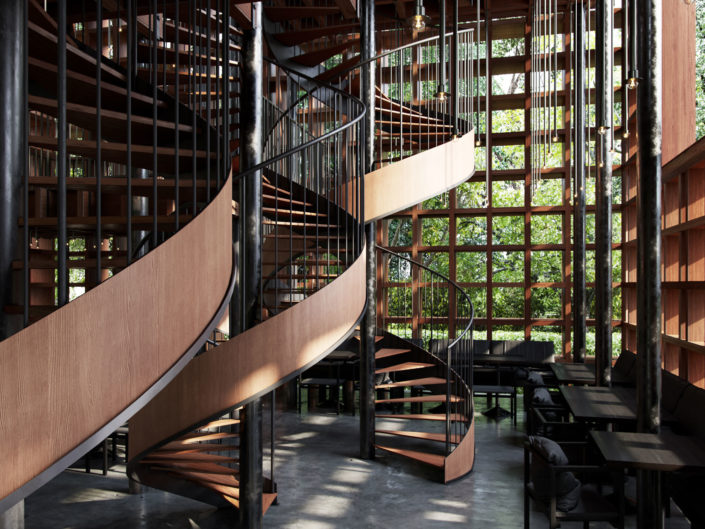
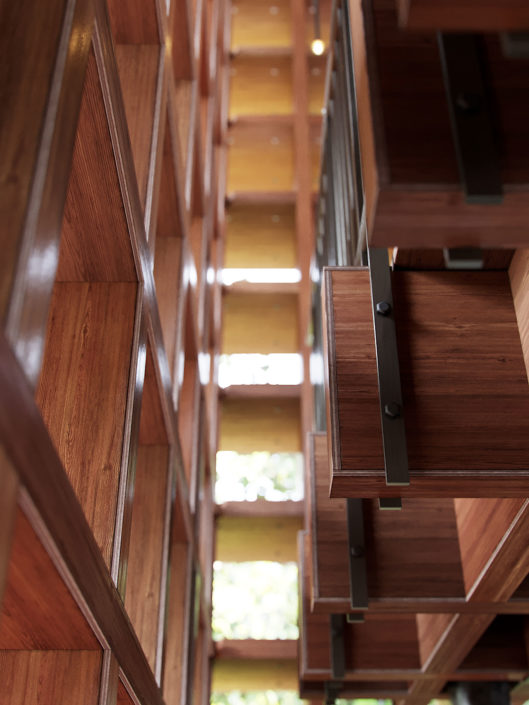
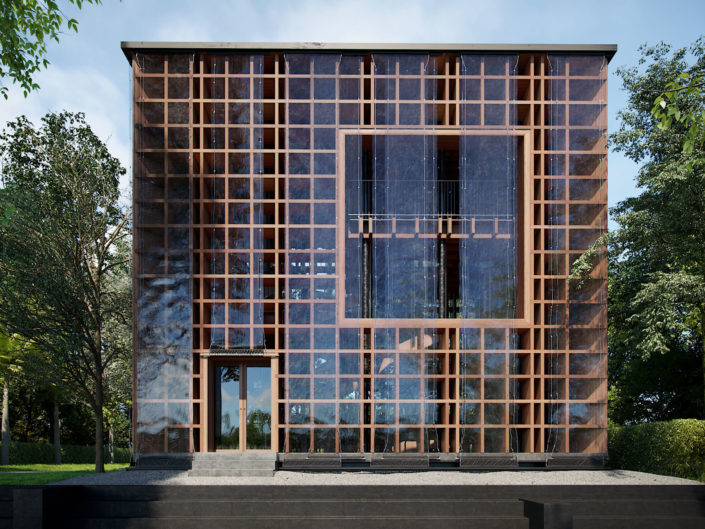
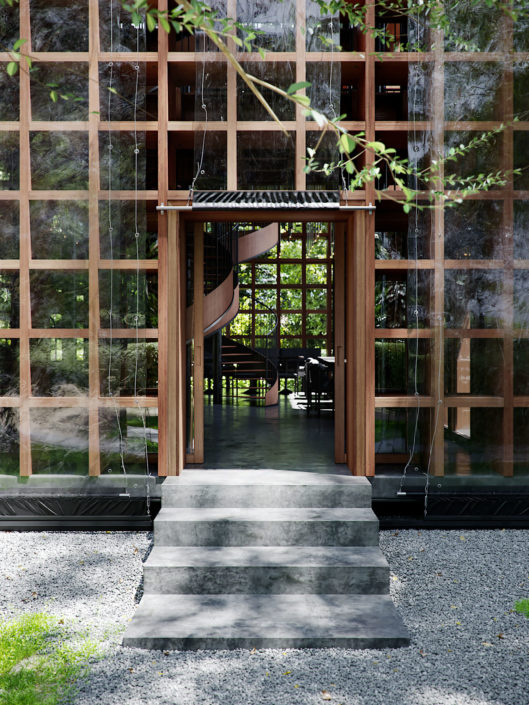
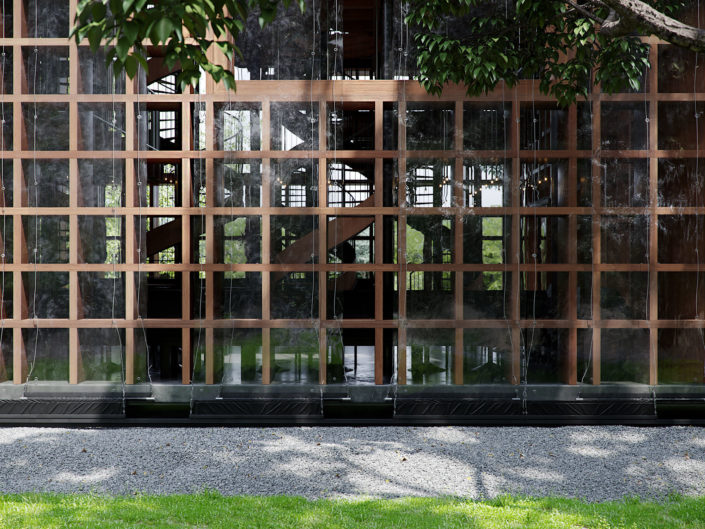
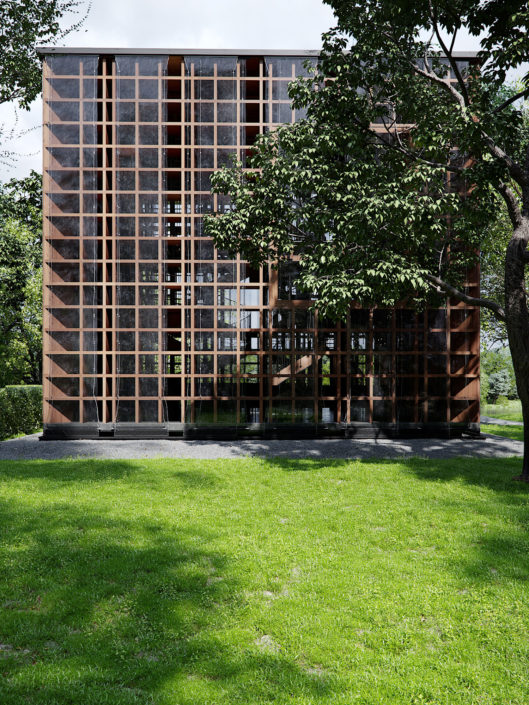


You did a great job capturing the detail on the PVC sheets, and all the hardware, The only thing i might like to see is a more interesting composition, maybe give it a little bit more of dinamyc range on the interior shoots, but thats an easy fix, you already did all the heavy stuff!!
Amazing job!!
Incredible job !!!
Amazing job!!
Great !
Amazing
Insane! That PVC detail is just amazing.