Making of Scandinavian Summer House
Earlier this month, 3Dstudija studio posted their “Scandinavian Summer House” visuals on the forums and these immediately captured my attention. I’m not that familiar with the Scandinavian “Look & Feel”, but it sure reminded me of my Mediterranean local with a “Drop Dead Gorgeous” 3d Groundwork – Some of the best I’ve seen to date! I had a chat with the Maciulis Brothers, Matas & Antanas about this project and this article was born. Enjoy it.
Author: Matas & Antanas Maciulis / 3dstudija
3Dstudija is a small team of two brothers – Matas Maciulis and Antanas Maciulis. Based in Vilnius, Lithuania, they have worked in the architectural visualization industry for seven years. Matas is an interior designer and 3d visualizer while his brother, Antanas is an architect and construction engineer. They are working as freelancers with local and foreign clients.
Introduction
Hello!
First of all, we are very honored that our work attracted Ronens attention and we are pleased to present our project and the making of it here. We also like to say thank you to all active forum members, whose compliments and comments inspire us to aim at getting even better results.
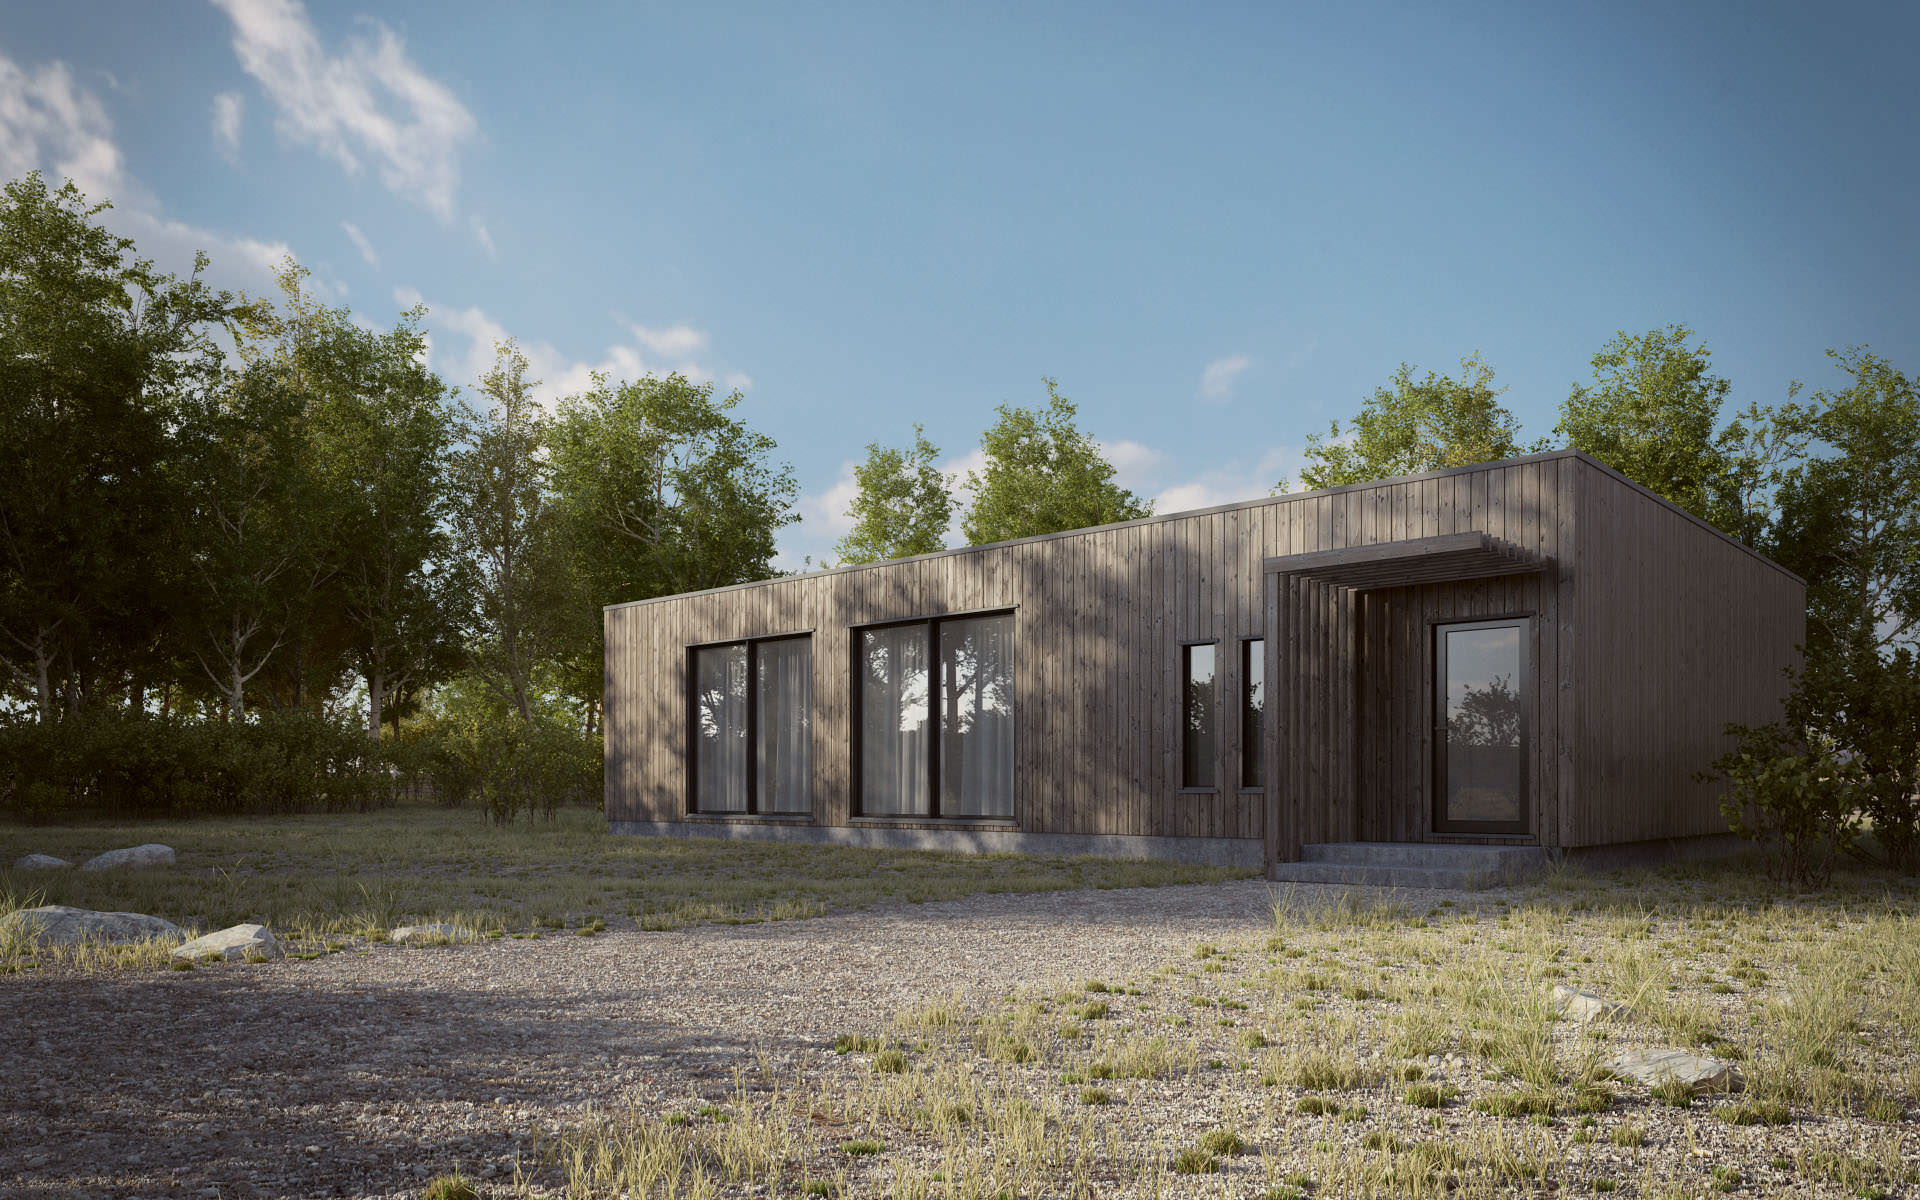
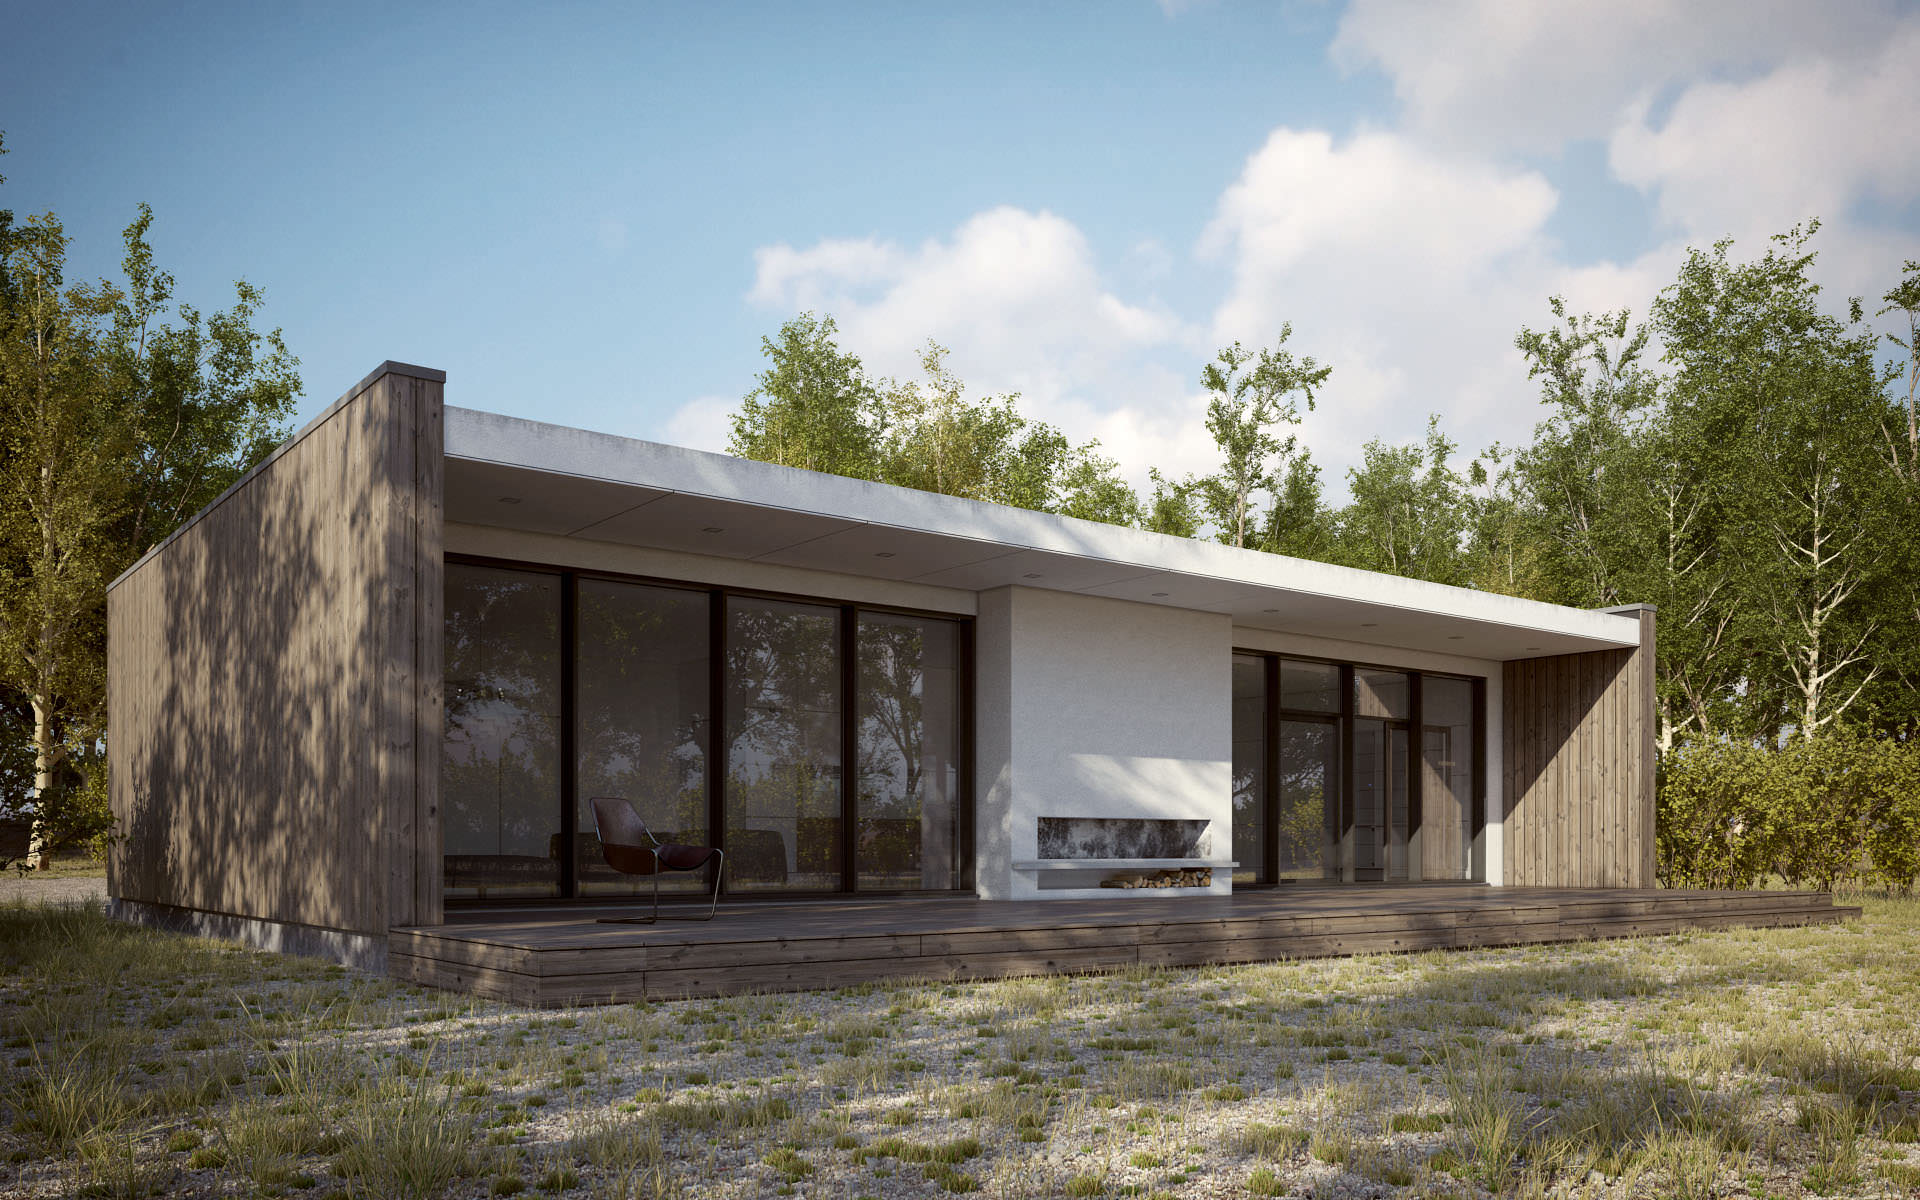
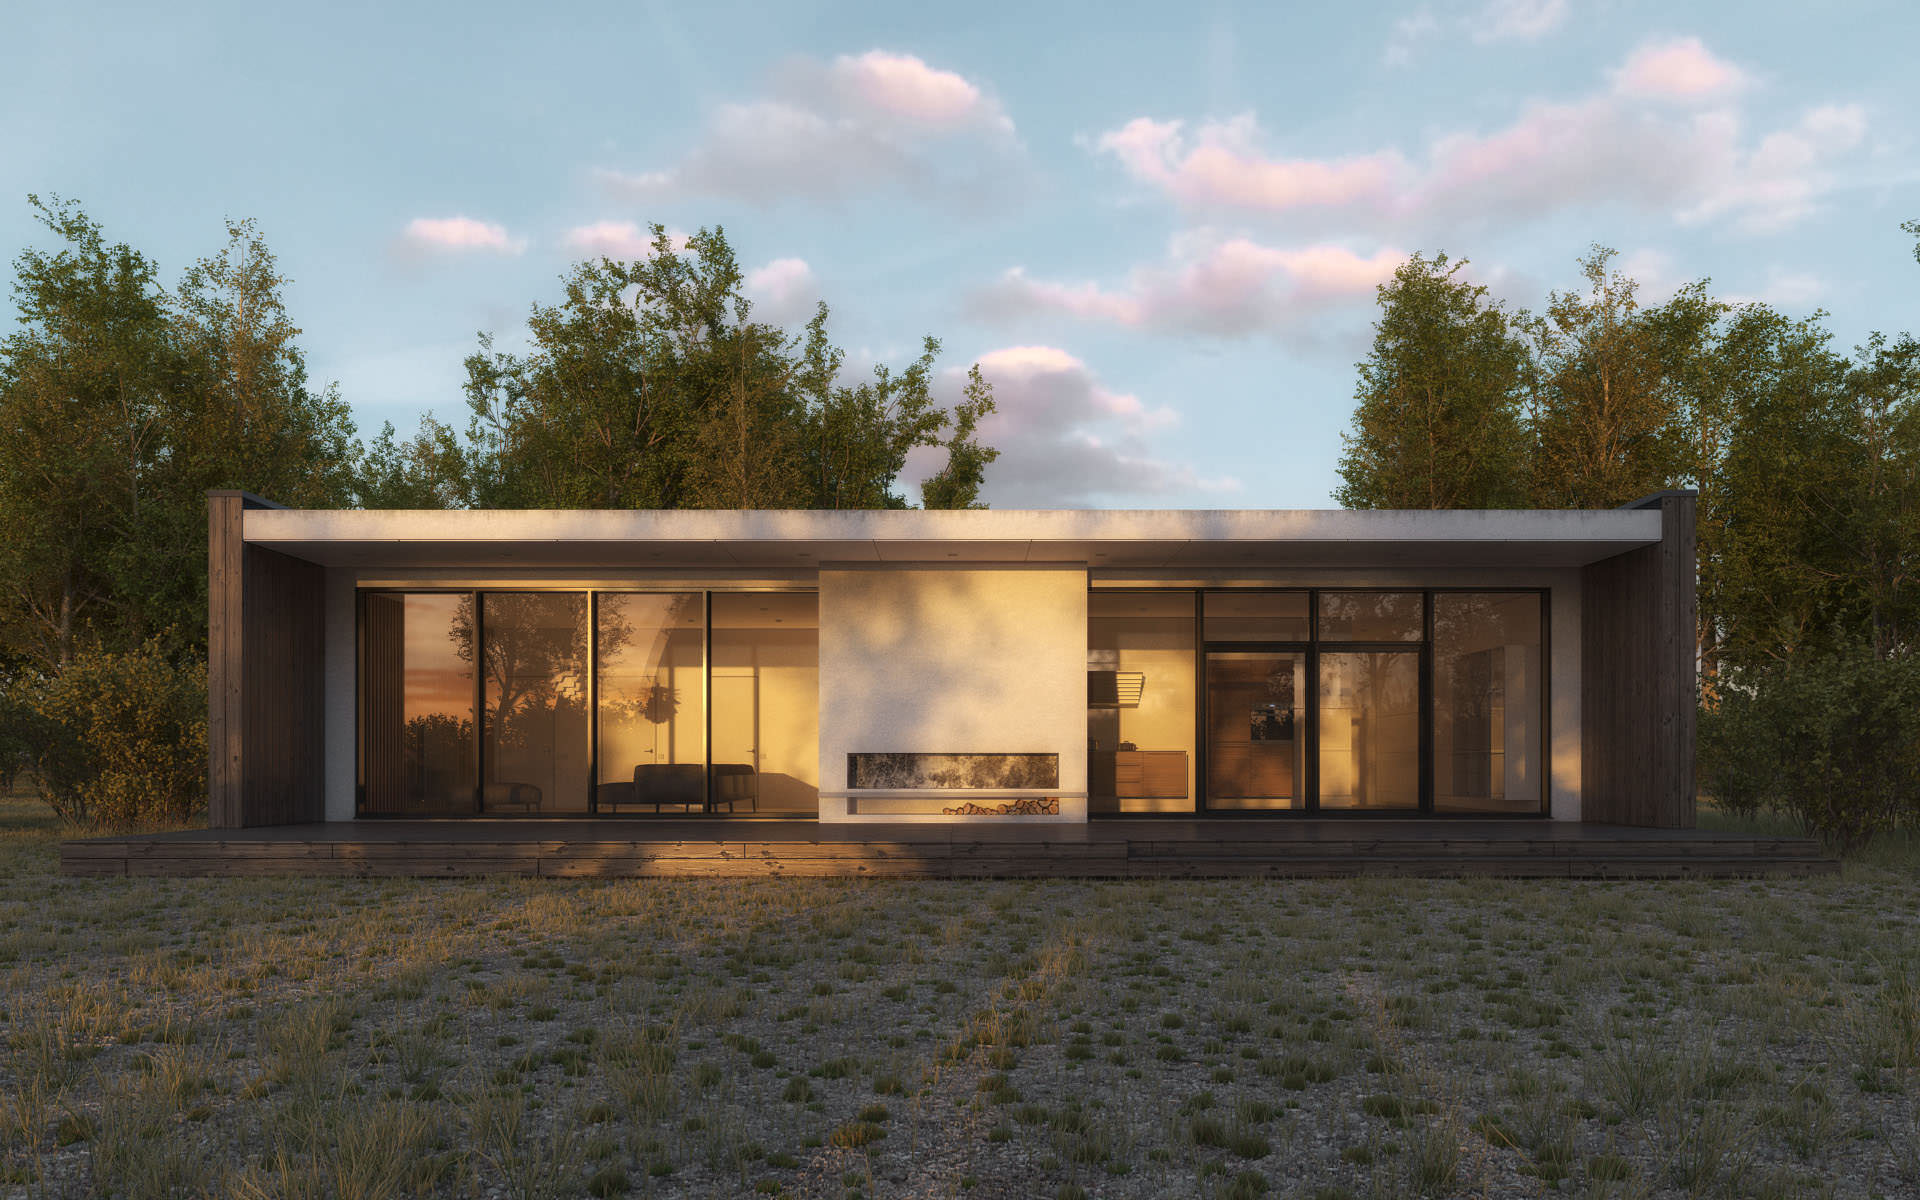
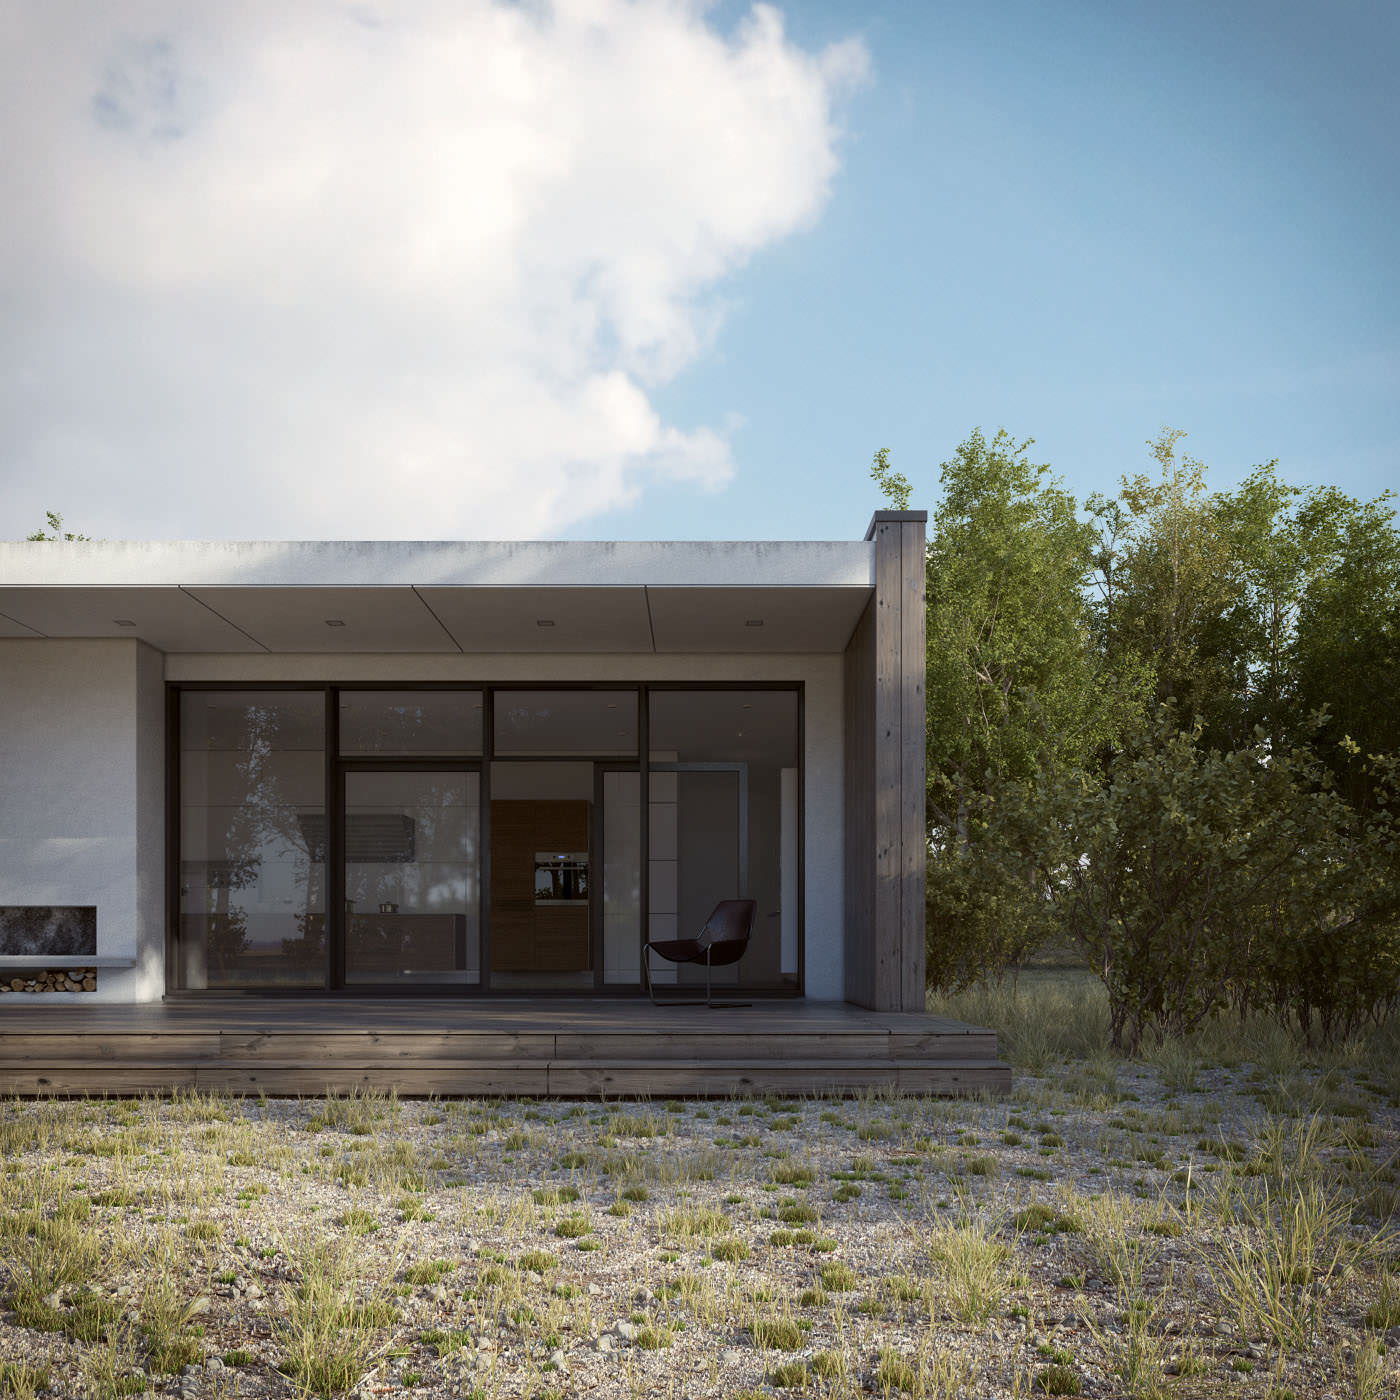
Our latest project is a modern Scandinavian summer-house. The architecture part was developed by Antanas, while I (Matas) worked on the visualization part. So, Id like to tell little a bit more about the methods and techniques used in this project. Here are the 4 images made in the exterior set…
Basic Scene Setup
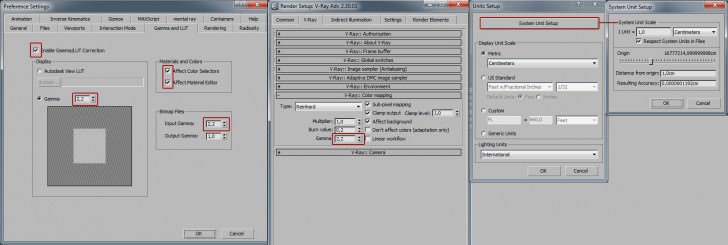
Here are the general scene setup settings…
Exterior
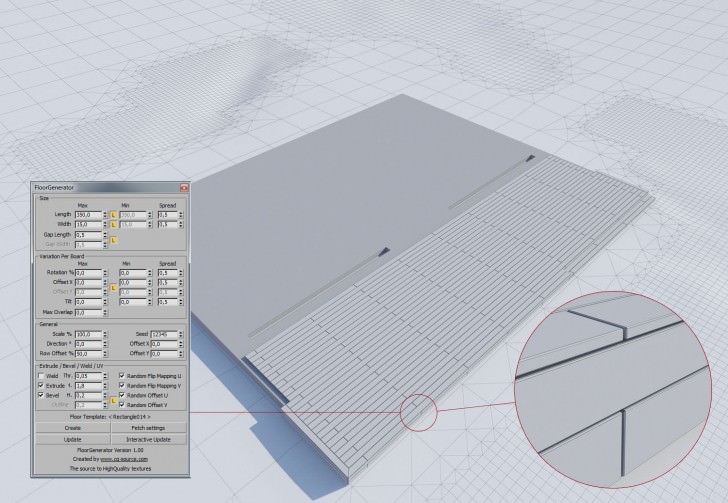
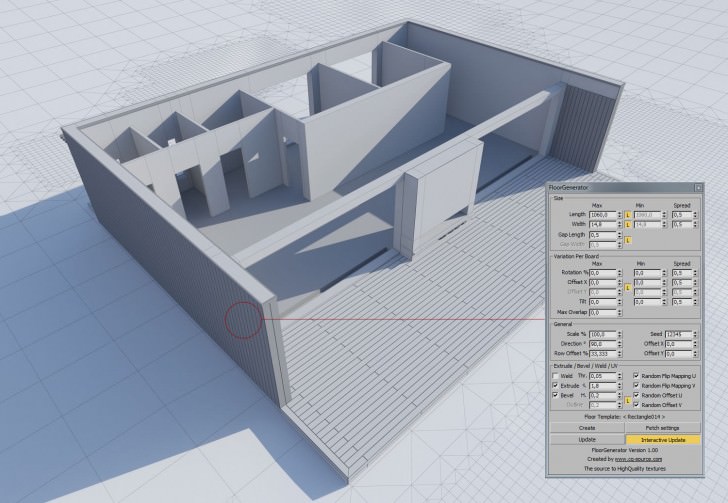
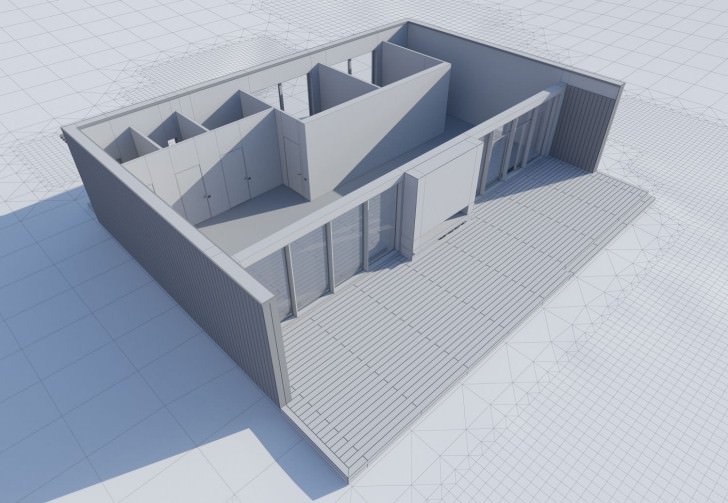
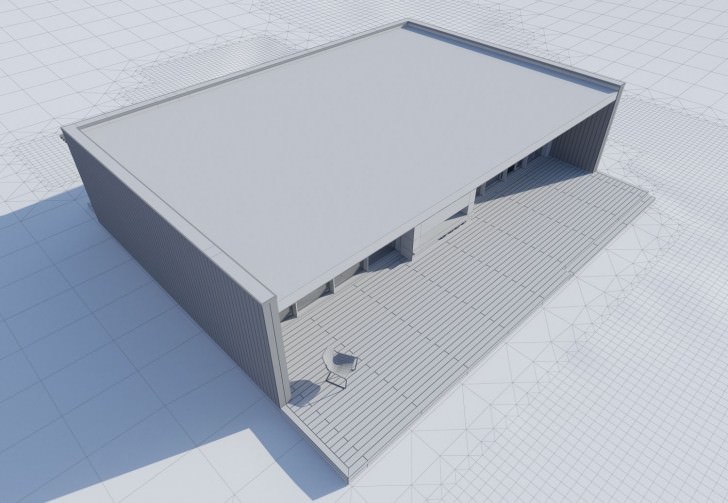
The architecture of this building is inspired by minimalism so the forms are quite simple. The modeling wasn’t anything special… Just simple box poly modeling. The facade and terrace were made with the Floor Generator plug-in, which I found really easy and convenient to use. You should read Bertrand Benoit’s article about Using the Floor Generator Script to know more about it.
Using the Floor Generator Script
In this how-to article Bertrand describes in detail the way he uses the Floor Generator Script using the GH House model as an example. Check Bertrands full GH House making of article for more information about his work.
Interior
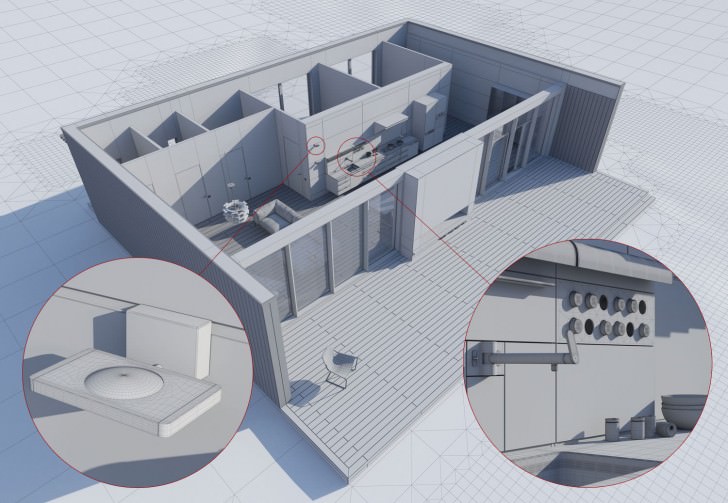
The second stage was modeling an interior.
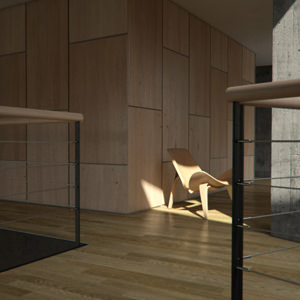
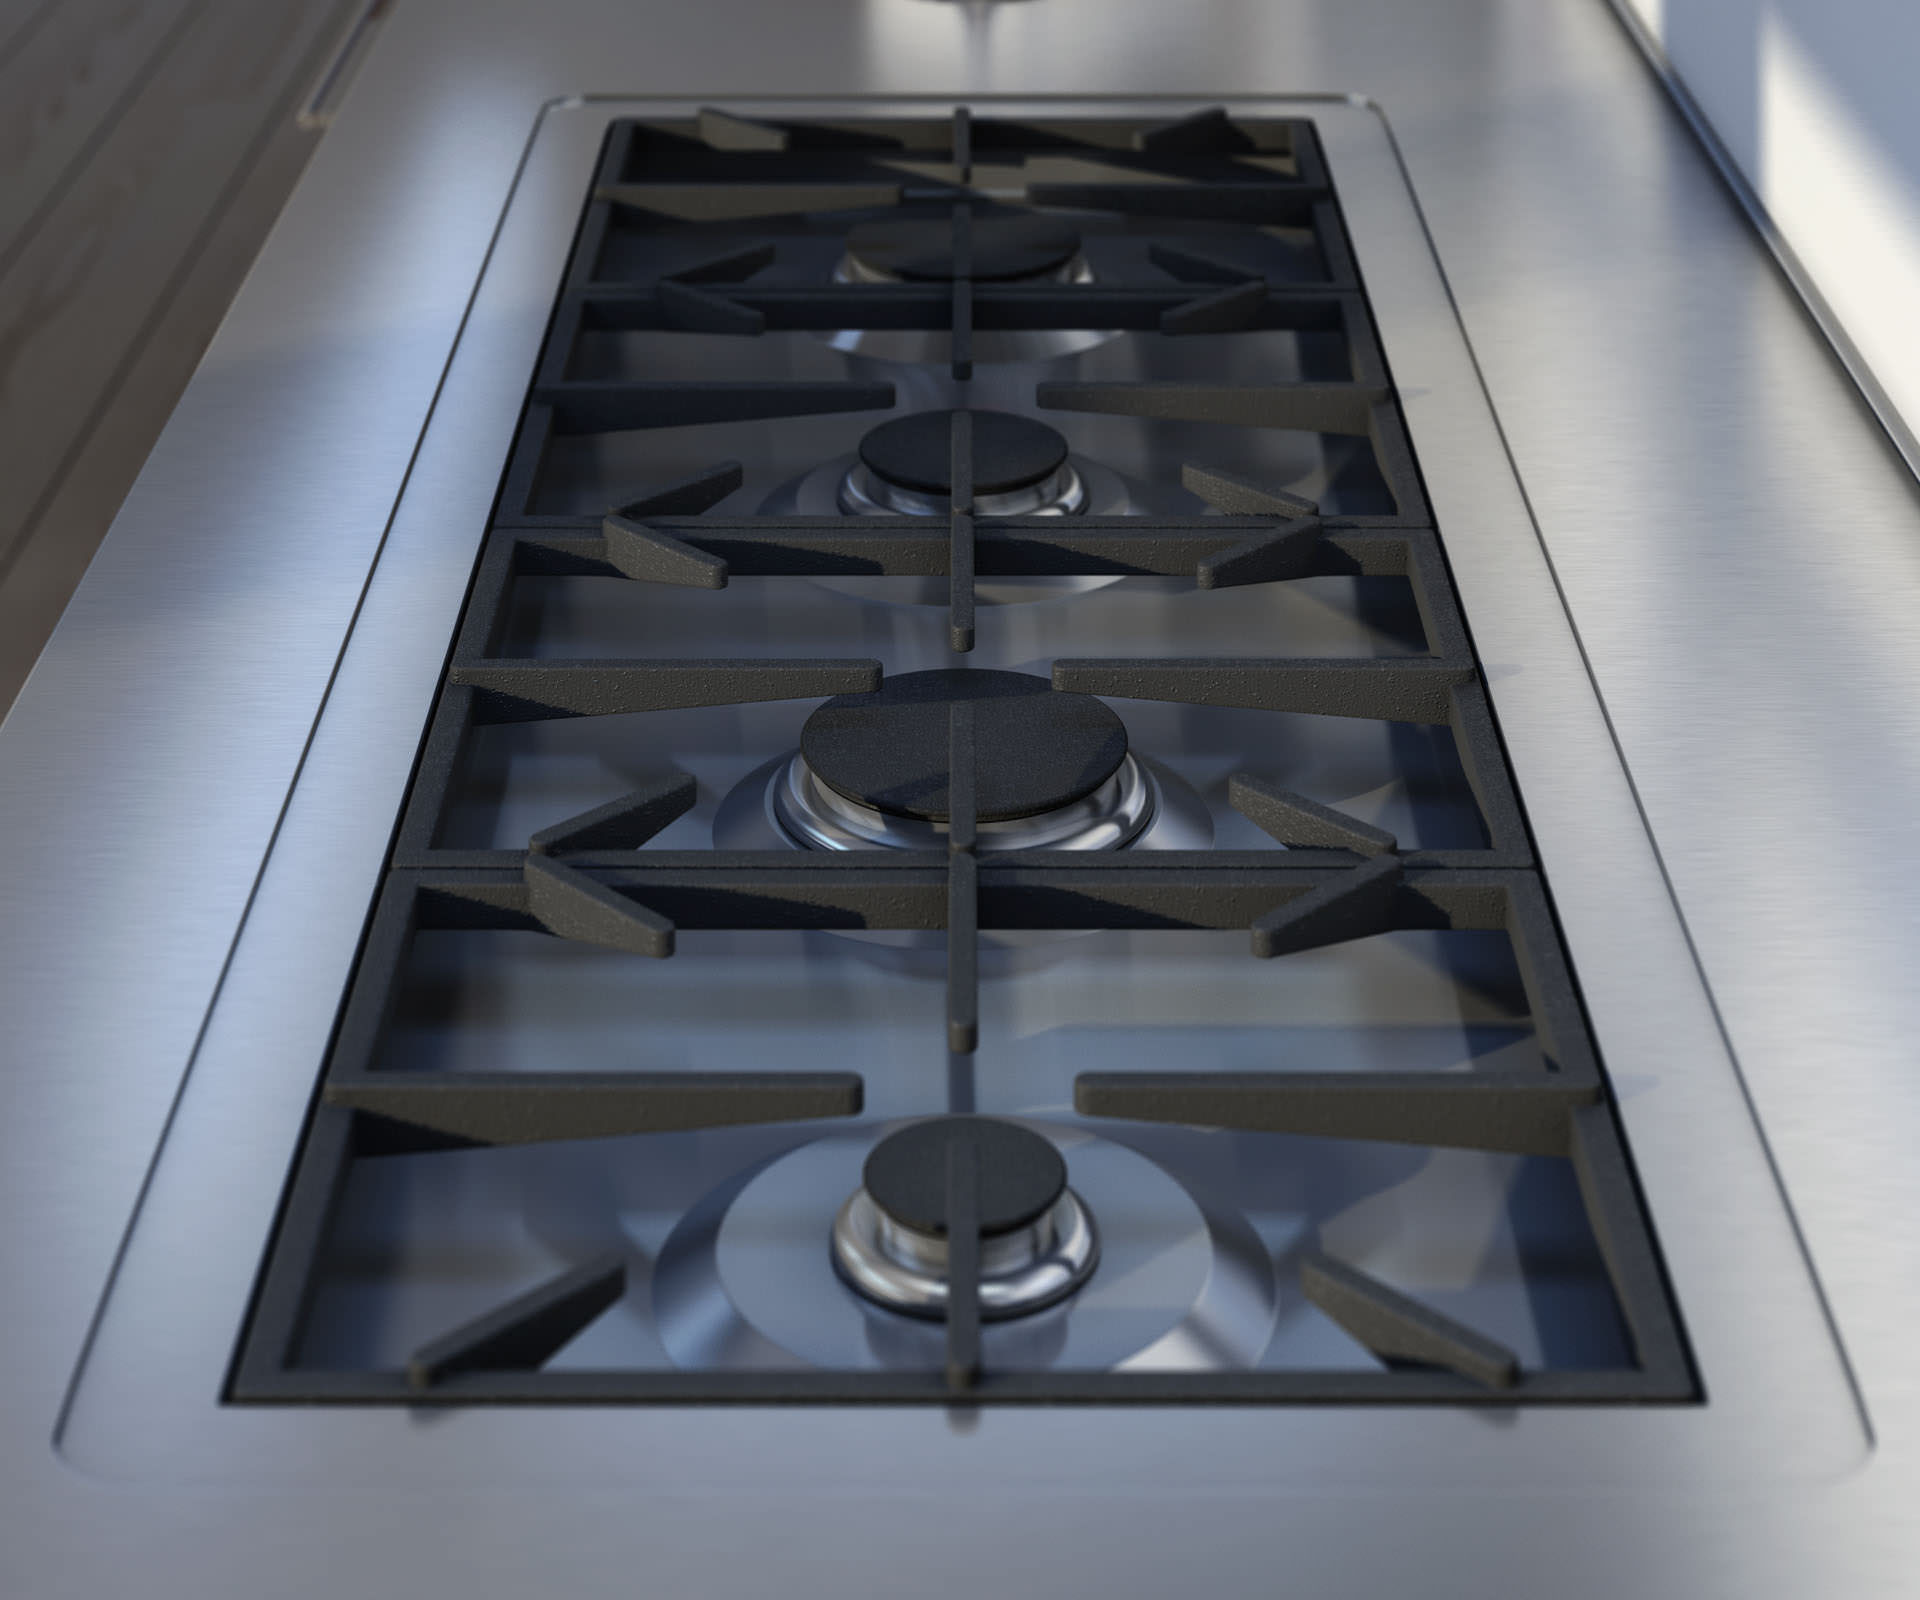
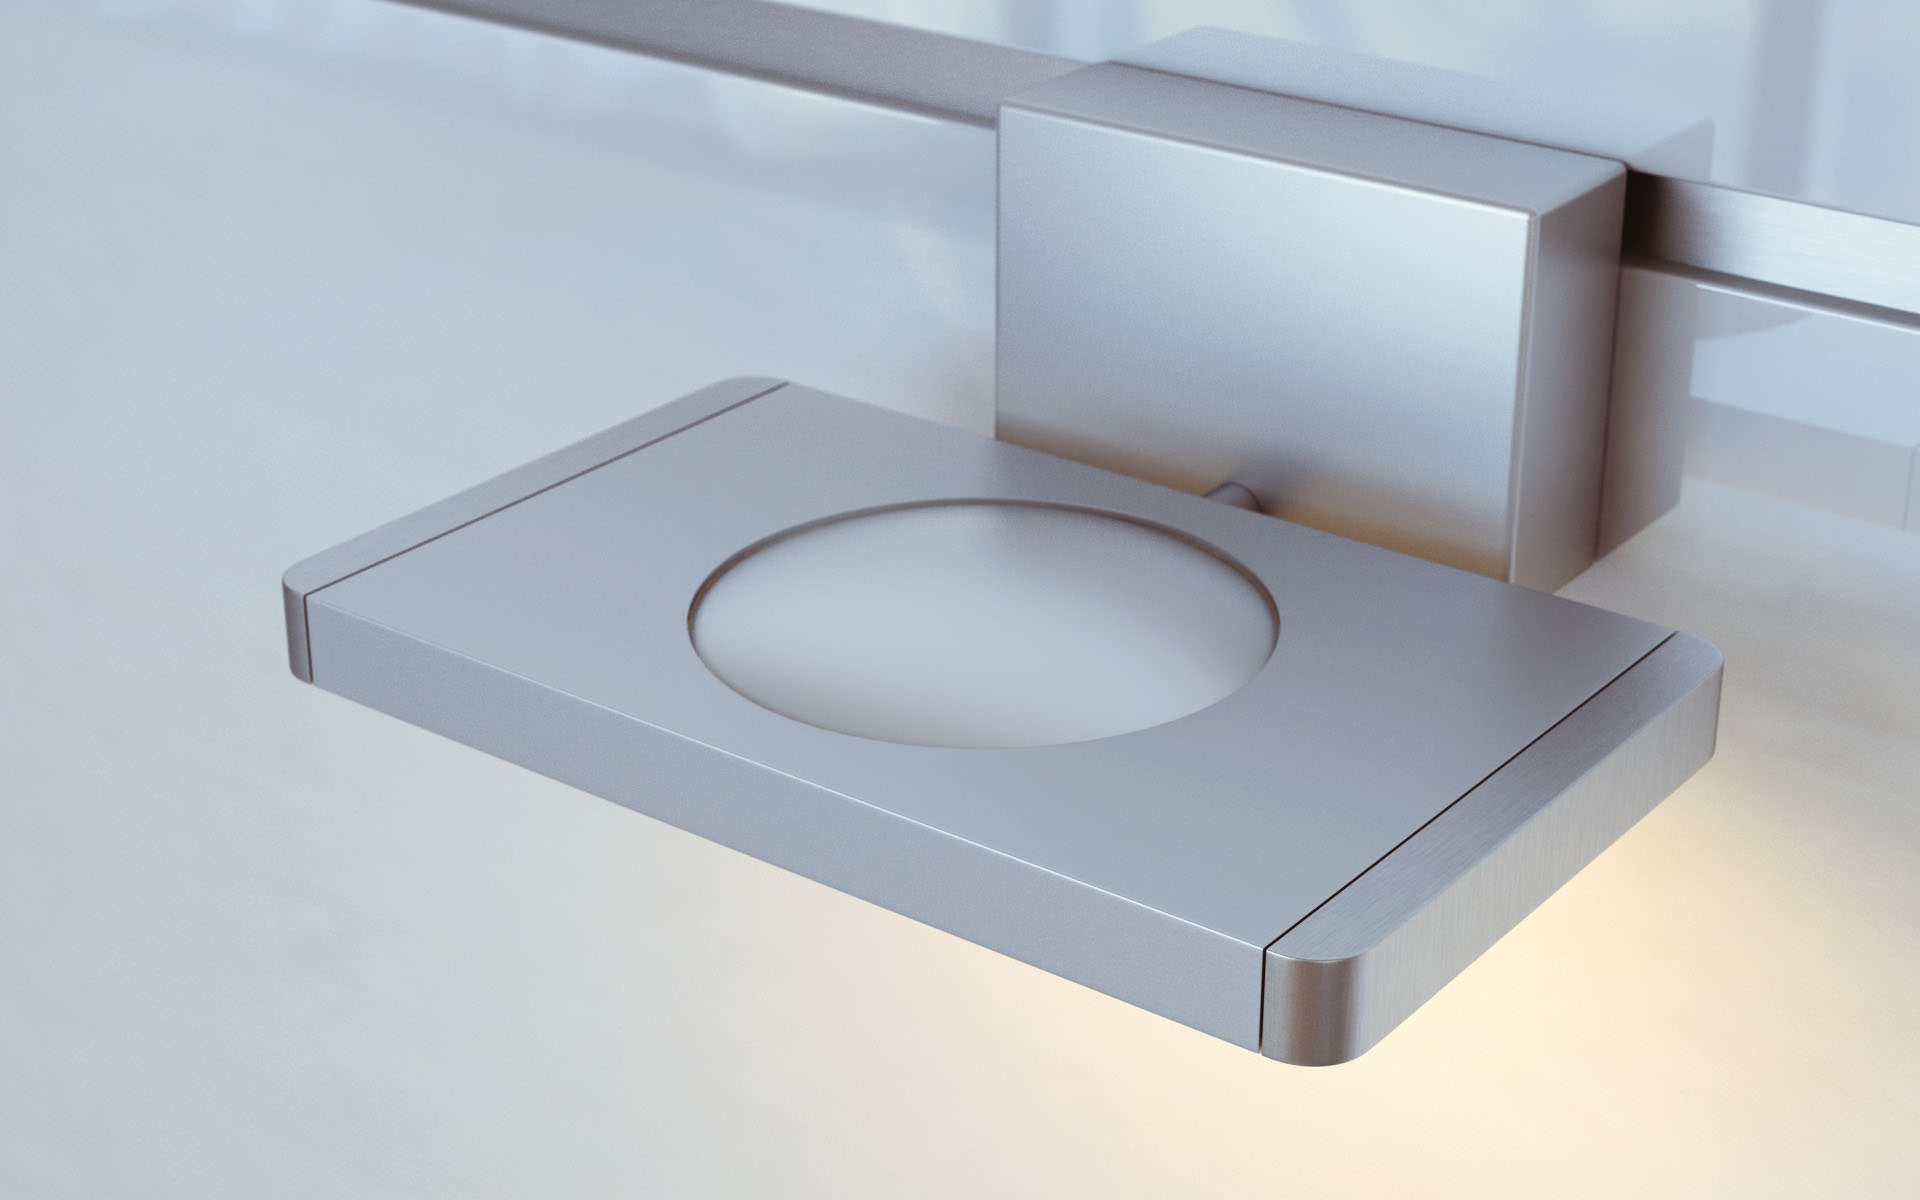
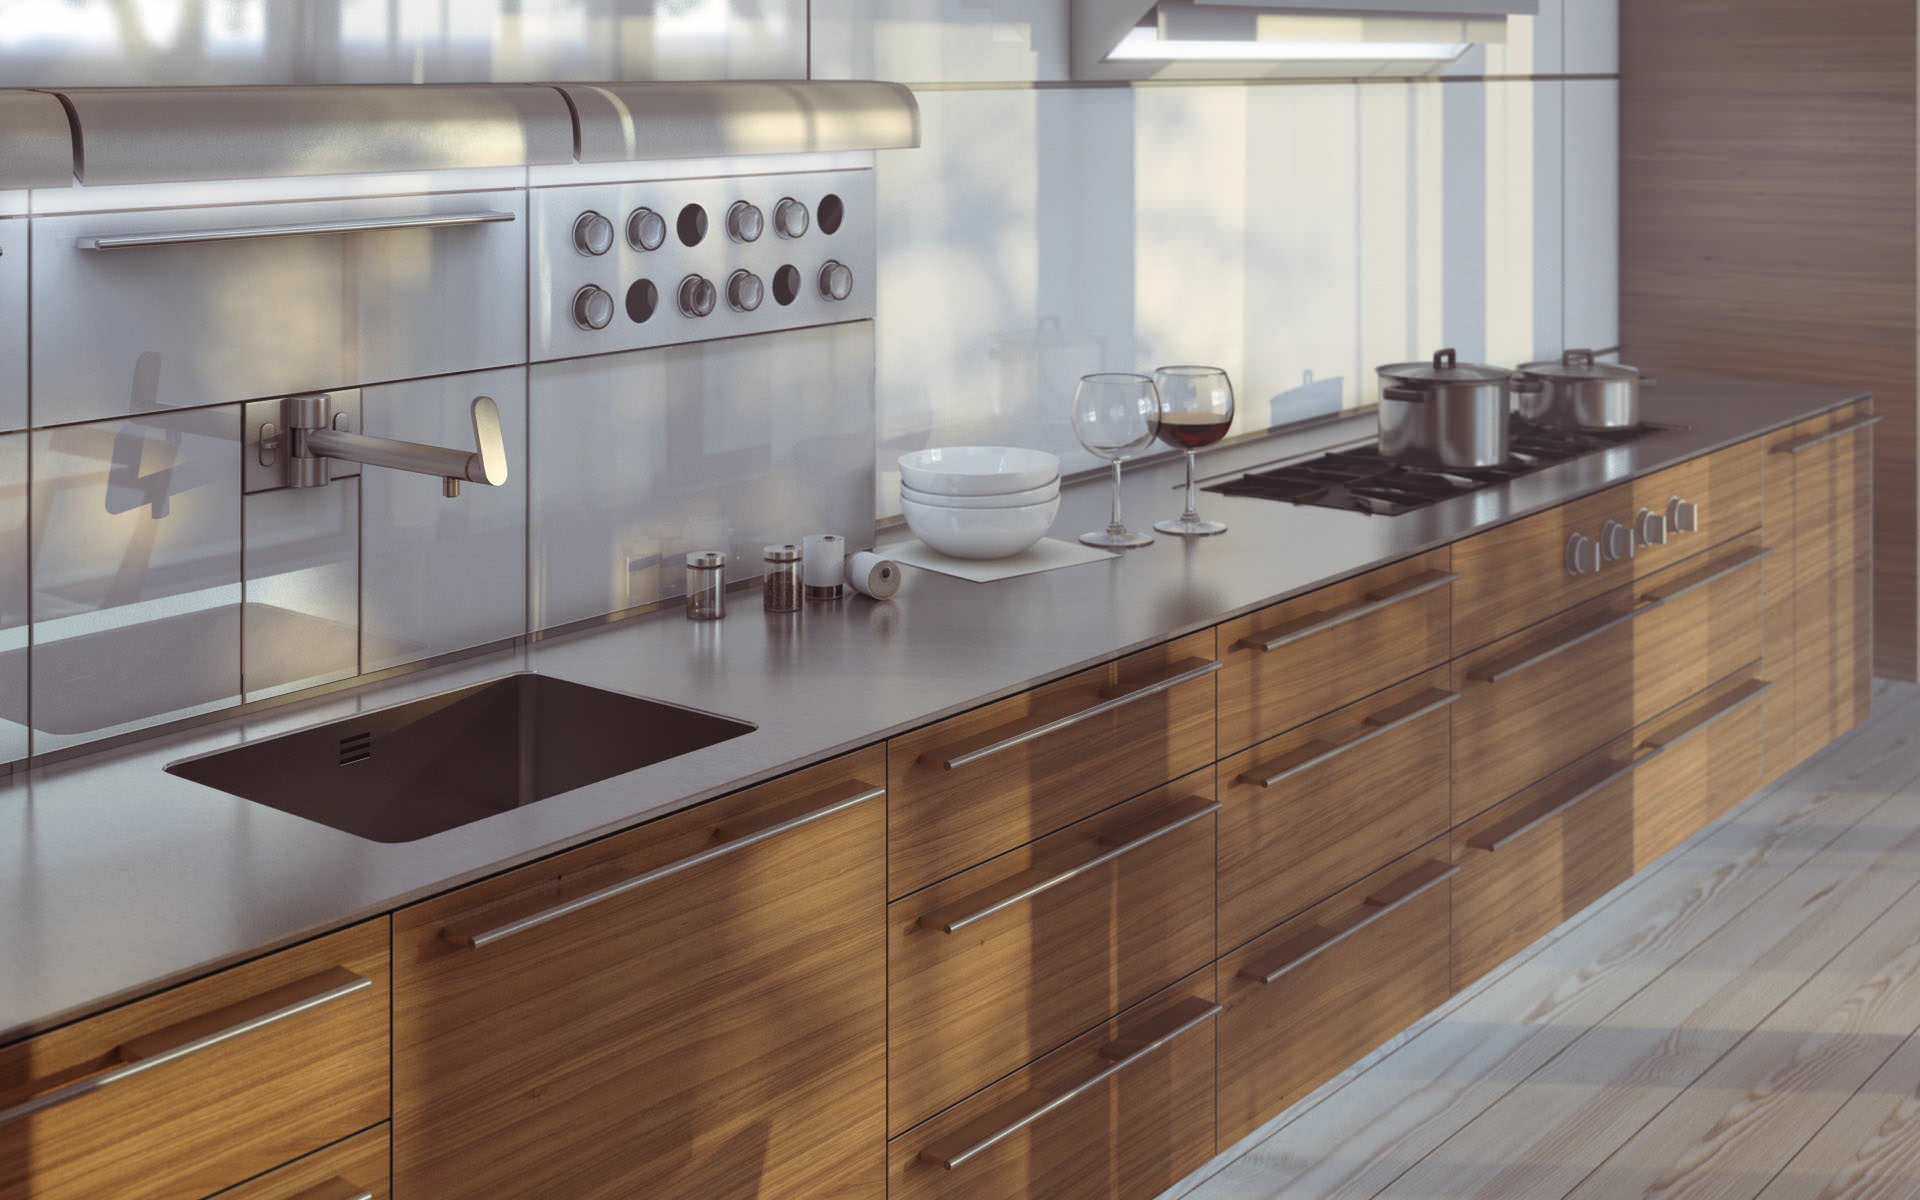
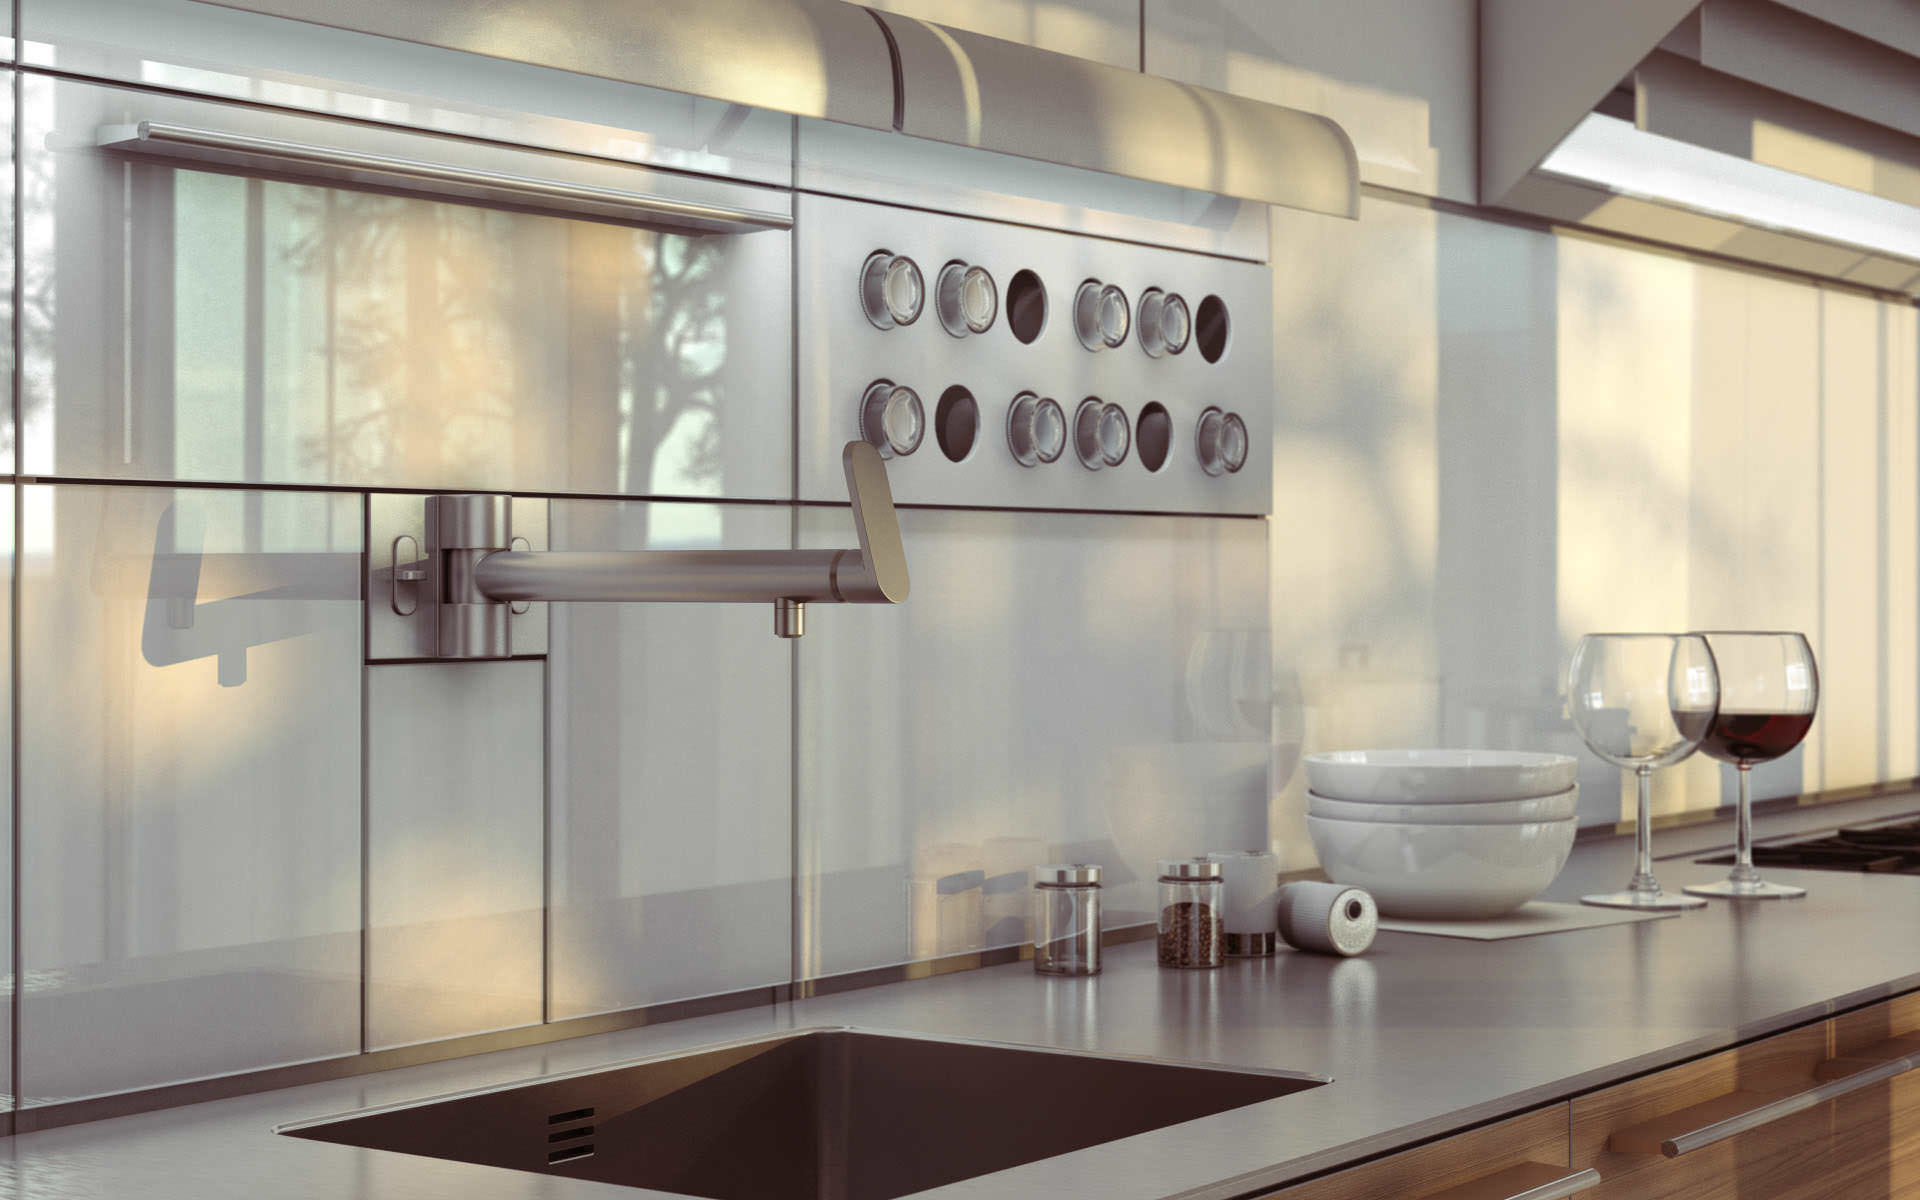
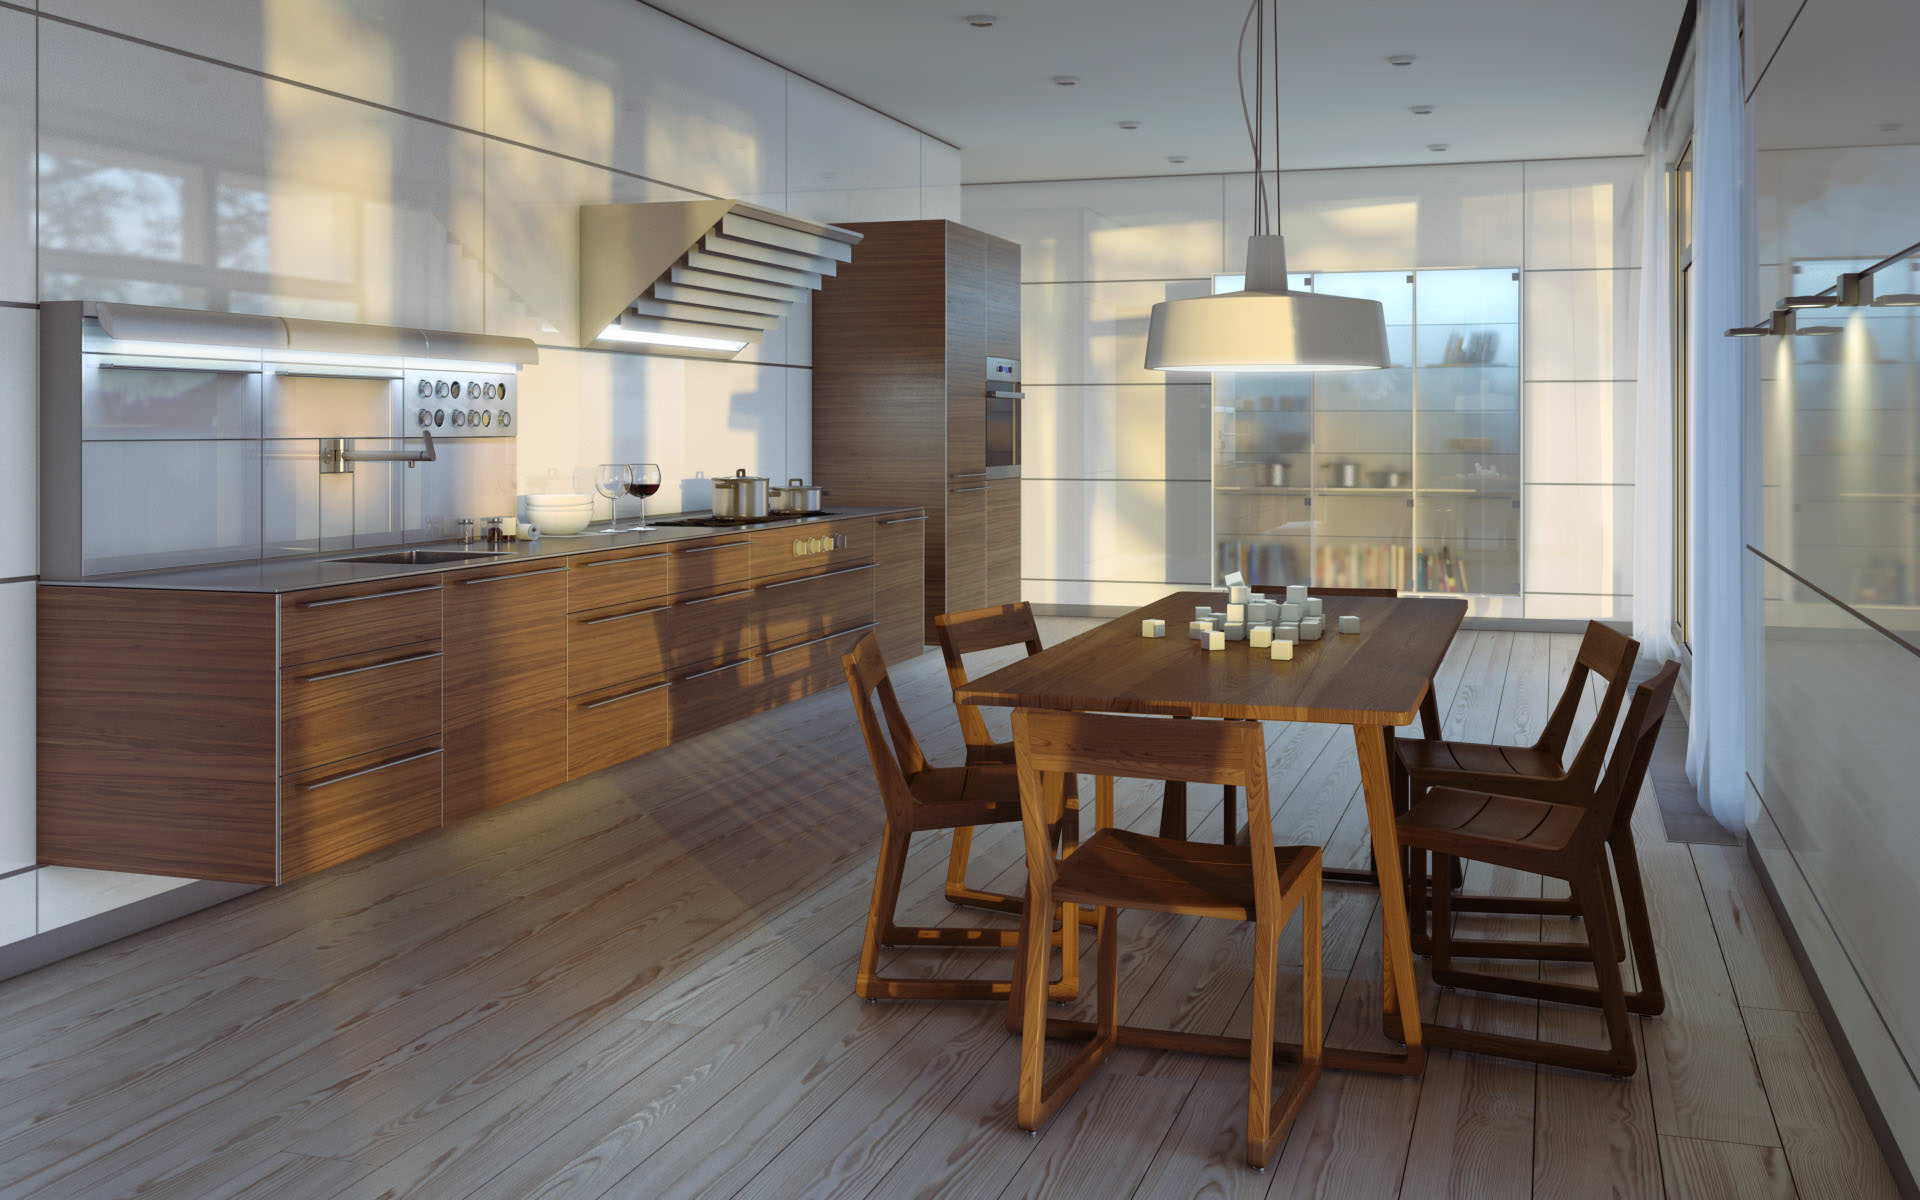
In this case, the main object was the kitchen from bulthaup’s B3 series. However, it was left in the background of this project. Here are the images we made inside…
Environment
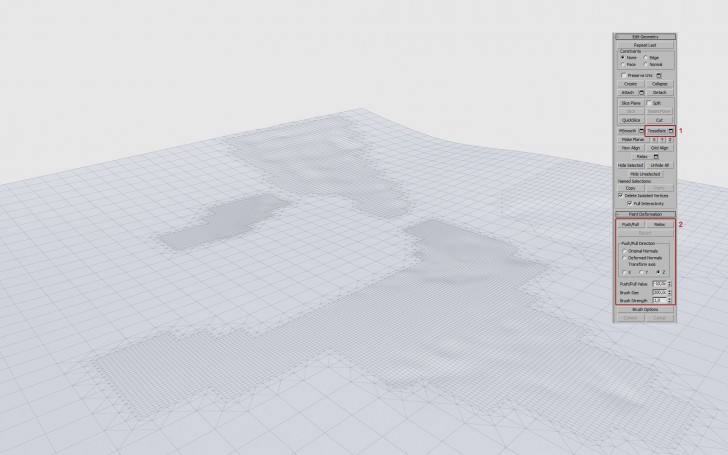
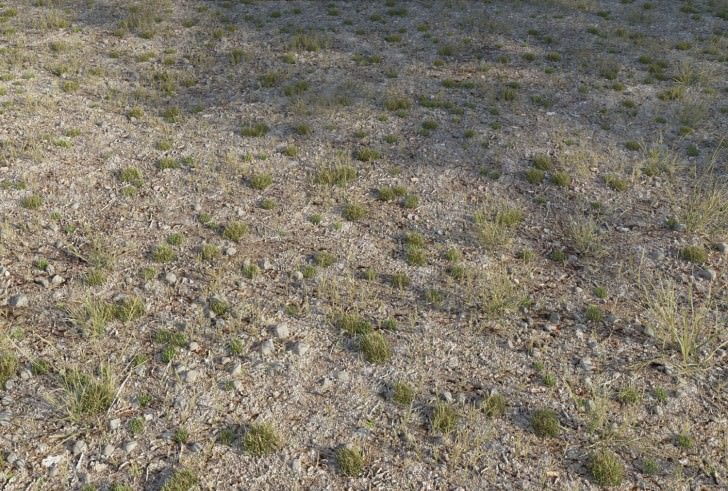
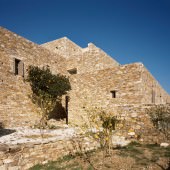
The main aim with the environment, was to create a poor dry land, where the surface is mostly stony and just in some parts a little bit of grass springs-out. I started with creating the base of the land. I used just a simple plane and modified its geometry with the Tessellate modifier. In order to achieve a more natural look and to create bumpy land impression, I used Paint Deformation + Relax tools.
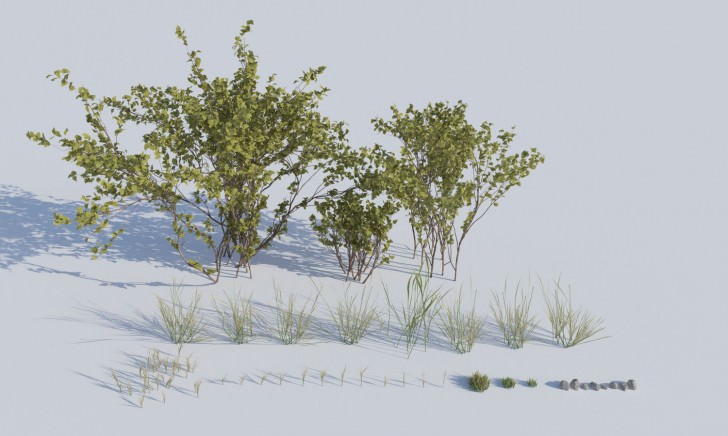
The plants used are from R&D cube models.
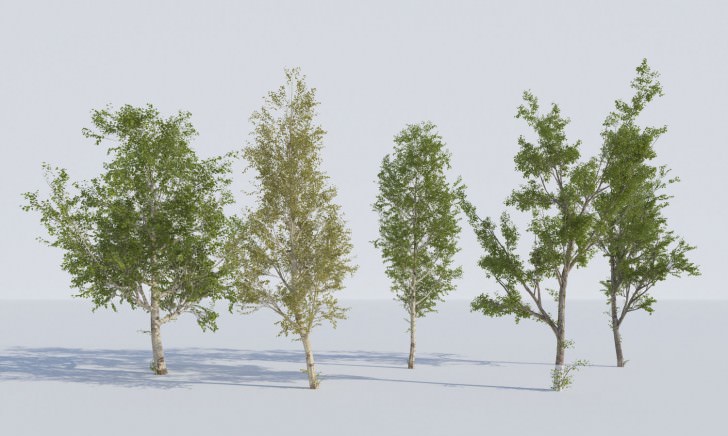
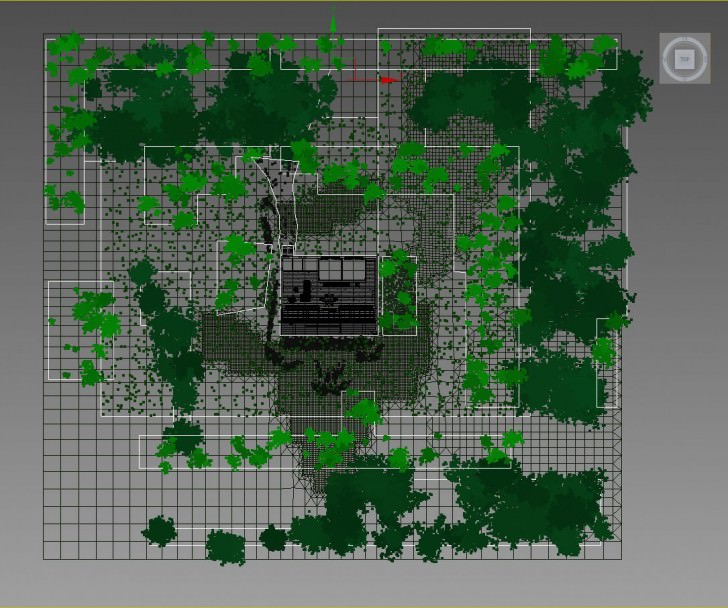
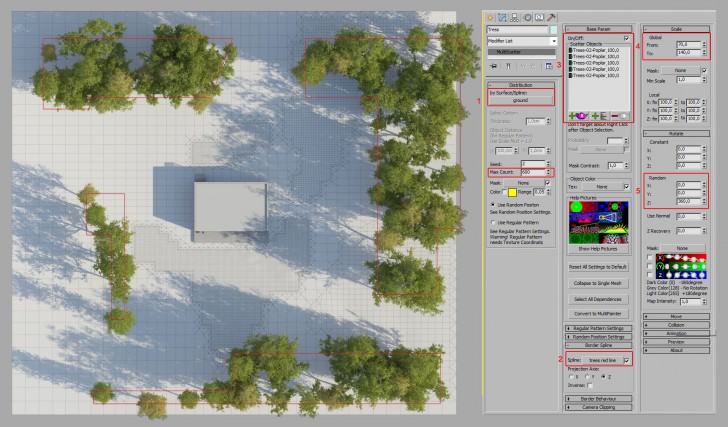
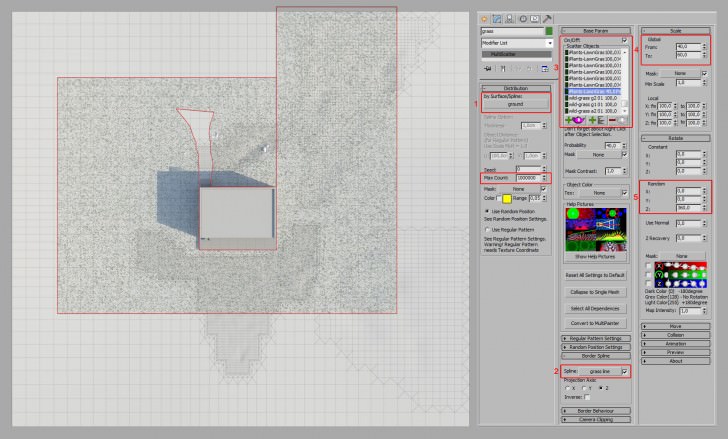
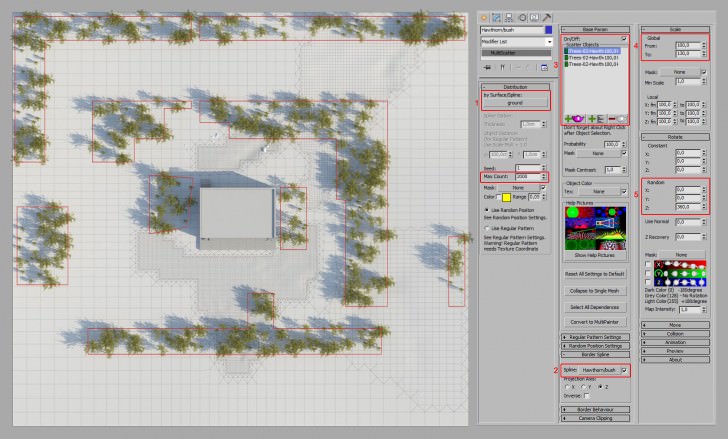
I would like to tell you more about my work with the MultiScatter plugin from R&D cube that was used in the making of this scene. In this project we had four different camera angles, so we had to pay attention to the placement of all trees and plants because their shadows had a big influence on how the final image looked.
Here’s the overview of the scattered elements inside the 3dsmax viewport…
The Trees…
Low Grass – For more realistic and natural looking environment we used a lot of different types and sizes of grass…
The Bushes / Low Shrubs…
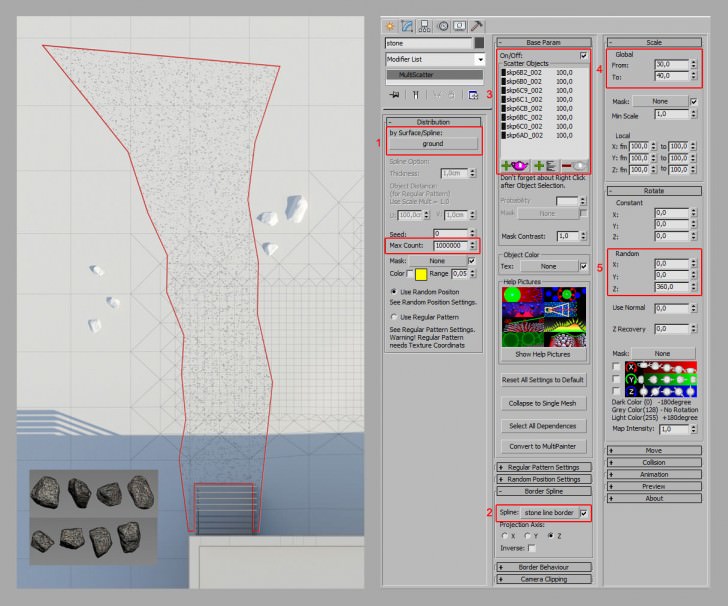
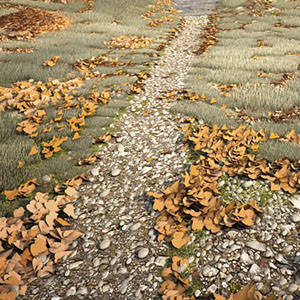
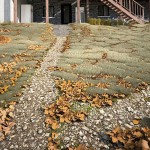
The Stony Road by the House…
I wanted to avoid unnatural looking, even distribution of stones and grass, so I also used the Paint function in MultiScatter and set the stones and grass manually, just in the right places. I just used random rotate of 360 degrees around z-axis + the global scale function.
Final result of the ground with scattered grass and stones.
Texturing
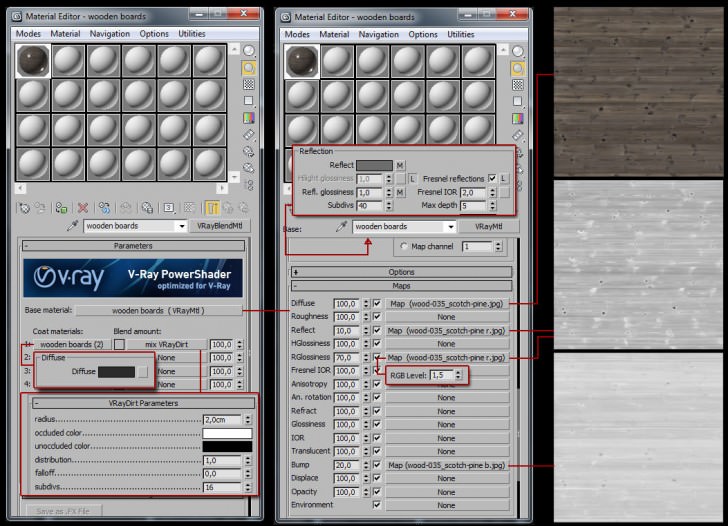
Wood Board Texture
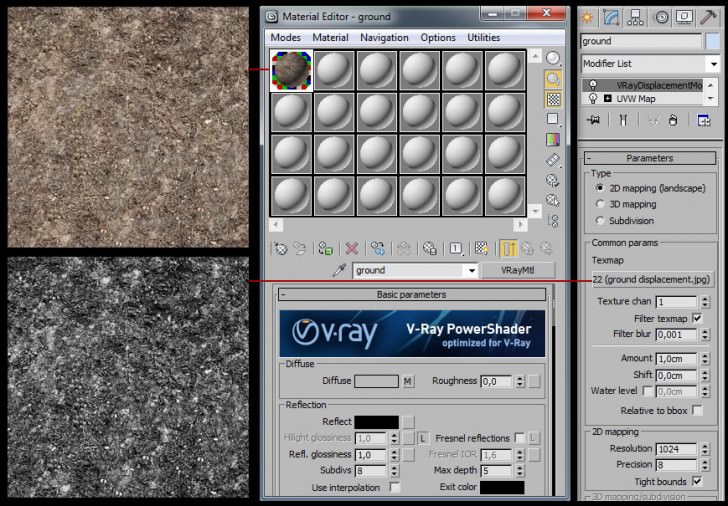
Ground Texture
The ground texture is from cgtextures. However, I added some corrections with Photoshop in order to make it a seamless texture
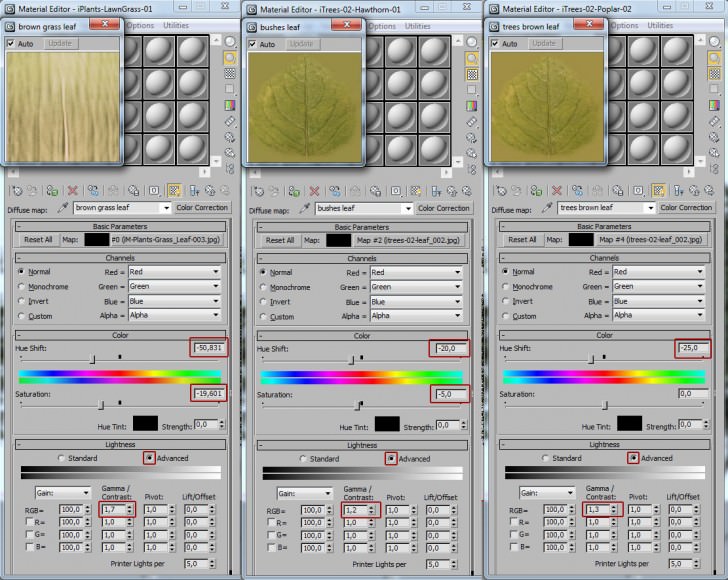
In order to make flora less lush, its texture was de-saturated with the help of VRay Color Correction. The less intense the colors were, the better they suited the whole atmosphere of the scene.
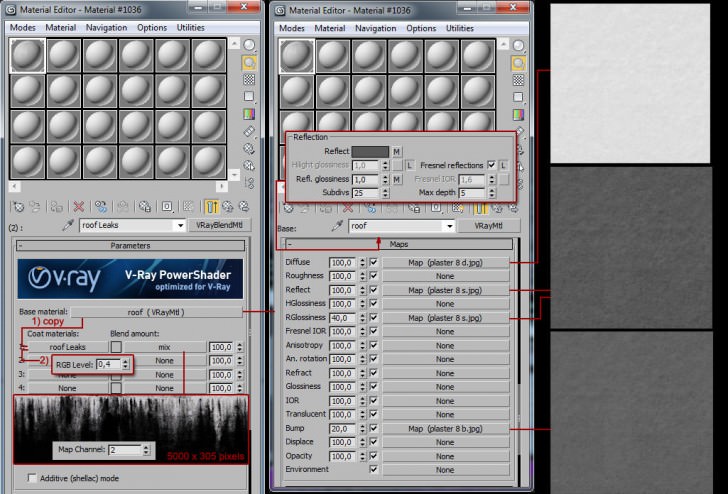
Roof Leaks
Lighting
The lighting is probably the most interesting part of the project because it has the strongest impact on the mood and the atmosphere of the final image.
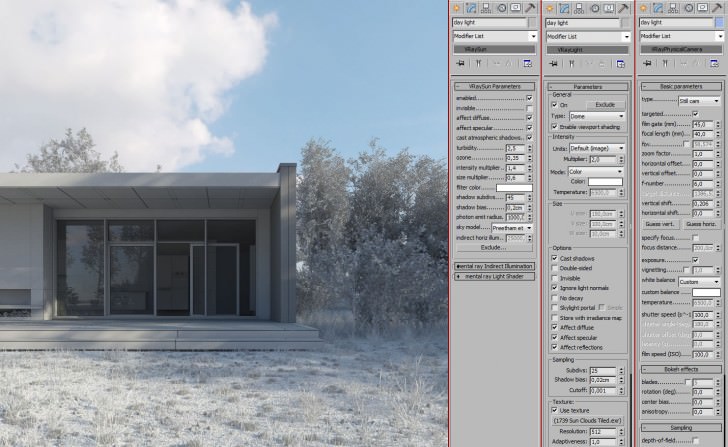
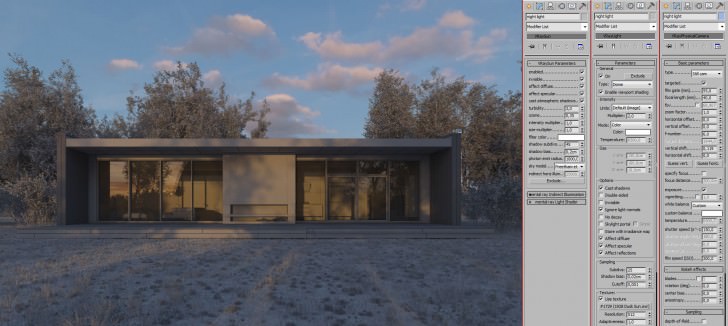
In this project it was created with a VRay Sun and a VRay Dome Light + HDRI from Peter Guthrie’s collection on 3DOcean.
If you are struggling to achieve natural looking lighting, Id recommend checking the HDRI tutorial by Peter Guthrie. Using his technique I matched position of the VRay Dome Light with the HDRI suns position.
The day lighting is done with Peter Guthrie’s 1739 sun clouds HDRI.
The evening lighting is done with Peter Guthrie’s 1928 dusk sun HDRI.
Rendering
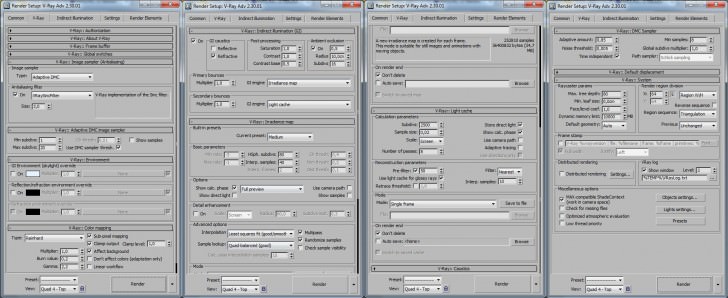
I rendered this scene with V-Ray, my favorite render engine. Here are the render settings…
Postwork
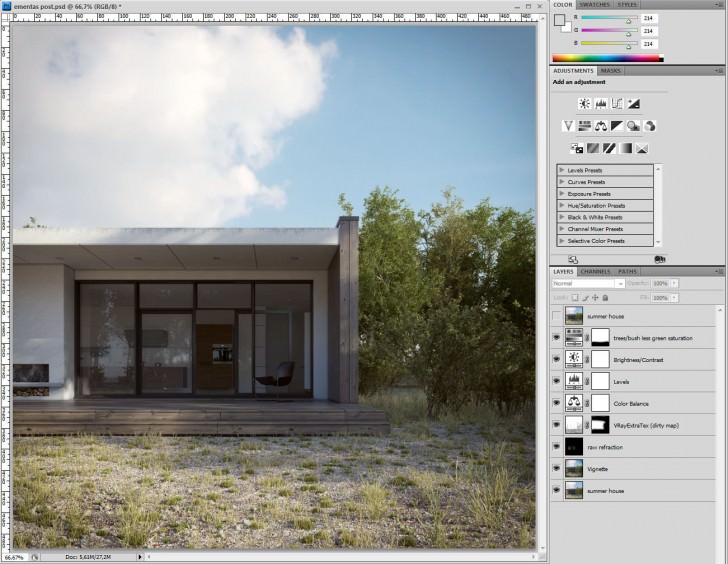
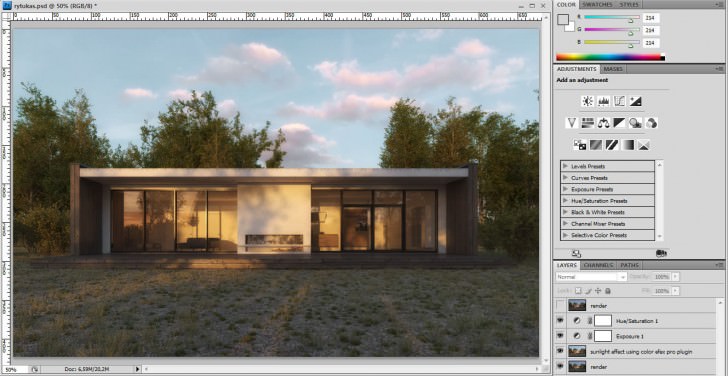
Post production wasn’t anything special. Just a few simple steps showed below on the layer stack inside Photoshop…
And thats it!
Thank you for your time and interest. I sincerely hope this information will help someone out there. For more about 3d ground work you should also read Chris Kowal’s article…
3D Ground Cover Modeling in 3D Studio Max
Following a great thread in the finished works section of the forums, Chris (blowback) was very kind to send me a Making-Of article about the 3D modeling of the ground cover in the architectural visualization of Jeffs House. I hope youll enjoy this article and learn from it as much as I did!
Take care!





Trackbacks & Pingbacks
[…] https://www.ronenbekerman.com/making-of-scandinavian-summer-house/ […]
[…] https://www.ronenbekerman.com/making-of-scandinavian-summer-house/ […]
Comments are closed.