Lucid Arch Dreams by Benoit Dereau
Seeing the Lucid Arch website for the first time it immediately captured my attention. This was prior to “The Vineyard” as I was making final prep for the challenge and I contacted Benoit Dereau, the creator, to learm more about it at that time. Benoit is a 3D Generalist who accumulated skills in architectural visualization and level-design for video games production. In the last couple of years he combines his CG knowledge to produce architectural visualisation scenes through real-time engines and today he showcases Lucid Arch Dreams here. Enjoy!
Hello all,
I’ll start by thanking Ronen Bekerman for inviting me to present you with one of my newest architectural visualization project – the Lucid Arch Dreams.
Introduction
Lucid Arch Dreams is a project I realised during June 2015 for Lucid Arch company. It was one of my first clients who wanted a virtual reality visualisation for an architectural project using Unreal Engine 4.
Beginning
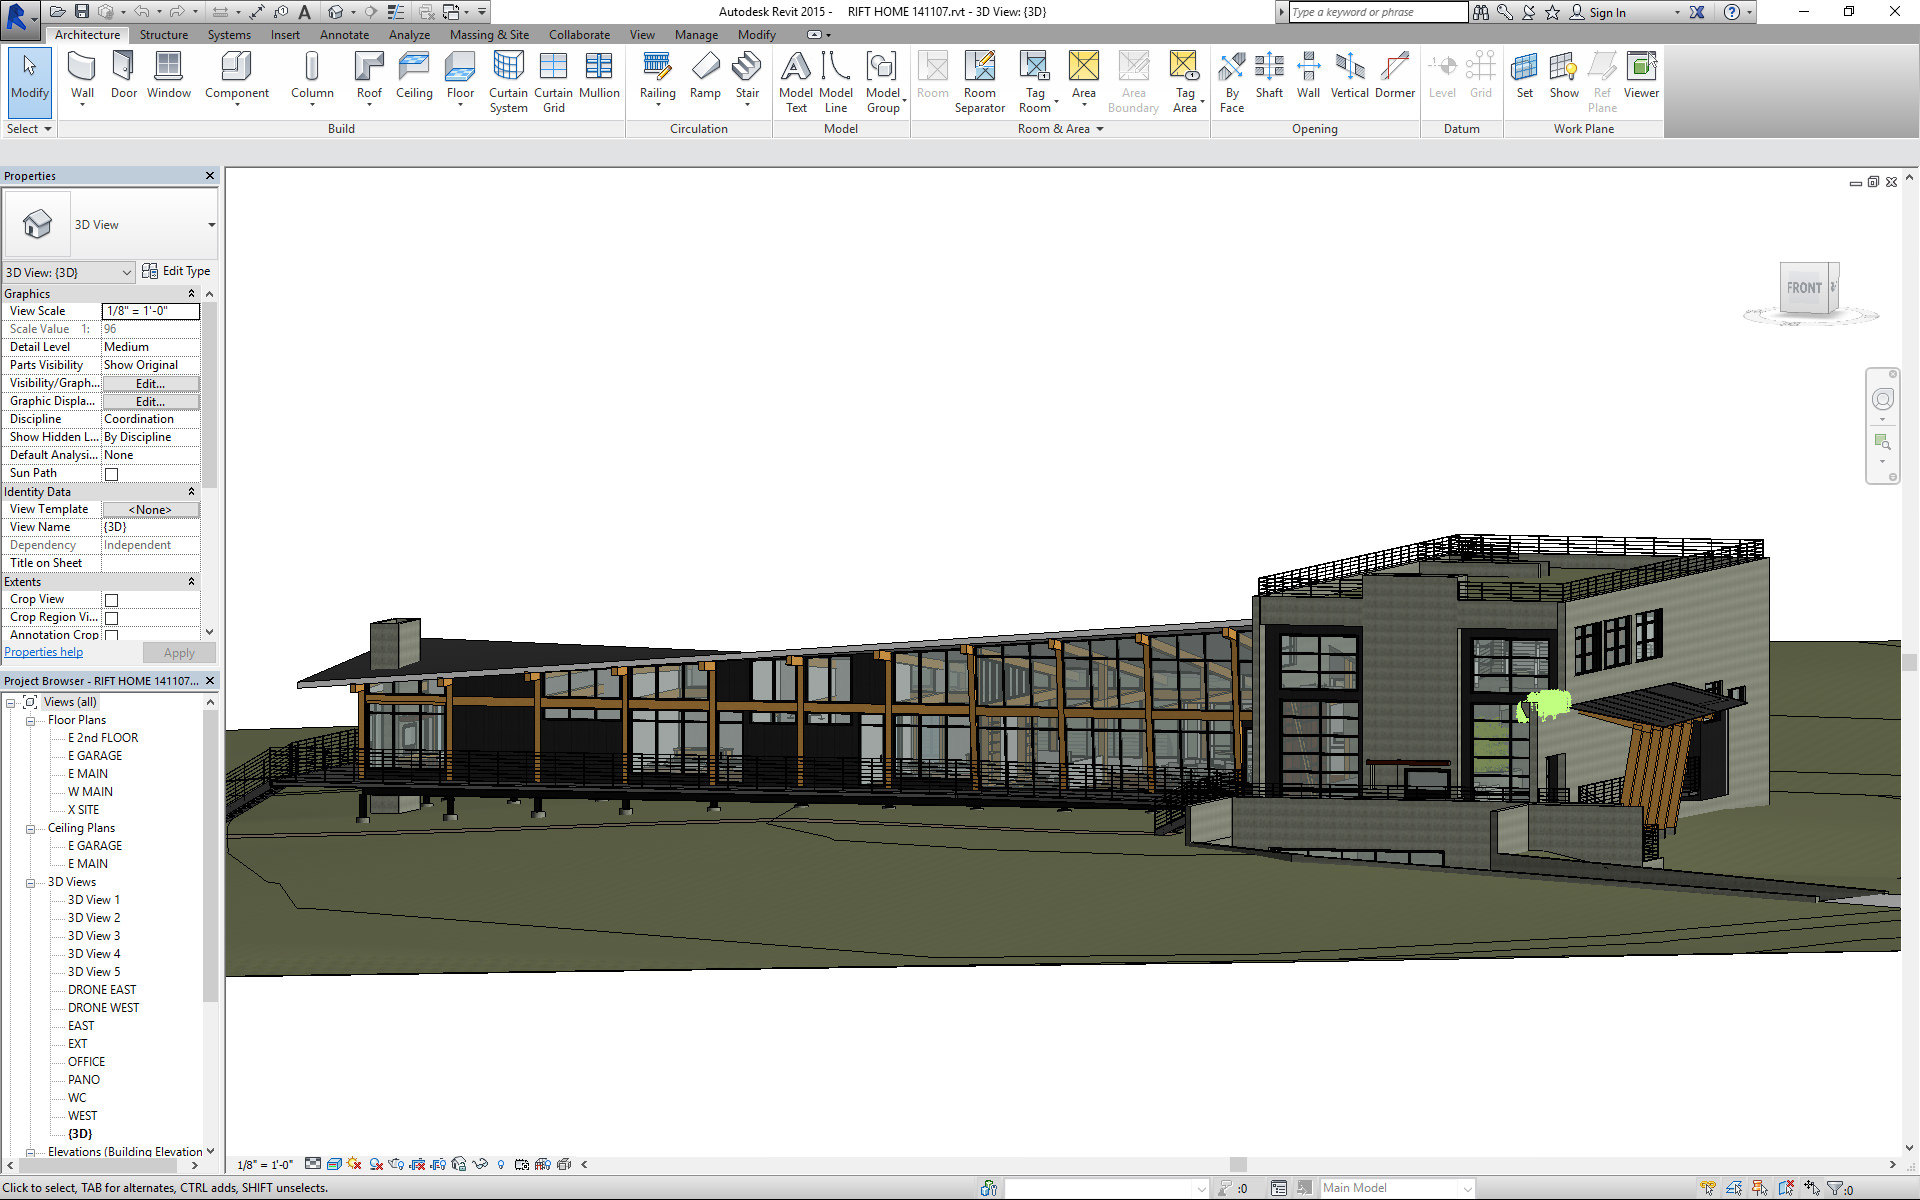
The starting point was a Revit file, showing an overall view of the building with some rooms sizes and scale. The main goal was to focus the audience (the player, in gaming terms), on the insides of the building. Some rooms weren’t produced like the secondary bedrooms, the basement, and the wine cellar as they were outside the main scope.
This scene had to run in real-time, so the constraint of the end user platform had to be taken into consideration at the very beginning of the production stage. For this project, the scene was planned to run on an Intel I5 4xxx + Nvidia GTX980. We needed a high frame rate using the Oculus Rift compared with a desktop experience.
Inspiration
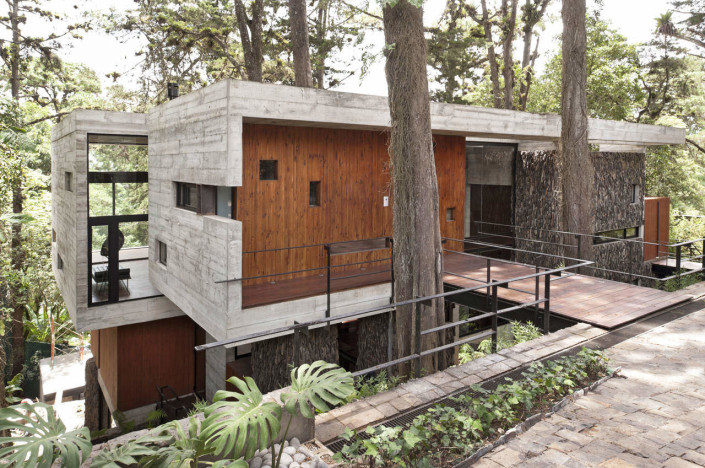
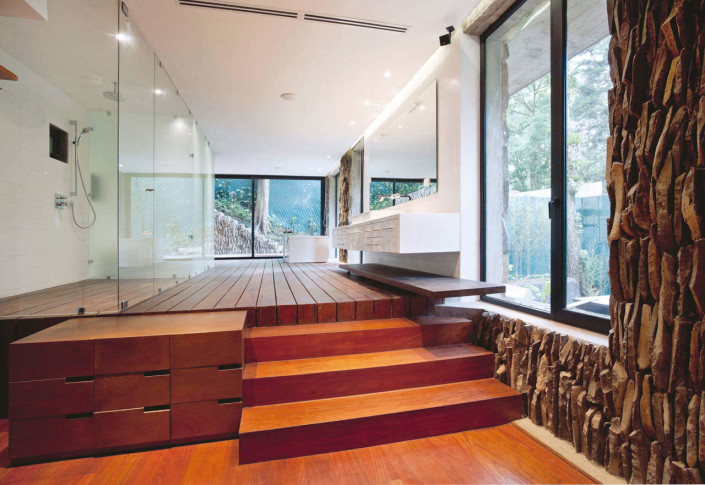
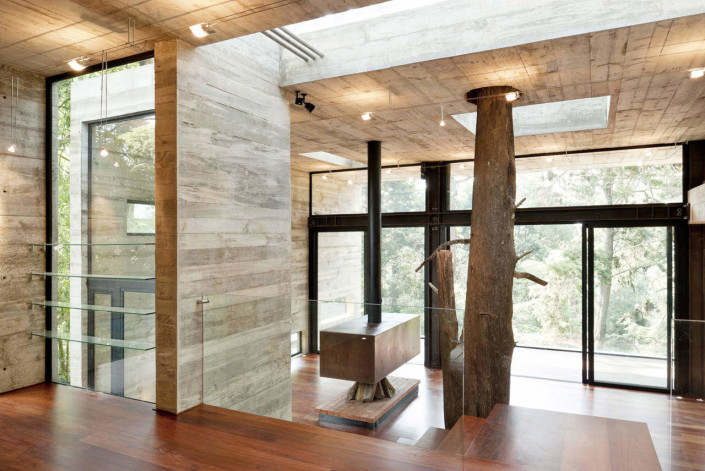
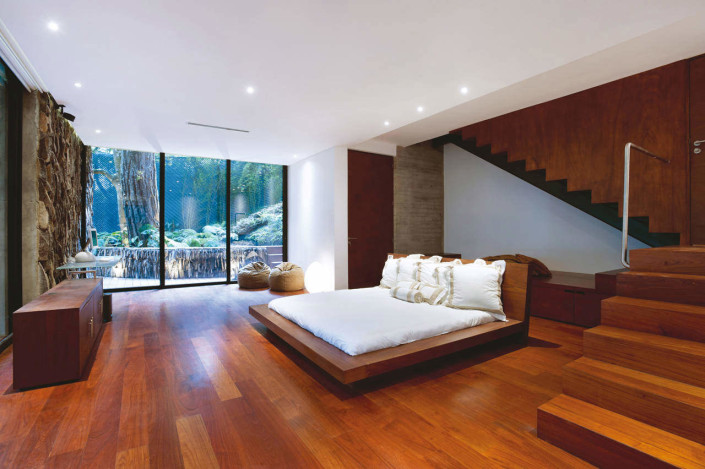
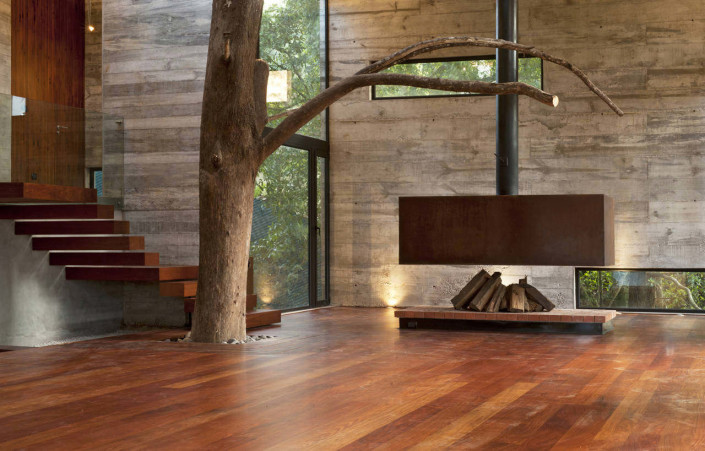
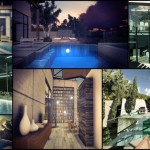
Here are some sources of inspiration provided by my client for the realization of the interior environment of this house :
There is a large presence of wood flooring materials, showcasing beautiful reflections of light from the large windows on each side of the house. The relatively minimalist furniture use colors that are very similar to their environment.
Modeling
Once the Revit file was imported into 3DS Max, I had to build the architecture of the house while avoiding the creation of meshes with large surfaces relative to others and this is done to optimize the computing time.
After the basic structure of the house was made, I began to realize different things like the stair railing, bay windows or various shelves and decorative items. A number of elements such as the table, the bed or the kitchen are based on libraries of V-Ray objects.
I reduced the number of polygons in objects and all shaders were made with the constraints of Unreal Engine 4 in mind so things fit in and the scene runs smooth on the user computer.
The workflow for modeling is not really special compared to most of the scenes created for this engine. You can learn different scenes available in the “Learning” section of Unreal Engine 4 website. You should keep your models functional within the UE4 constraints… or rather the graphics card constraints.
Use your resources wisely.
Lighting Setup
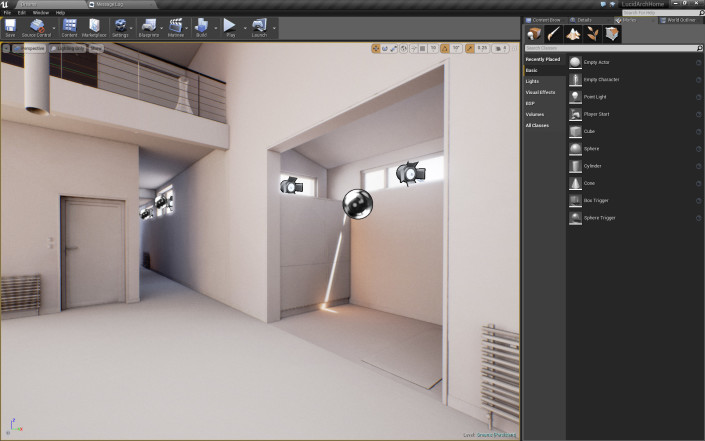
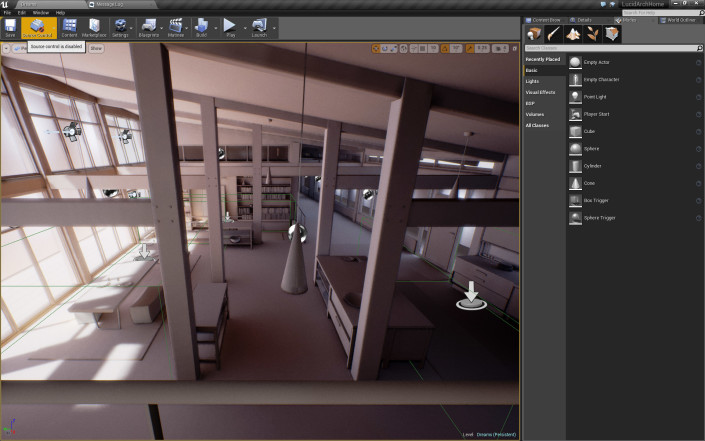
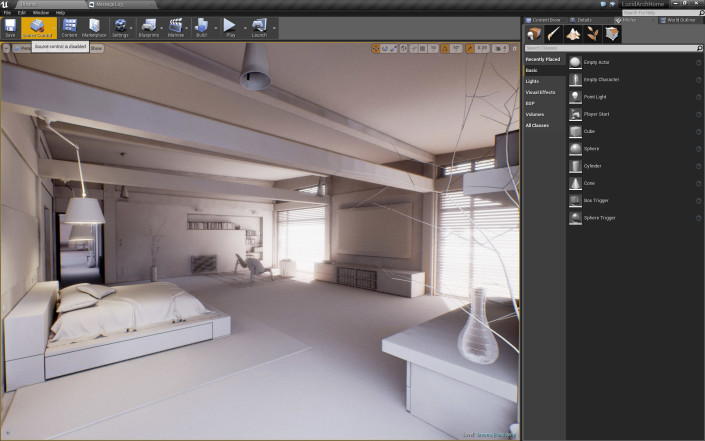
The lighting setup is pretty simple. I’m using a directional light with a lot of bounce for the sun and simple Light spots close to the windows because i don’t want to use a skylight. Spotlight give me more control on the lighting. This is screenshots showing the light in the scene and how they’re bouncing in the environment :
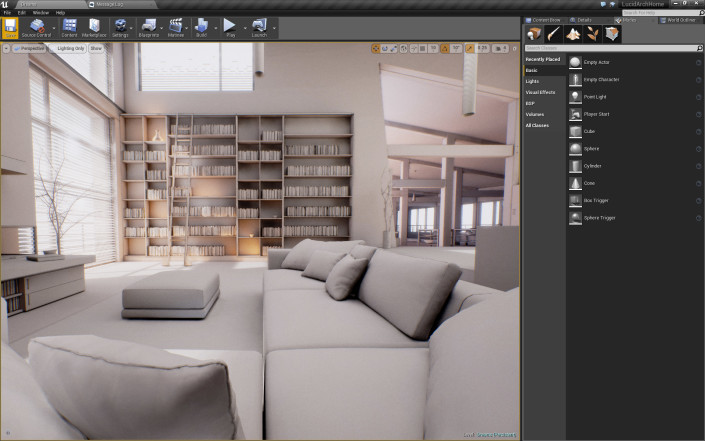
As you can see, the light-map intensity is really high on small objects because you need a lot of details & more precision on these furniture elements :
Shaders
The created shaders are very simple. I rarely use very complicated shaders and I love tweaking my reflections that make complicated shader nodes.
I start with a standard material that matches most situations I meet. Then I instance that so I can keep tweaking it further.
Please check that the superposition of some shaders like Glass, Metal and Wood, do not call for too complicated calculations to be made so that you keep managing for your graphics card – avoiding a sharp drop in your frame rates.
Green = Easy calculations.
Rendering
The scene was calculated in “production” quality with the help of my laptop, and the Swarm Agent software bundled with Unreal Engine 4.
My main computer is using an AMD FX8350 4.5 GHz and 2.8 GHz I7 2640M in my notebook. It took me about a day of calculation to obtain this result. The main PC managing the Swarm Coordinator but also the Swarm Agent. The laptop runs only the Swarm Agent.
Remember to put a Fixed IP for all of your computers for the Swarm Coordinator dialogue properly with your different computers that run of the Swarm Agent.
I lost a lot of time trying to run my computers together. The advantage of the Swarm Agent is that it is not necessary to have a big pc to participate in the calculation of the stage unlike V-Ray. Any PC with 4 or 6 GB of RAM can participate in the calculation of your scene if it is setup correctly!
Sound Design
The sound design of the stage is very important and adds to the spectator experience, allowing for much more immersion into the scene.
The sound design also has a vocation of level design because it affects the way the player will want to explore your scene and create points of interest that will influence the direction of flow inside your virtual visit.
These are the same rules that can be found in a video games but also in shopping malls and amusement parks. You can also suggest through sound design elements that you did not model in your scene as the sounds of a street or garden.
In this scene, the sound design is achieved by Mael Vignaux. The music provides the customer being present continuously, we could not locate hugely different sounds and noises. The risk is constantly saturating the sound spectrum and tiring the audience during his visit.
Post Production
This part is really simple. The goal is to add visible defects like a real photo of a camera. I Added :
- Fringe
- Grain
- Tint
- Screen Space Ambient occlusion
- Bloom
- Motion Blur
Virtual Reality
The integration of a virtual reality helmet in the heart of the Unreal Engine 4 is very simple because it is supported natively by the publisher in a while.
Constraints are mainly the frame-rate of your scene to minimize the “Motion Sickness”. This is one of the most important things that you need to concentrate on your scene because it could become uncomfortable for the viewer and turn into a bad experience what is being seen through the helmet. This can ruin all of your work on your stage!
The virtual reality sector is an area that still has plenty to discover & feel free to experiment with different settings on the speed of the race of your character or the height of his camera.
Last Words
I thank Ronen Bekerman again, for having proposed me to write an article about Lucid Arch Dreams. And I hope you enjoy discovering real-time 3D Engine (Unreal Engine 4 and Unity 5). These two engines are maturing at neck breaking speeds! Very interesting discoveries are made every month that can change your workflow completely.
Here are two more stills from the project and below you can download the executable walk-trough to experience on your own computer (much dependent on the graphics card you have).

[/wpsharely]
Also visit :
Benoit Dereau’s website
The lucidarch.ca website








It’s the same guy who made Unreal Paris.. great job!
Great work, looks amazing. Looks like I’m going to have to get Unreal installed again.
Is there anyway the interactive files could be hosted on a server for anyone to use?
theCGdepartment You are asking in general terms – correct? Can an Unreal Engine project be published for the web rather than an executable file?
ronenbekerman yes just in general terms. I would see that being the easiest way for potential clients to use the technology. Definitely something I’m going to look into.
theCGdepartment ronenbekerman Not sure it is a formal publishing option by now, but with programming one can publish to HTML 5 which makes it a TO WEB publication. This needs some digging into to be sure.
ronenbekerman theCGdepartment There doesn’t seem to be a lot out there, although I did find this which shows it is possible.
http://katanec.itch.io/rest-house
Amazing! Very nice work and very inspiring tutorial! I think that in this kind of workflow unwrapping can be the heaviest task. In a lot of ue4 making-of-level videos artists work with small blocks easily unwrapped as constructive part of a model (or level). I wonder why that kind of workflow has not been adopted in archviz as regularly as this and if the results of using that method have not been so good.
Great stuff , your work really stands out 😀
Bertrand, how did you deal with UV mapping after importing from Revit?
theCGdepartment ronenbekerman
There are new levels here:
http://gamejolt.com/profile/kachanac/968184/games
more about at:
http://www.markokacanski.com/
great work!!!!! im still trying to find a detailed ue4 tutorial as it seems the texture baking is a bit vague here….what exactly is baked and what gives the ue4 scene the ‘vray’ feel? lol