Alright so time for some more in depth info on the project as I’ve been keeping it short.
from the start, I wanted to attempt to use only corona with 0 models, etc. so every single detail, including the textures were hand made. somewhere hand shot by me with my cell phone while others were assembled from various online sources (with the exception of the <a href=”http://www.ronenbekerman.com/goto/pg-skies/” class=”thirstylink” rel=”nofollow” target=”_blank” title=”hdri” data-thirsty_gct_link_id=”33214″ data-thirsty_gct_link_name=”PG Skies” data-thirsty_gct_link_post_permalink=”/tomorrow-2017-challenge-submit/”>hdri sky from no-emotion). I created the foliage with <a href=”http://www.ronenbekerman.com/goto/growfx/” class=”thirstylink” rel=”nofollow” target=”_blank” title=”Grow fx” data-thirsty_gct_link_id=”34266″ data-thirsty_gct_link_name=”GrowFX” data-thirsty_gct_link_post_permalink=”/tomorrow-2017-challenge-submit/”>Grow fx and the scatter leaves where hand modeled. I knew I had little ram to work with so I tried to optimize as hard as I could while keeping the amount of scatter objects very high. this meant that the grass what in fact texture-less and was made with just a gradient and the final image had close to 0 displacement maps, water was made with a material and not modeled. I also kept 3 3ds max files 1 with the trees, 1 with the terrain (grass, path, bridge etc..) and another one with just the building.
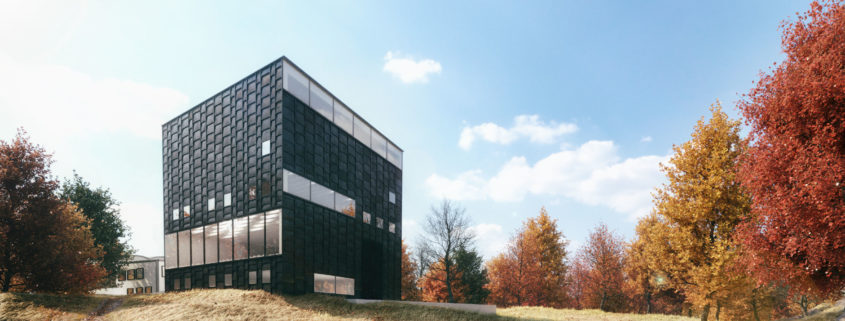
I browsed the entire section a lot and noticed all the gloomy/exaggerated images and decided I did not want to be part of them. so, I kept my goal of a merry autumn scene with and followed the original concept. I started with the ground object which was a simple plane that was subdivided according to distance to camera and used the paint deform tool to get a general feel for the scene, next I worked in <a href=”http://www.ronenbekerman.com/goto/growfx/” class=”thirstylink” rel=”nofollow” target=”_blank” title=”grow fx” data-thirsty_gct_link_id=”34266″ data-thirsty_gct_link_name=”GrowFX” data-thirsty_gct_link_post_permalink=”/tomorrow-2017-challenge-submit/”>grow fx to create my golden grass geometry the hard part was getting the right tone/color
the golden grass was a tad bit tricky b/c it needed to have the right greenish golden color so it looked alive and not completely dry like the first couple of images. In the end after asking some people who know nothing about archviz for input on colors or if anything looked off I found a couple of flaws in the grass and it was ready to go. The fact that scattering objects with the right mapping/setting was possible with little memory was great and made the whole process less nerve racking. (to be honest I was really worried whether my poor laptop could handle it at the beginning) the scattering objects are as follows:
20k leaves not on path, 20k leaves forest, 15k leaves on path, 5k leaves on river, 22k dry leaves, 200k river stones, 400k fallen grass, 7k short grass, 30k medium grass, 15k long grass, 40k fallen grass forest, 3k short grass forest, 10k medium grass forest, 5k long grass forest
so 792k scatter objects plus the manually placed proxies (trees and more grass) (sorry I lost count of the number of polys)
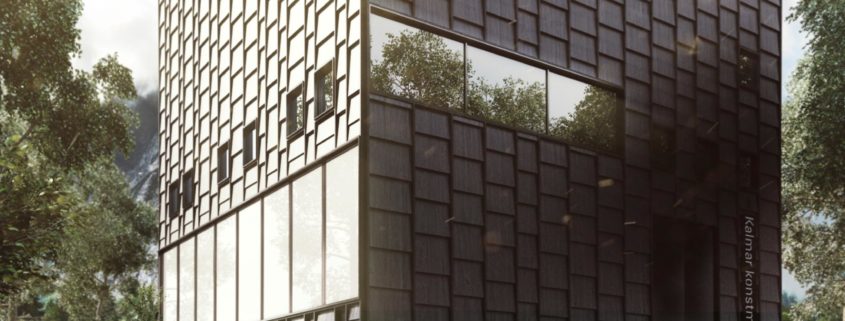
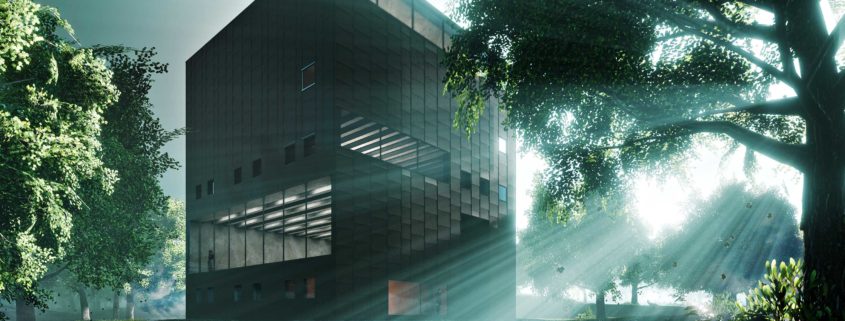
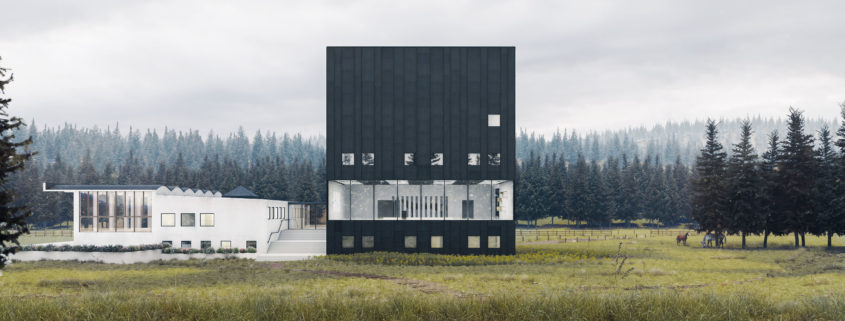
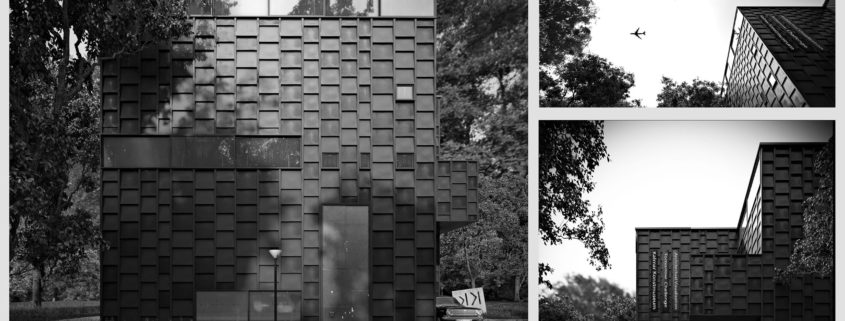
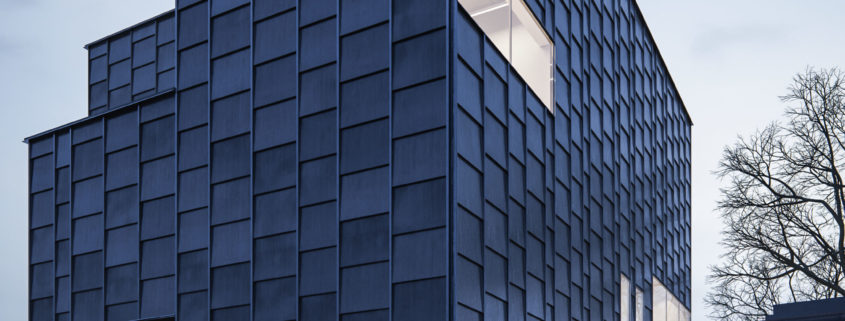
working on the building was probably the easiest part as it was just a matter of finding a reference object for scale and modeling from the arch plans the cladding on the building was done by hand and took around 30-40 min. I probably spent the most amount of time playing around with my materials. all materials are made from scratch (including the maps)
during the process, I probably crashed my laptop about 15 times, it barely managed with 3 ready boost thumb drives (I can’t believe it worked either). and everything after that just clicked together, I learn a lot from each project I do and this one was no different as I felt I grew less dependent on plugins and got a good feel of corona. as for post production this image just has some very basic tone adjustments.
f I had to do anything different I would probably start with the building as that would have saved me lots of small problems later. I would also spend more time with getting my camera setup properly. and a lot more time studying the color pallet of autumn as I feel I got a good result but it could have been a lot better. Lastly, I feel I missed a big opportunity of adding mountains in my background.
in the end i feel like the image definitely has room for improvement but i’m still happy with what i was able to accomplish, this “event” was a lot of fun and i’m grateful for the challenge/opportunity


