


Tomorrow Challenge entry by User-82056808
After long pondering over which Image to make choose as the final entry, i went with my rain rendering. Shown below are the raw render and the Second mood image I did.
Access the Best Articles about Architectural Visualization. Learn about all aspects of crafting images that tell stories.
Making Of's Case Studies WorkflowsShare your work and get immediate appreciation through discussion, feedback, and a possible nomination for the…
![]()
A weekly experiment, exploring the creative minds in Architectural Visualization and more. Find out what makes us all tick and push the limits.
Listen Now! Subscribe on iTunesOut with the old and in with the new! In Converted, I’m asking you to take an in-depth look at existing architecture near you or one you love worldwide and introduce something new.
See Entries & Join! About ConvertedAfter long pondering over which Image to make choose as the final entry, i went with my rain rendering. Shown below are the raw render and the Second mood image I did.
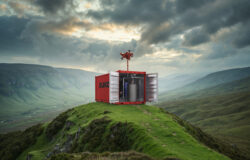
Somehow I almost missed the Tomorrow Challenge. I only started during the weekend and although I wasn’t sure if I can finish in time I thought it might be a good practice.
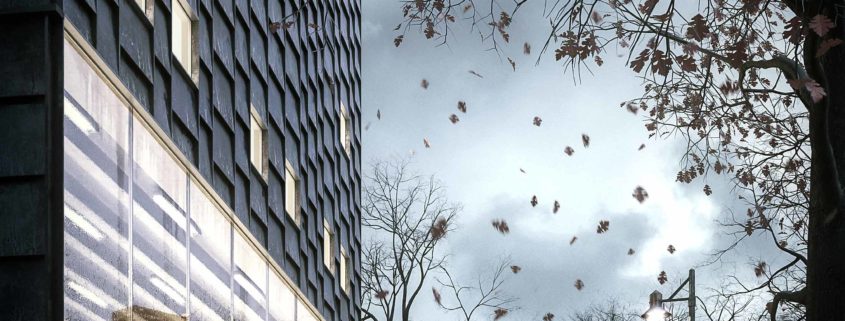
My intention was to show the building in a rainy scenery with strong contrasts and very believable concrete material. I chose a perspective which I thought would work and only modeled what was seen through the camera. Unfortunately when I started working on the materials, I found out that the overall atmosphere will get too dark and gray for my taste.
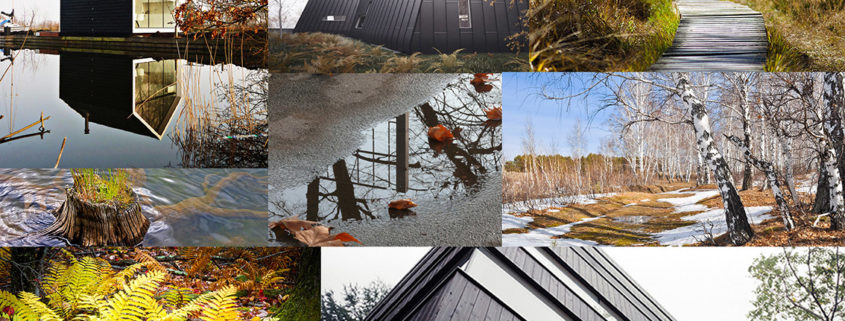
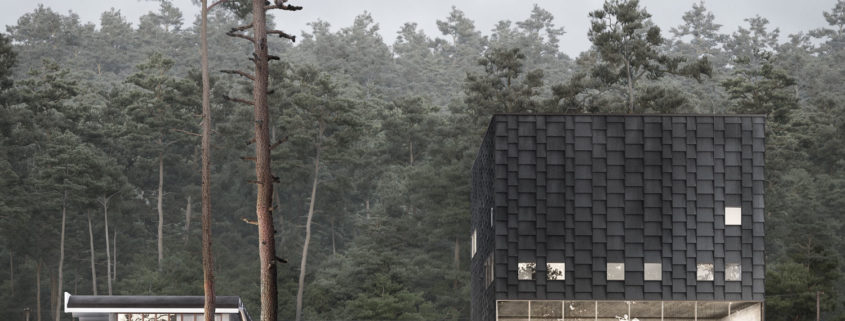
So I decided to go for my very first intention which was to show it in an autumn scene or rather a winter scene shortly before spring is about to come. I really like the combination of birches and ferns in autumn colors.

It’s been a pleasure to participate in this competition. Attached final entry image and progress pages.
Good luck.
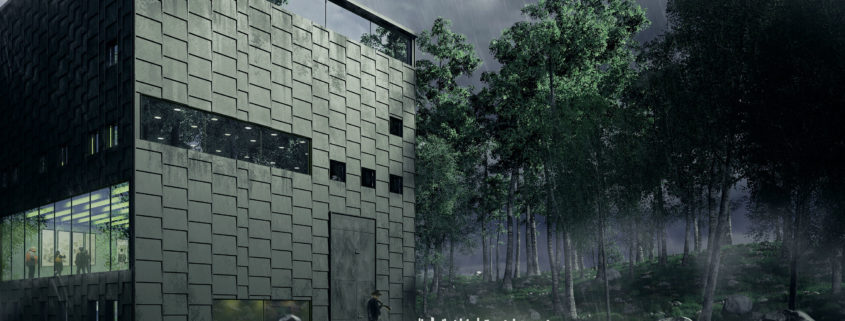
Having to show the best of this scene in a short period of time, i chose one side of the building to work on with its surrounding.
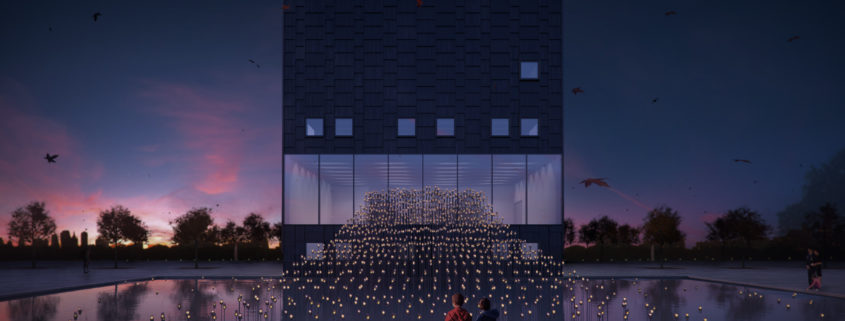
I imagened my building in a winter scene, after the rain when everything is still wet, and rain drops crawling on the wooden elevation and the glass. the building is located in a small village next to a park where you can find narrow streets with lot of dead leaves, and some benches where people can sit and look at the cityscape in the horizon.
I modeled my builing in 3dsmax and rendered in vray, photoshop for postporduction, plants and backround buildings from evermotion library. i have put lot of work on the materials to make them look wet and specialy the wood and the glass.
At first i wanted my shot to be in the blue hour scene, but i realised that it will loose lot of details in the dark, so i kept it as a night shot but with a warmer and brighter mood.
If i had the chance to redo the assignment, i would choose a snowy scene, when it starts to snow and not everything is covered with snow and you can still finds some places where you can see the ground and the dead leaves.
It’s been a pleasure to participate in this competition. Attached final entry image and progress pages.
Good luck.
Postproduction is my favourite part of the process. I guess I am not alone in this 😉 Everything is so flexible and inmediate in comparision to 3dsmax that it really mean a big breath of fresh air to the process.
The first step when working in photoshop is to use one of my actions to create the project folders. Needless to say that, if the organization in 3dsmax is important, in photoshop is essential. A correct folder structure is a must. Also using pre-programmed actions saves a lot of time for mechanical processes like switching masks to channels (img.1)
I set up masks for everything in my image. I do not want to waste time making selections and if I have time I will retouch all the elements that appear on the scene.
Another essential part of my workflow with photoshop is the use of “helpers”. These “helpers” are filters that isolate value, saturation and tone. They are really really usefull when giving unity to all the different elements in the images. They also become necessary to integrate the assets properly. (img.2)
One more thing that is also really important: Getting the zdepth element in 32bit. This allows to have different “versions” of the zdepth allowing you to a better control of the space between the camera and the objects. Zdepth works great for depth of field, but it has many other interesting uses. You can simulate the “atmosfere” with different zdepths and give profundity to the image. And is also great as a mask for let’s say saturation, value or whatever. (img.3)
Introductions appart, it’s time to get messy. I start working in the EXR 32bit file. I create different exposures versions from the original and mask them. Then I start “painting” light and darkness as if I were manually building a high dynamic range image. I usually get free license here and star being more artistic and less square-head. (Whole process can be seen in img.4).
Next is using the render elements globally. Reflection, Total light, global ilumination, speculars… They will almost always enhance the image in no time.
Next is adjusting the items one by one. I like to use levels and the burn and doge tool to sculpt some more light.
In this last step I also adjust the global value of the image with the help of the value “helper”
Next is adjusting the saturation of the items so they appear homogeneous in the imgage. Saturation helper used here.
Now it’s time for the tone. I choose my color palette and match it with the tone helper. As I said, these guys are very usefull.
When I have a catchy image and I’m happy with the mood it’s time to insert the assets:
As I did with the ilumination stage, I do a sketch of the assets that I want in the scene and their importance (img.5). It is about to tell a story so there must be a protagonist. Mine is going to be a newspaper boy who has already finished his work and decides to relax in front of the new museum building. Everyone in the city is talking about this weird cube that hosts a renaissance sculpture exposition. The kid is just there leaning on a tree smoking his pipe when something calls his attention.
Once the story is set up (I’m sorry to disapoint, no gangster firing this time :D), it is time to get the assets themselves.
As I said in the concept stage, my image is based in the 1930’s… so to get people cutouts I am basically using some scenes from my beloved movies. I just have to look for the perfect positions, camera angle and lighting conditions of my assets and export the frame where they are (img.6).
I merge them in the image using my old friends “the helpers” to integrate them.
Lastly I add some extra effects as depth of field, LUTS and final retouch in Camera Raw and voilá! C’est fini.
Rush!!