Blender with Corona Renderer
Lasse Rode shared this little study with Blender and Corona Renderer in our new ArchVIZ Group! He’s pretty good at making these studies and kindly shares it here as well, aiming to bring more eyes and minds on this topic – The use of Blender for Architectural Visualization. Dive in!
Dear Everyone,
In this little article, I want to show something I just recently re-discovered for myself: The beautiful Blender!
You know it – the free, open-source 3d program with the very -ahem- own UI and controls. The underrated and neglected one, for the hobbyists only.
Well – when I tried to get deeper into it this time on the outlook for a true alternative excellent addition to our current pipeline I realized (again) all of the things above are not necessarily true.
But let me start from the beginning…
Why?
I love simple and easy to use programs. I love ambitious projects. Well, I also find it excellent to look over the rim of a teacup and learn new things.
Also, I find it imperative to know more 3d software packages than the one you usually use – it frees up the mind to see how things could also be achieved differently – apart from the way you already know.
I tried Blender several times – but I always shied away from it again for several reasons: The UI is unique, and it lacked a convincing render engine.
What I mentioned above is changed. Since some time there is the Cycles render engine – and exporters for Corona Renderer and V-Ray.
The exporter for Corona has been around for quite some time, and I tried it once in Alpha7 days, before the Corona Renderer 1.0 release. It worked quite good already, but it wasn’t developed further, unfortunately. Until recently… August 2016 to be correct.
If you are interested, check the bitbucket repository to read the development history of it (also the place where to get the corona bridge )
So, in the adventurous mood, I was in, I started blender again – watched several quick-start videos for beginners like this one and imported an old scene I made a couple of years ago.
I was so amazed!
The whole handling of Blender suddenly felt natural when I lost all the anxiety of not being as quick as I use to be in max, having incorporated all the shortcuts – after some hours it got fluent.
I tried some basic stuff like box modeling, watched a lot of videos by the BlenderGuru and Creative Shrimp, and it felt right!
I tried first to use Cycles and got quite far with it – it has great potential and what makes it strong is that it works both with CPU and GPU. So if you have some strong video cards on your machine, you can get quite good rendering times.
Well – I recycled (pun intended) this older scene, and well – it worked out quite good. The only thing I noticed is that was hard, if not impossible to get rid of the grain completely.
I tried all the things that are recommended like clamping, portals, etc. There might be reasons for this – and maybe I should have rendered a bit longer.
Well… see for yourself.
I liked it – but as said above, I had a very hard time to get the grain out.
So, the next thing to do for me was to try out how the Corona Renderer integration into Blender works these days. And it is far deeper integrated as you might think when hearing the word “exporter” – you have full control of almost everything like you know it from the 3dsmax version! The materials and render settings are very familiar; everything works just fine. (Later in the HOW section).
What?
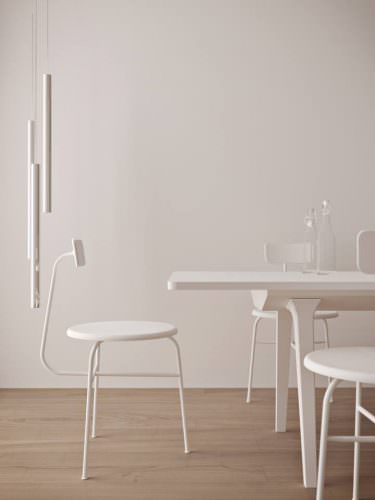
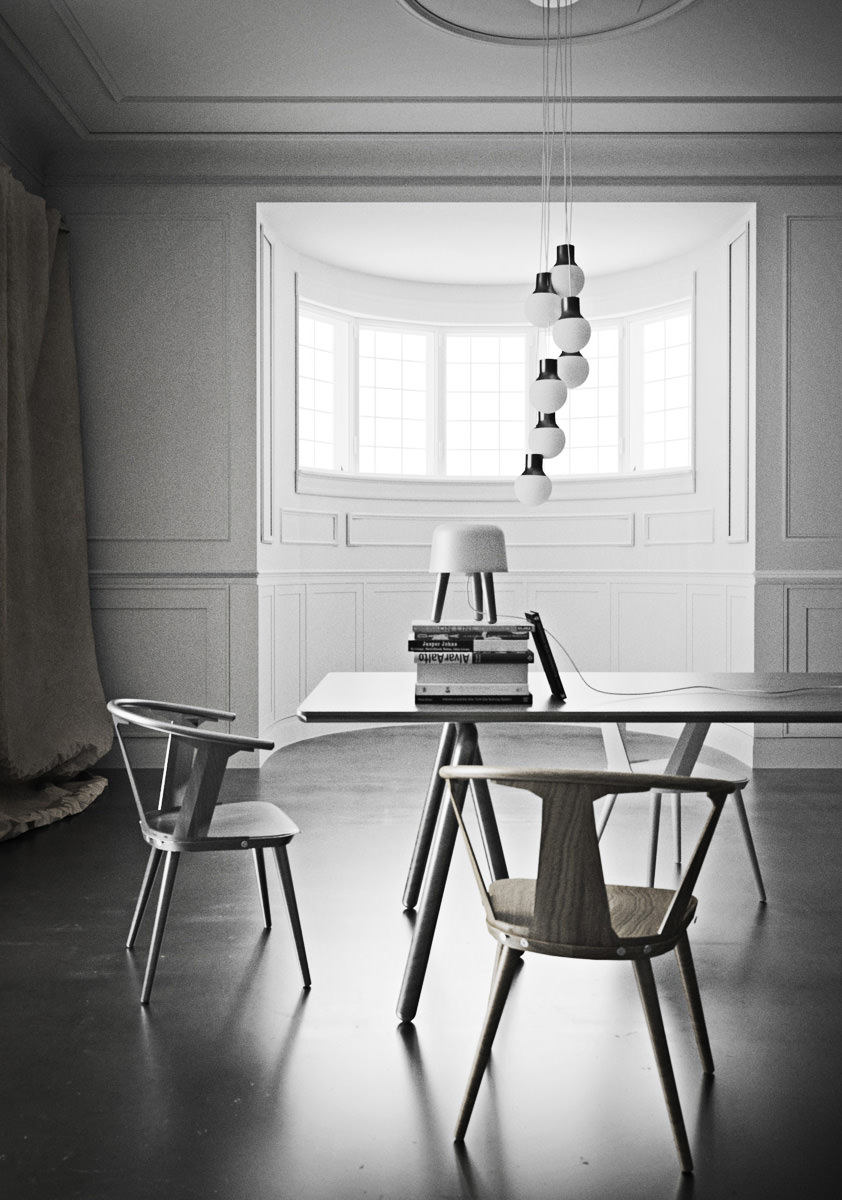
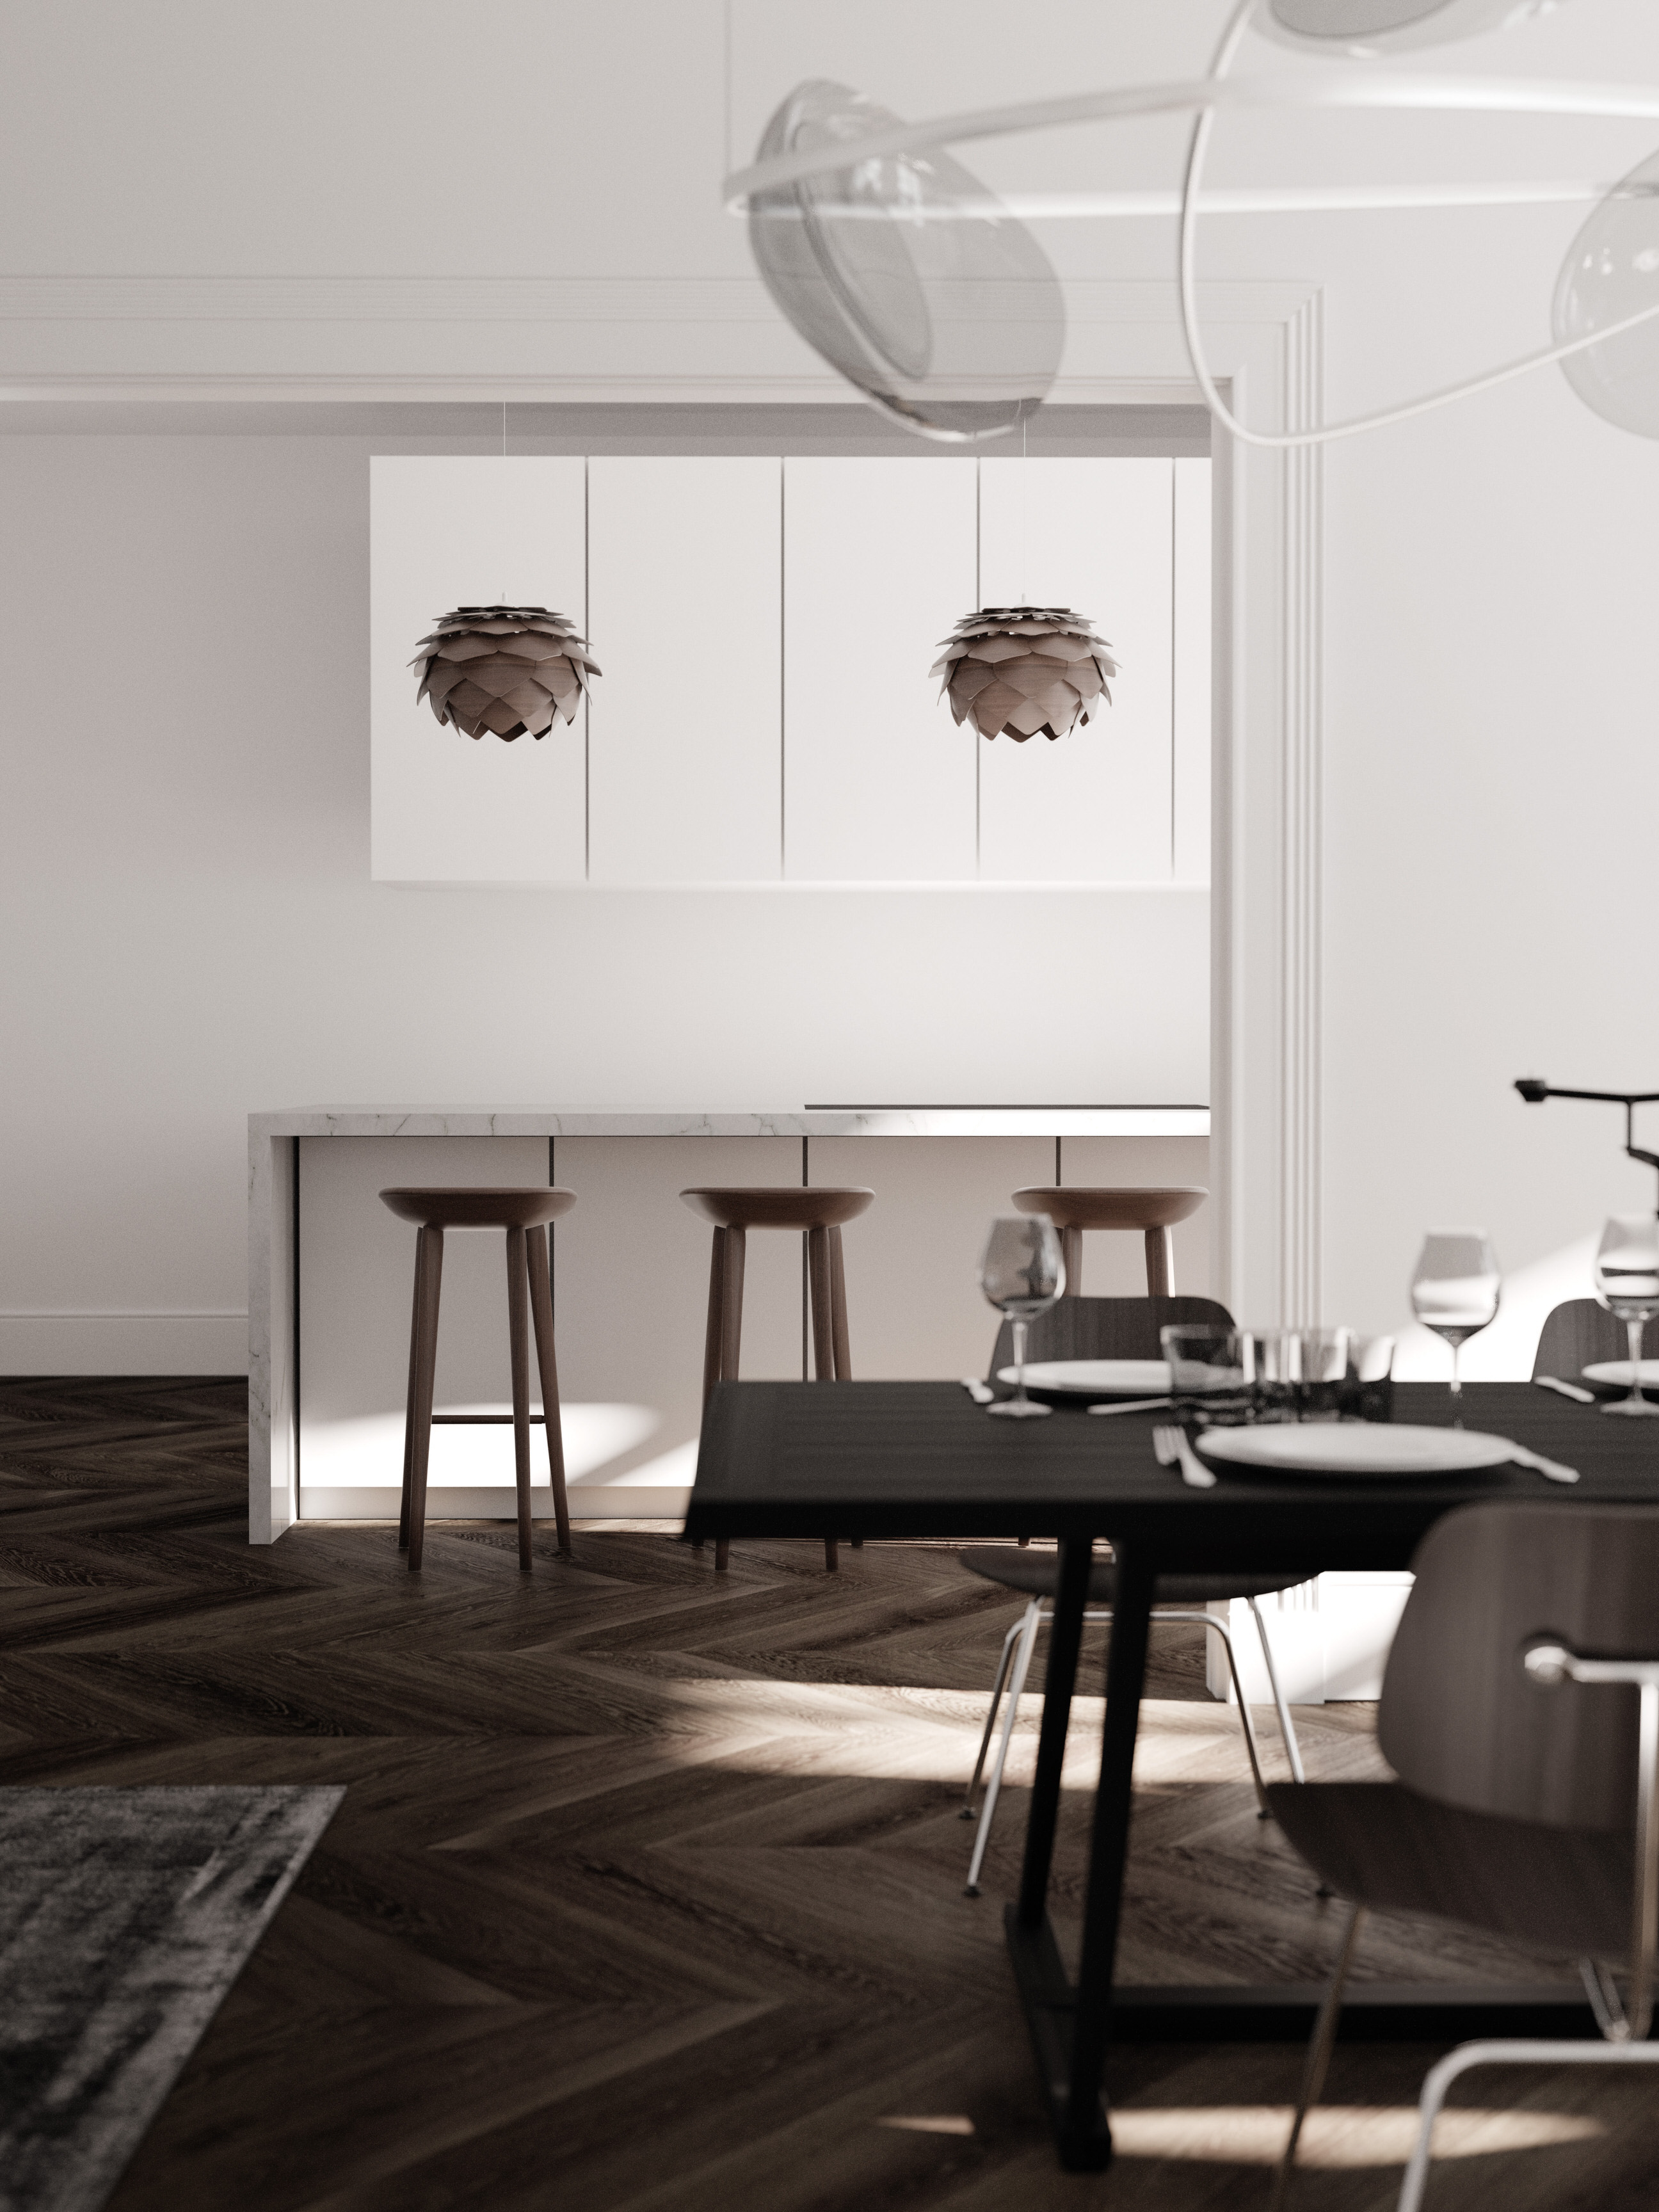
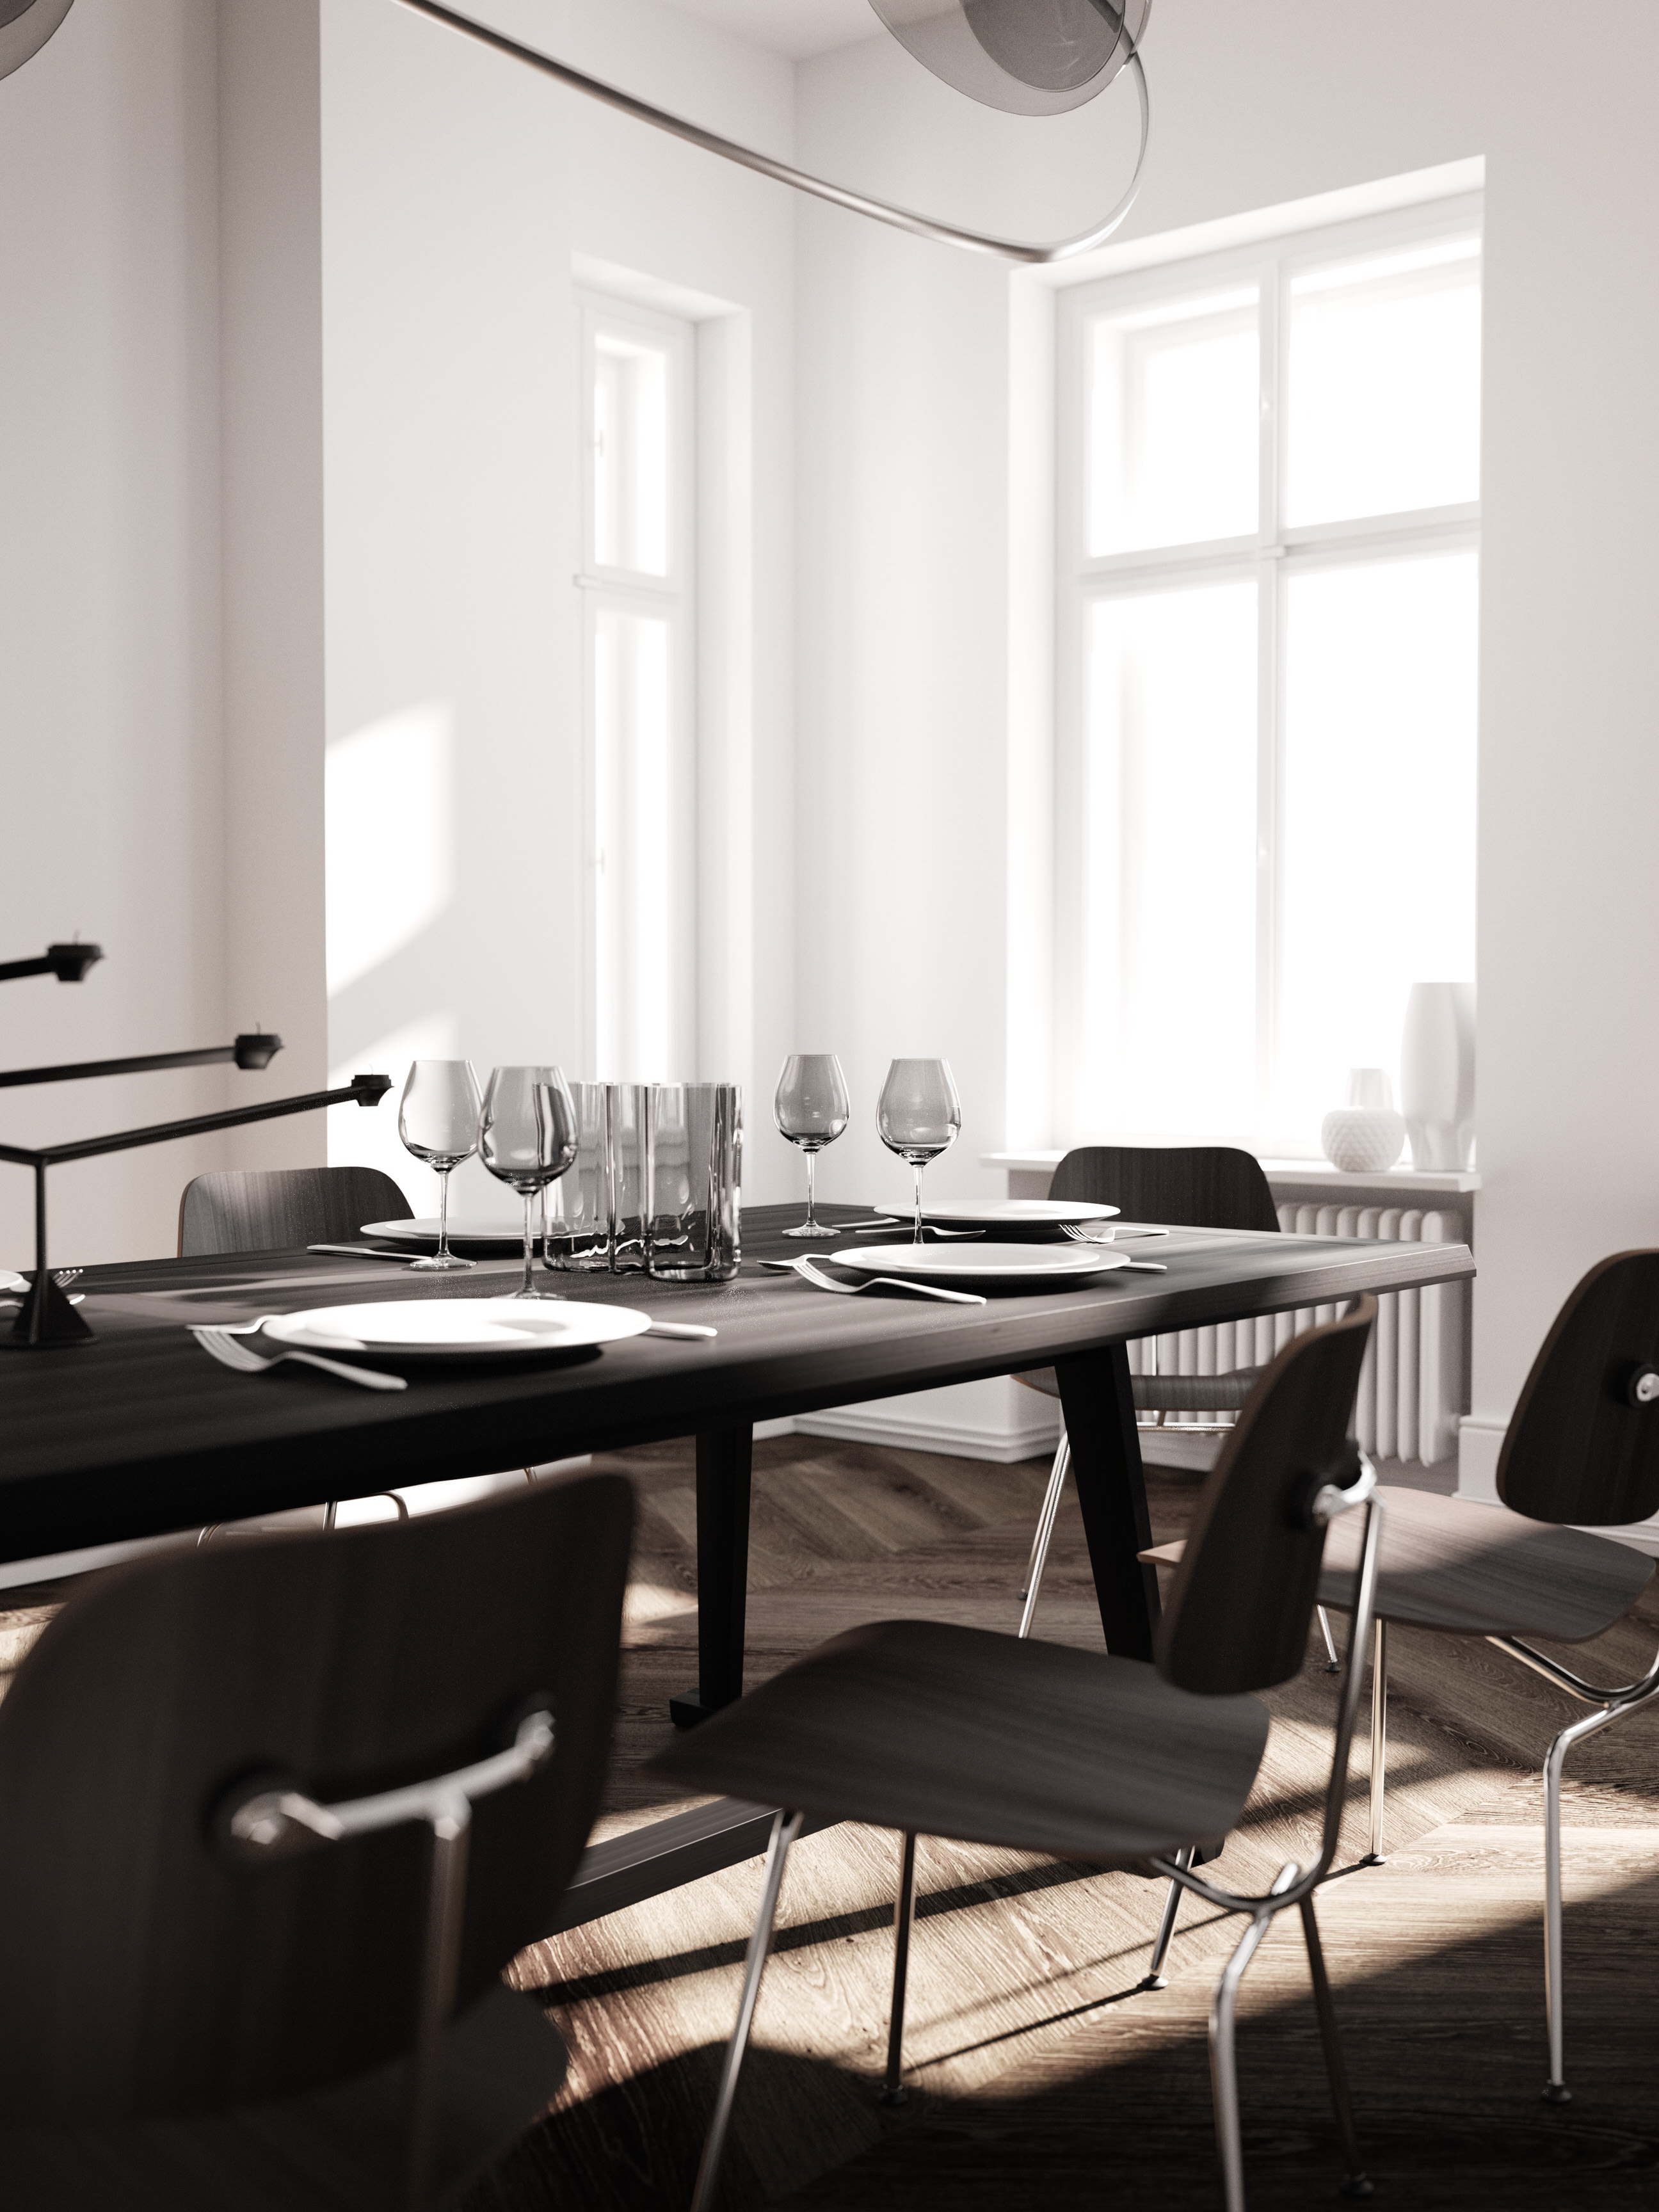
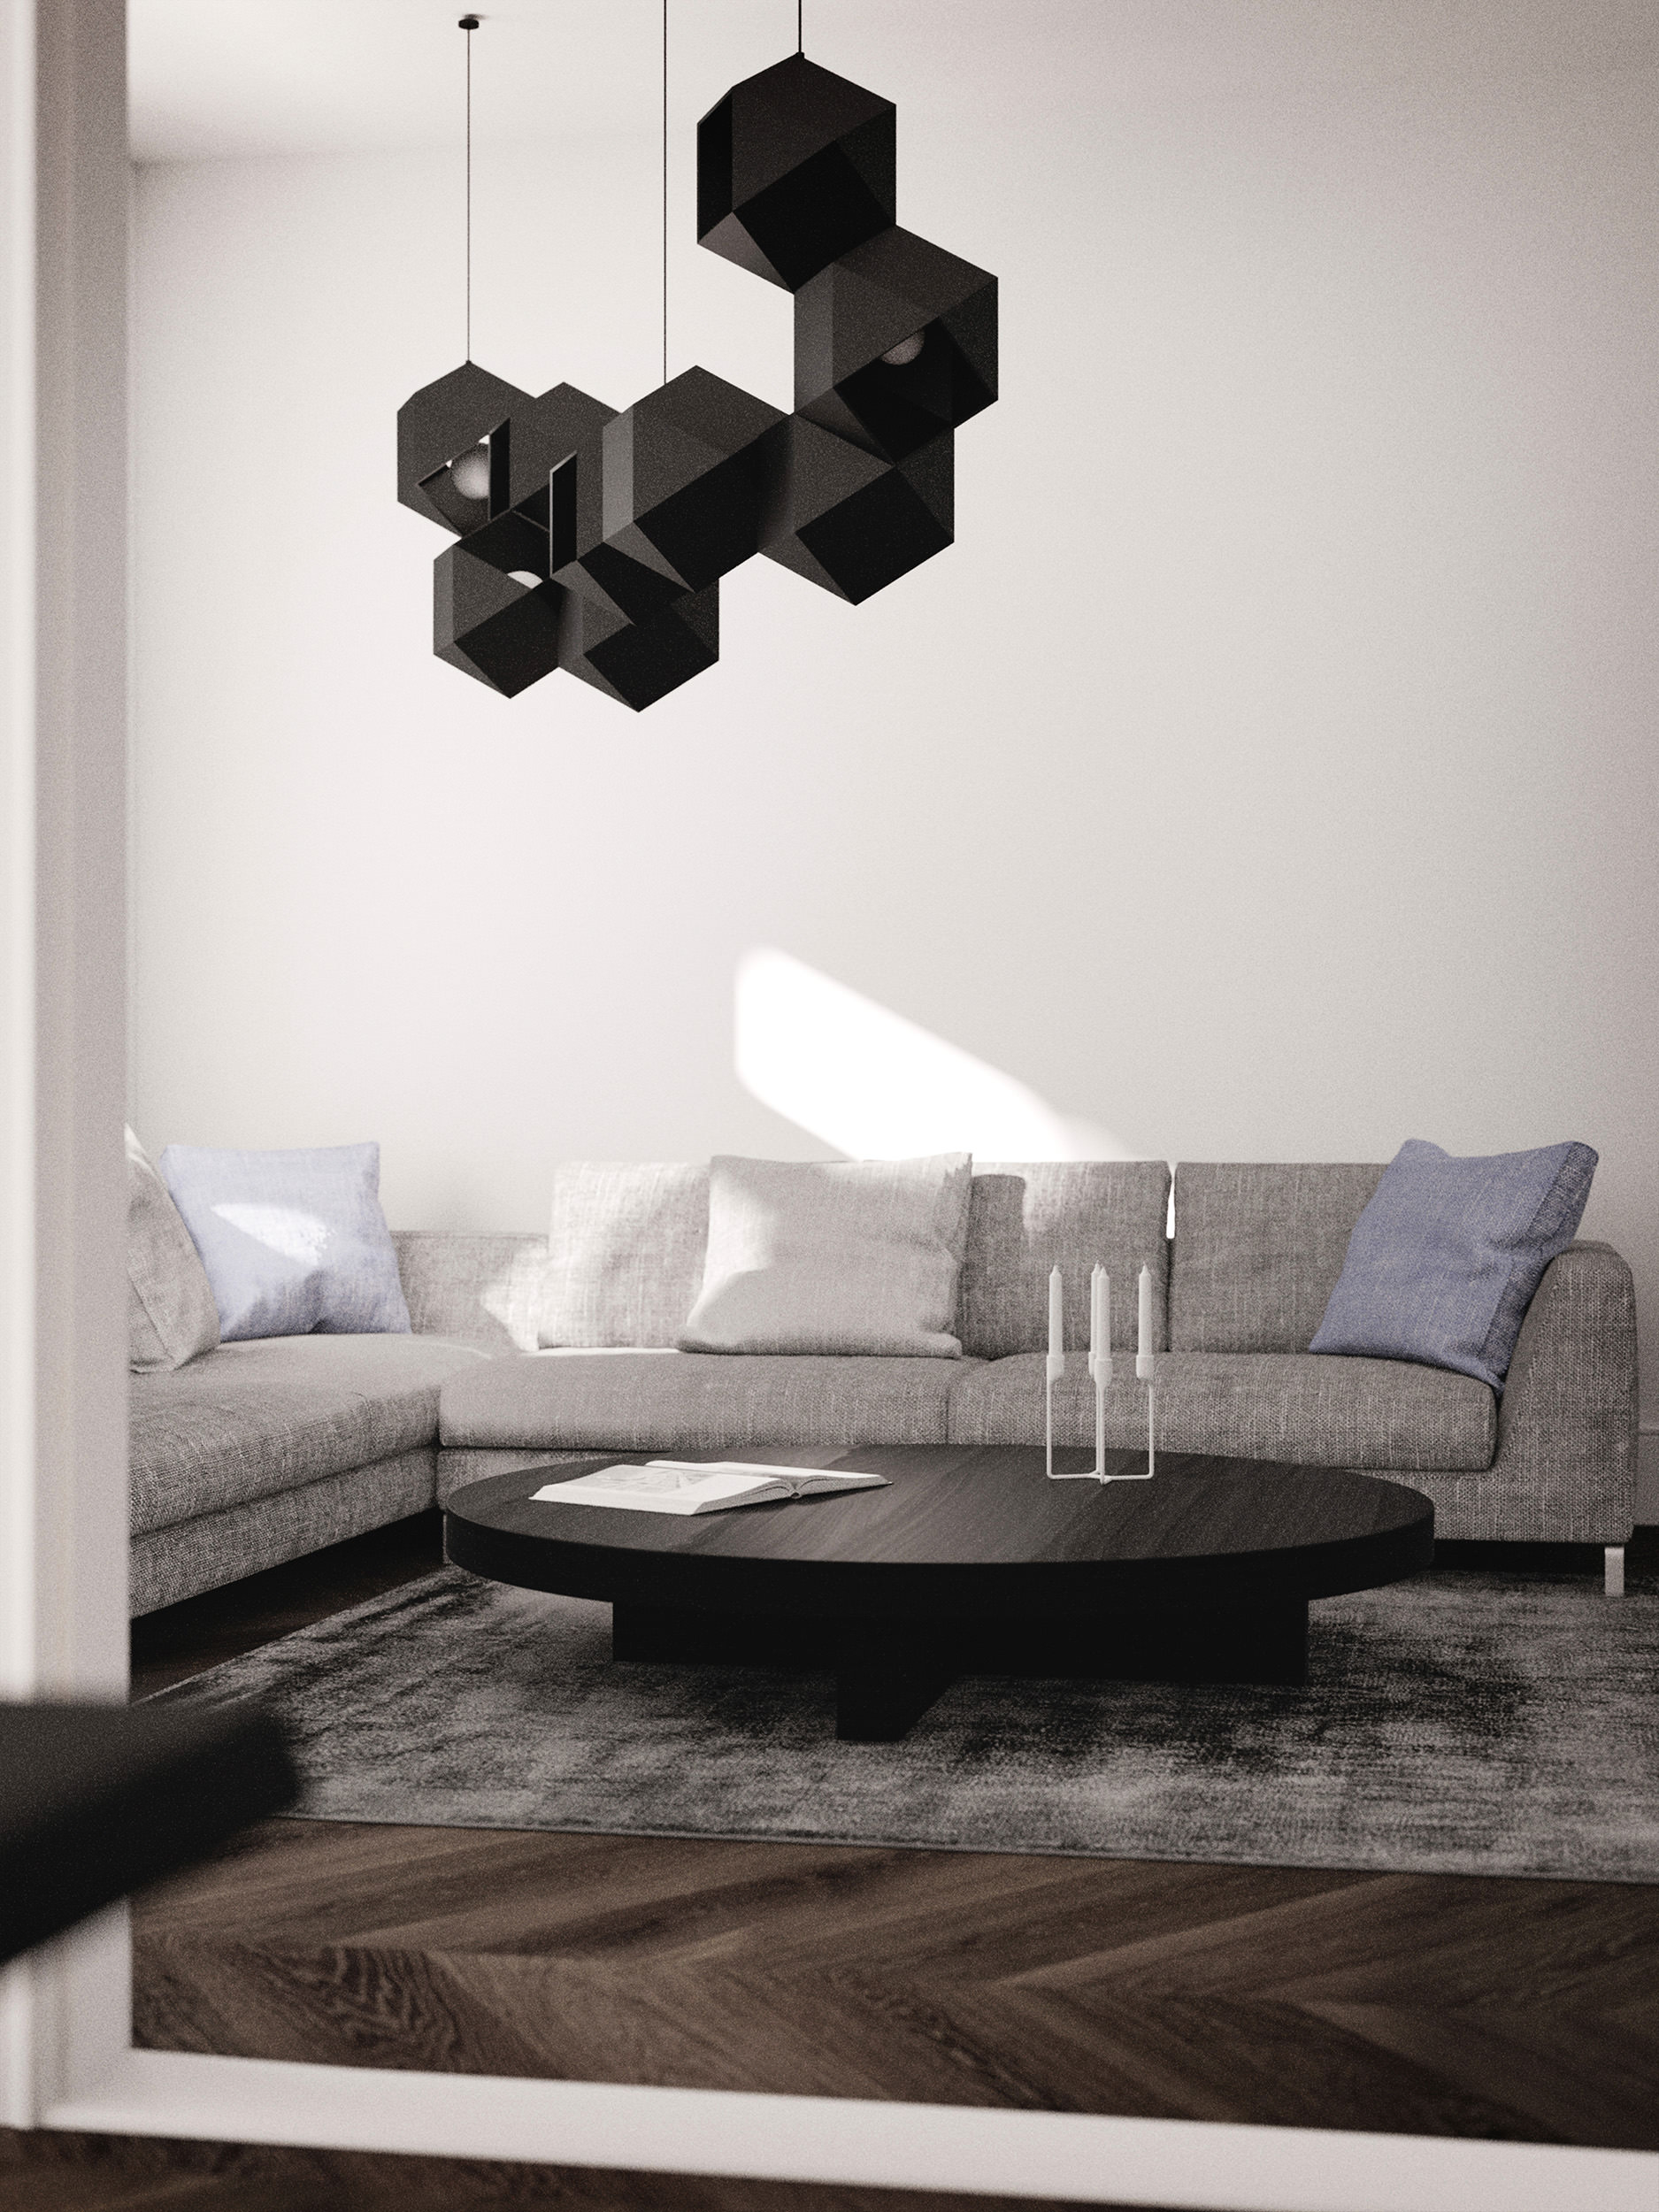
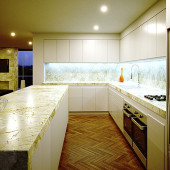
Well to get on this little story I better first show the images I made then with Blender and Corona. Please be aware that there’s no postprocessing applied apart from some minor tone mapping and contrast tweaks within Corona VFB. So here you go:
Renderings with blender and Corona Renderer
So – I was euphoric! I did not expect this being possible with free (!) software.
These are great times, seriously.
OK – I got curious even more and tried out how this particular scene also works when rendered in cycles. So I did that as well. Well – It worked out as well but to be honest, I got a bit anxious about the render times – which are similar to Corona but still carry some persistent grain. Also, I found it quite hard to get the colors right.
Due to strange color mapping behavior, tweaking the material preview and render output don’t have too many things in common… but that is a whole different story regarding the color space of Blender (I know there are respective add-ons but still it feels not easy to use).
I think that would be one of the main reasons I would choose Corona anytime. You have to do weird gamma and exposure stunts combined with extreme clamping to get to make Cycles behave well regarding color-mapping. I know these are strong words – If anyone wants to discuss this, drop me a line in the comments.
But well, below you see my results I got with Cycles from the same scene. There are some differences in color, true – well that’s how it is 🙂
Also – these have some post processing applied. Some curves and vignette – I know this could have been done in Blender, but I could not get it right – the contrast and curves behaved a bit weird due to the awkward colour-mapping tweaks mentioned above – I made these in PS (cheating, I know, Krita would be the proper way.)
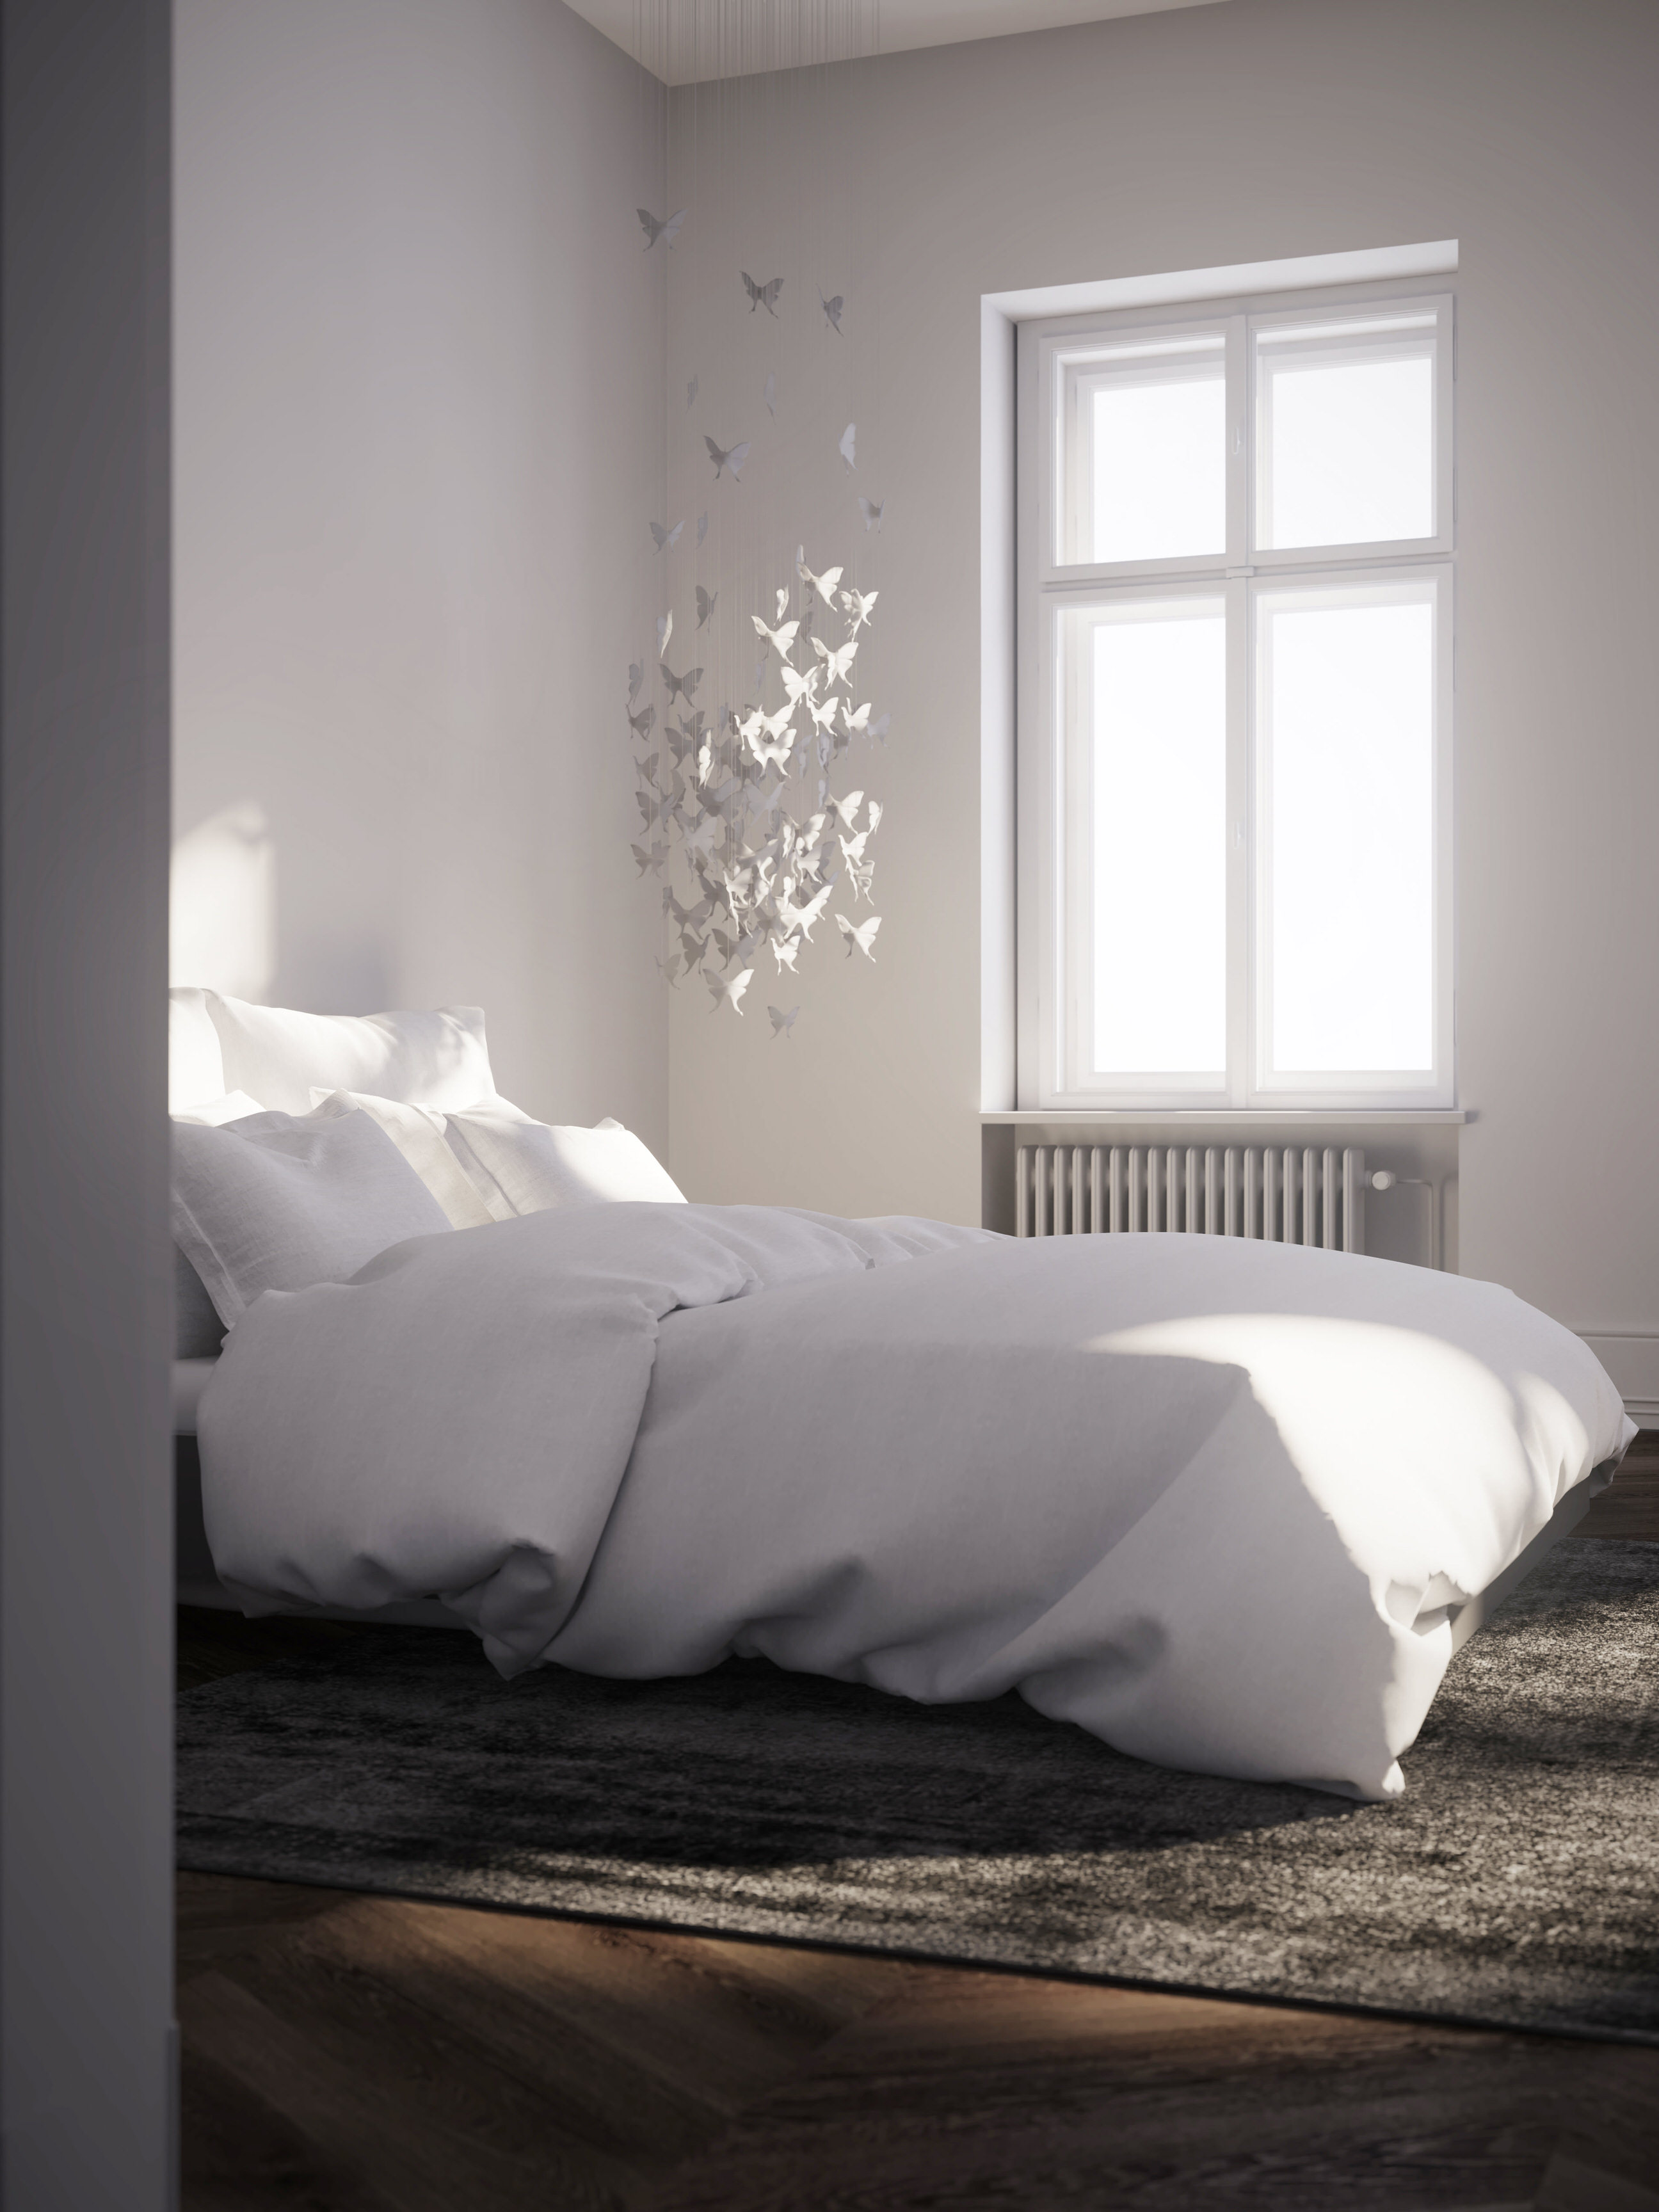
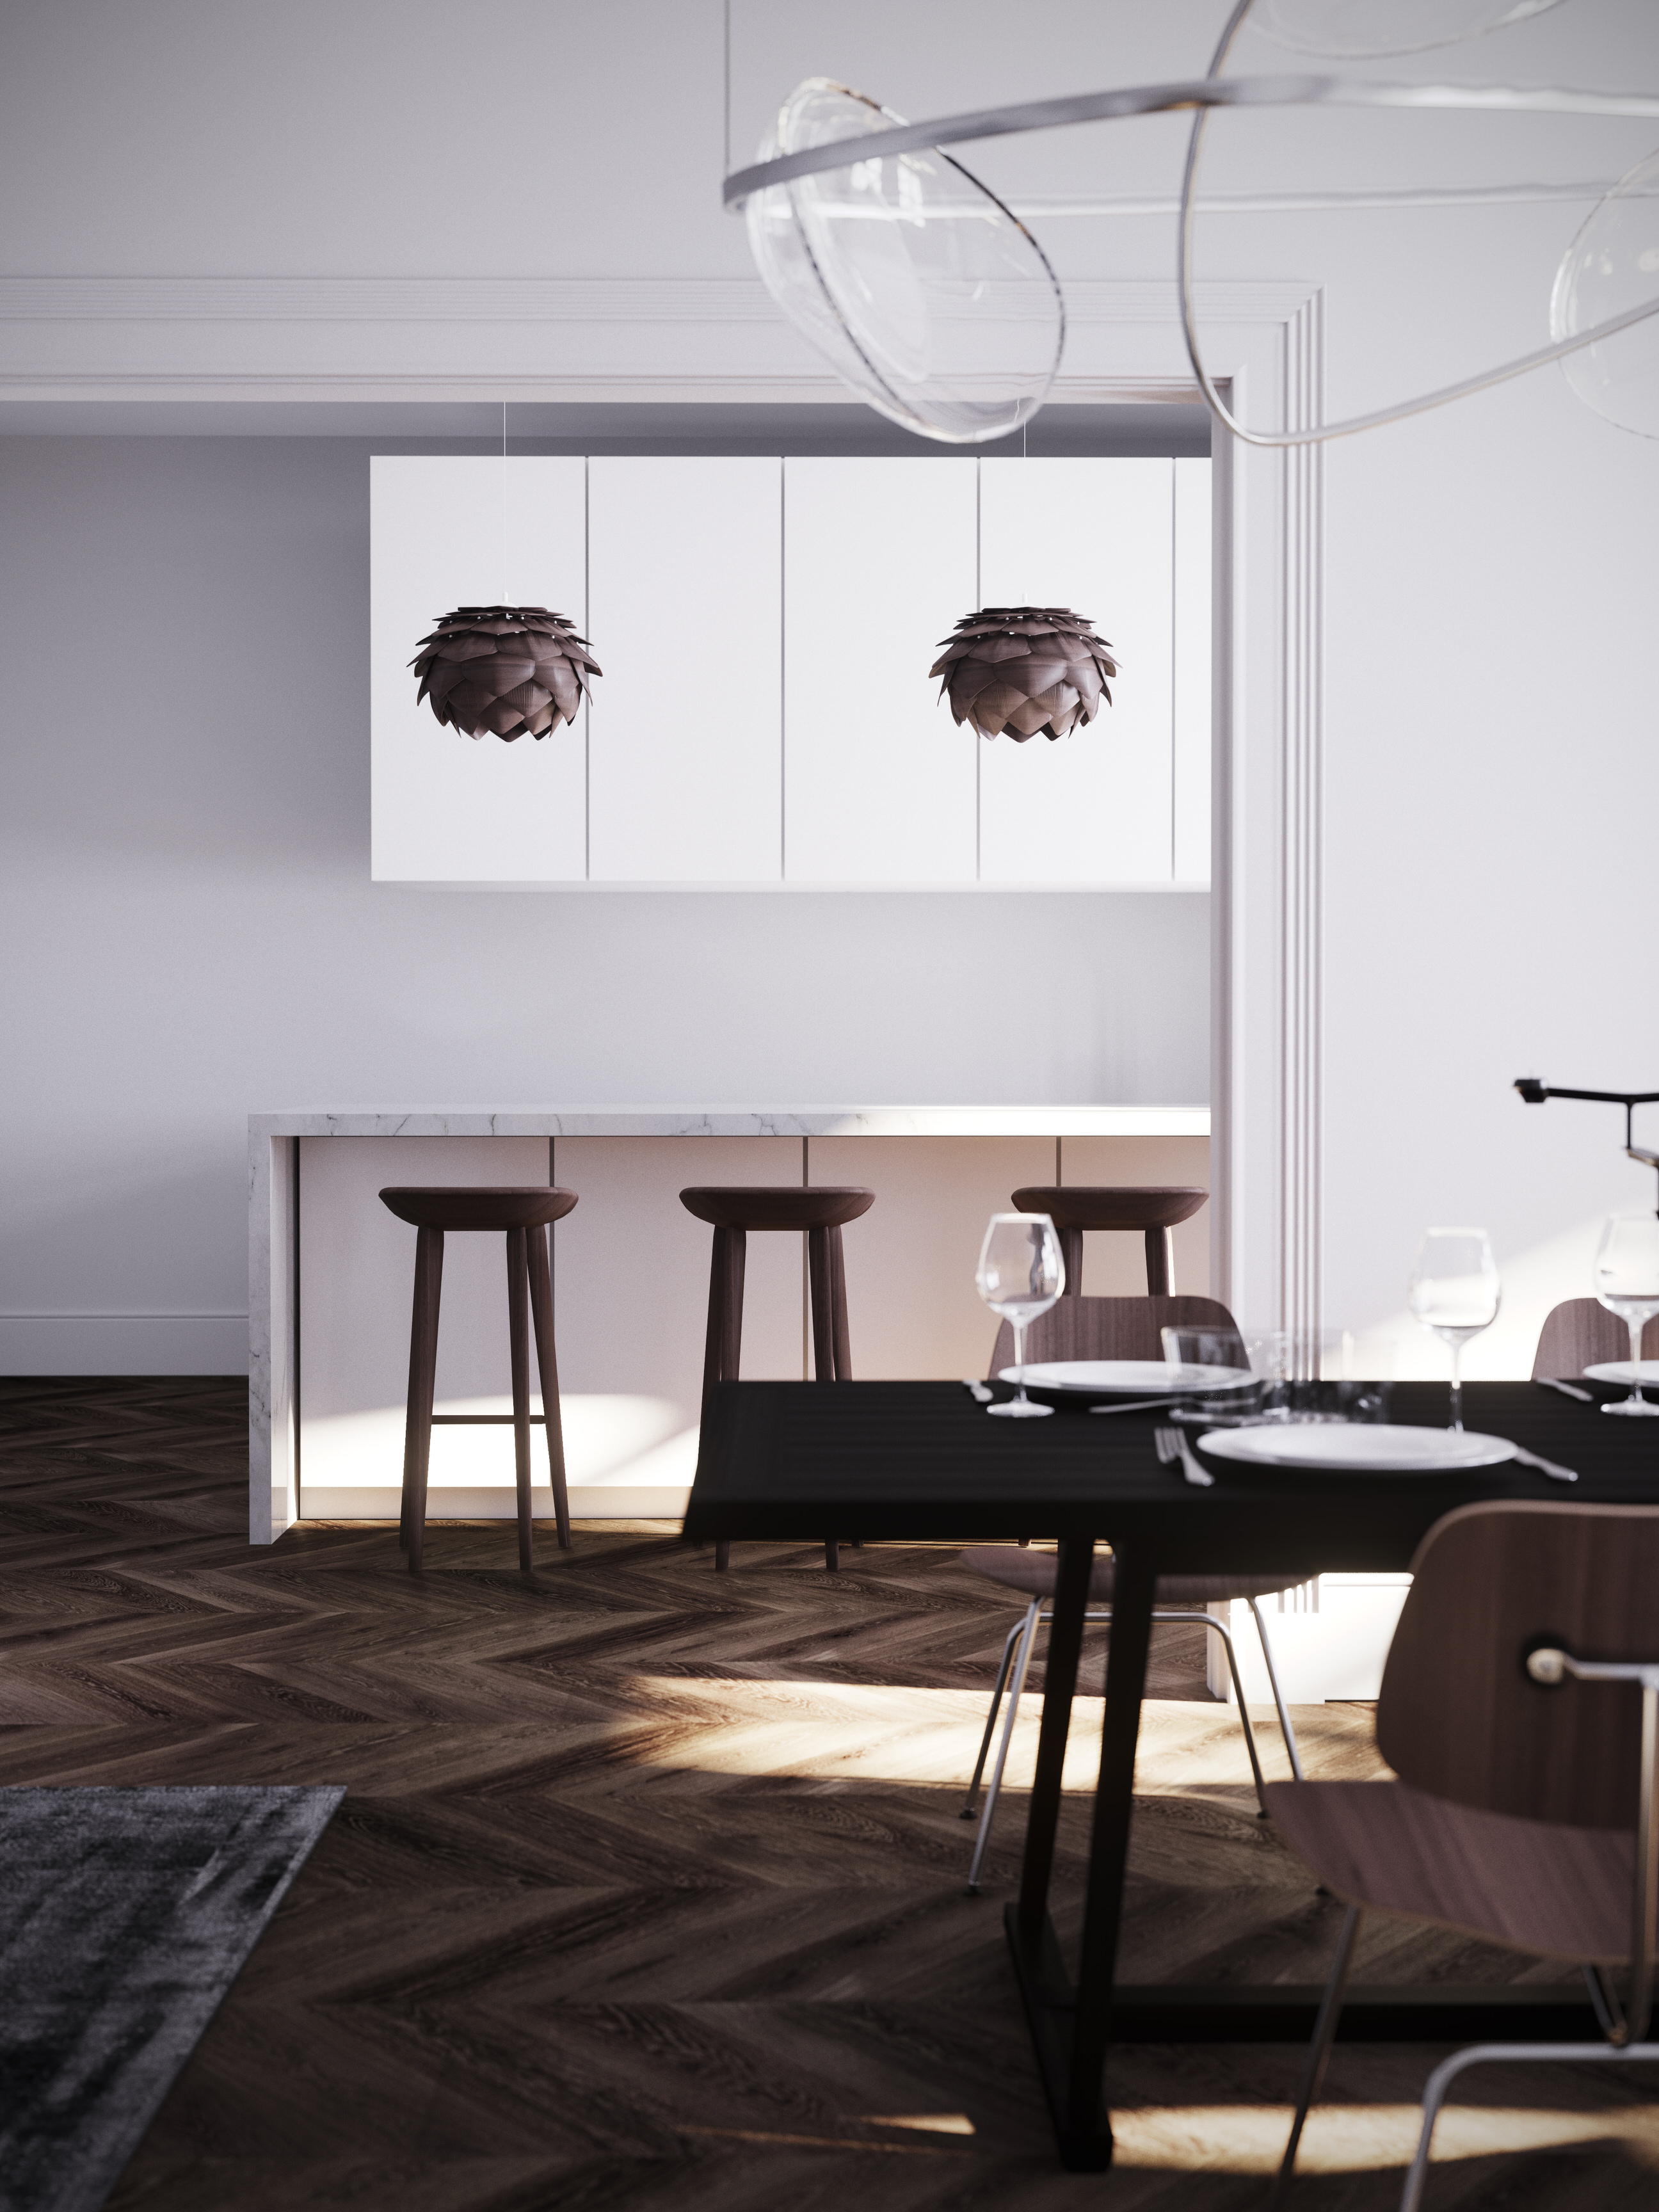
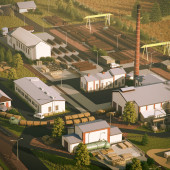
So here go the Blender-Cylces-Photoshop renders:
As you can see: Quite nice – but it has some persistent noise that might never go away (rendered 10000 samples, so that is quite some time).
But apart from that, I like that result as well.
So let’s get to the next part…
How?
Well, how to get started. I could write a lengthy tutorial on how to get into Blender in combination with the Corona – but thanks to the large user base of Blender (really!) and big community support there is already a lot of information out there. So let me compile this for you how to get started:
- Get Blender
- Download the Corona Exporter along with a Standalone of Corona Renderer 1.6 (it is a daily built – the 1.5 Standalone does not work with that version) please be aware that in current version of the exporter 4.10 is an issue with instanced geometry – so if you download it NOW and notice that.. I will be fixed soon, I am sure 🙂 (don’t let that discourage you)
- Watch this absolute beginner Blender tutorial series until you find yourself fit enough to dive deeper (anyway a quick Google search now and then always helps if you get stuck)
- Also these channels for out looking of what great stuff could be done: BlenderGuru and Creative Shrimp
- For starting Blender with Corona watch this video available on the Corona channel.
- There is also a dedicated forum section on the Corona Forum for the Blender integration as well as a wiki on the official Corona Website – both worth visiting to get started and to learn more.
- And most important: Read the tutorial series on chocofur.com on Blender and Corona. They are very useful and complete – especially when walking the arch-viz path.
Well – and some little tips from my side:
Don’t get afraid of the Blender UI and shortcuts. Let things happen. There is the option to let Blender behave like Max or Maya – it might be good for a jump-start. But in the long run, this is a dead-end road: When you get stuck, it is far more easy to find help online when using the standard key layout of Blender. Also, there are some very good techniques and concepts within the way how navigation works in Blender.
For help on the shortcuts, I can recommend this cheat-sheet. Make it your desktop wallpaper – after one week you don’t need it anymore, I promise 😉
Other great things
Well – one of the biggest questions, of course, is: Ok, Corona. But will Blender also work with V-Ray?
Answer: Yes, as mentioned above there is an exporter for Vray, but we did not look into that yet.
How about mass-instancing aka scattering?
Answer: Blender has a great particle system, that exports to Corona Standalone. It exports the same way like Corona scatters would – so there it is: your full grown mass-instancing tool!
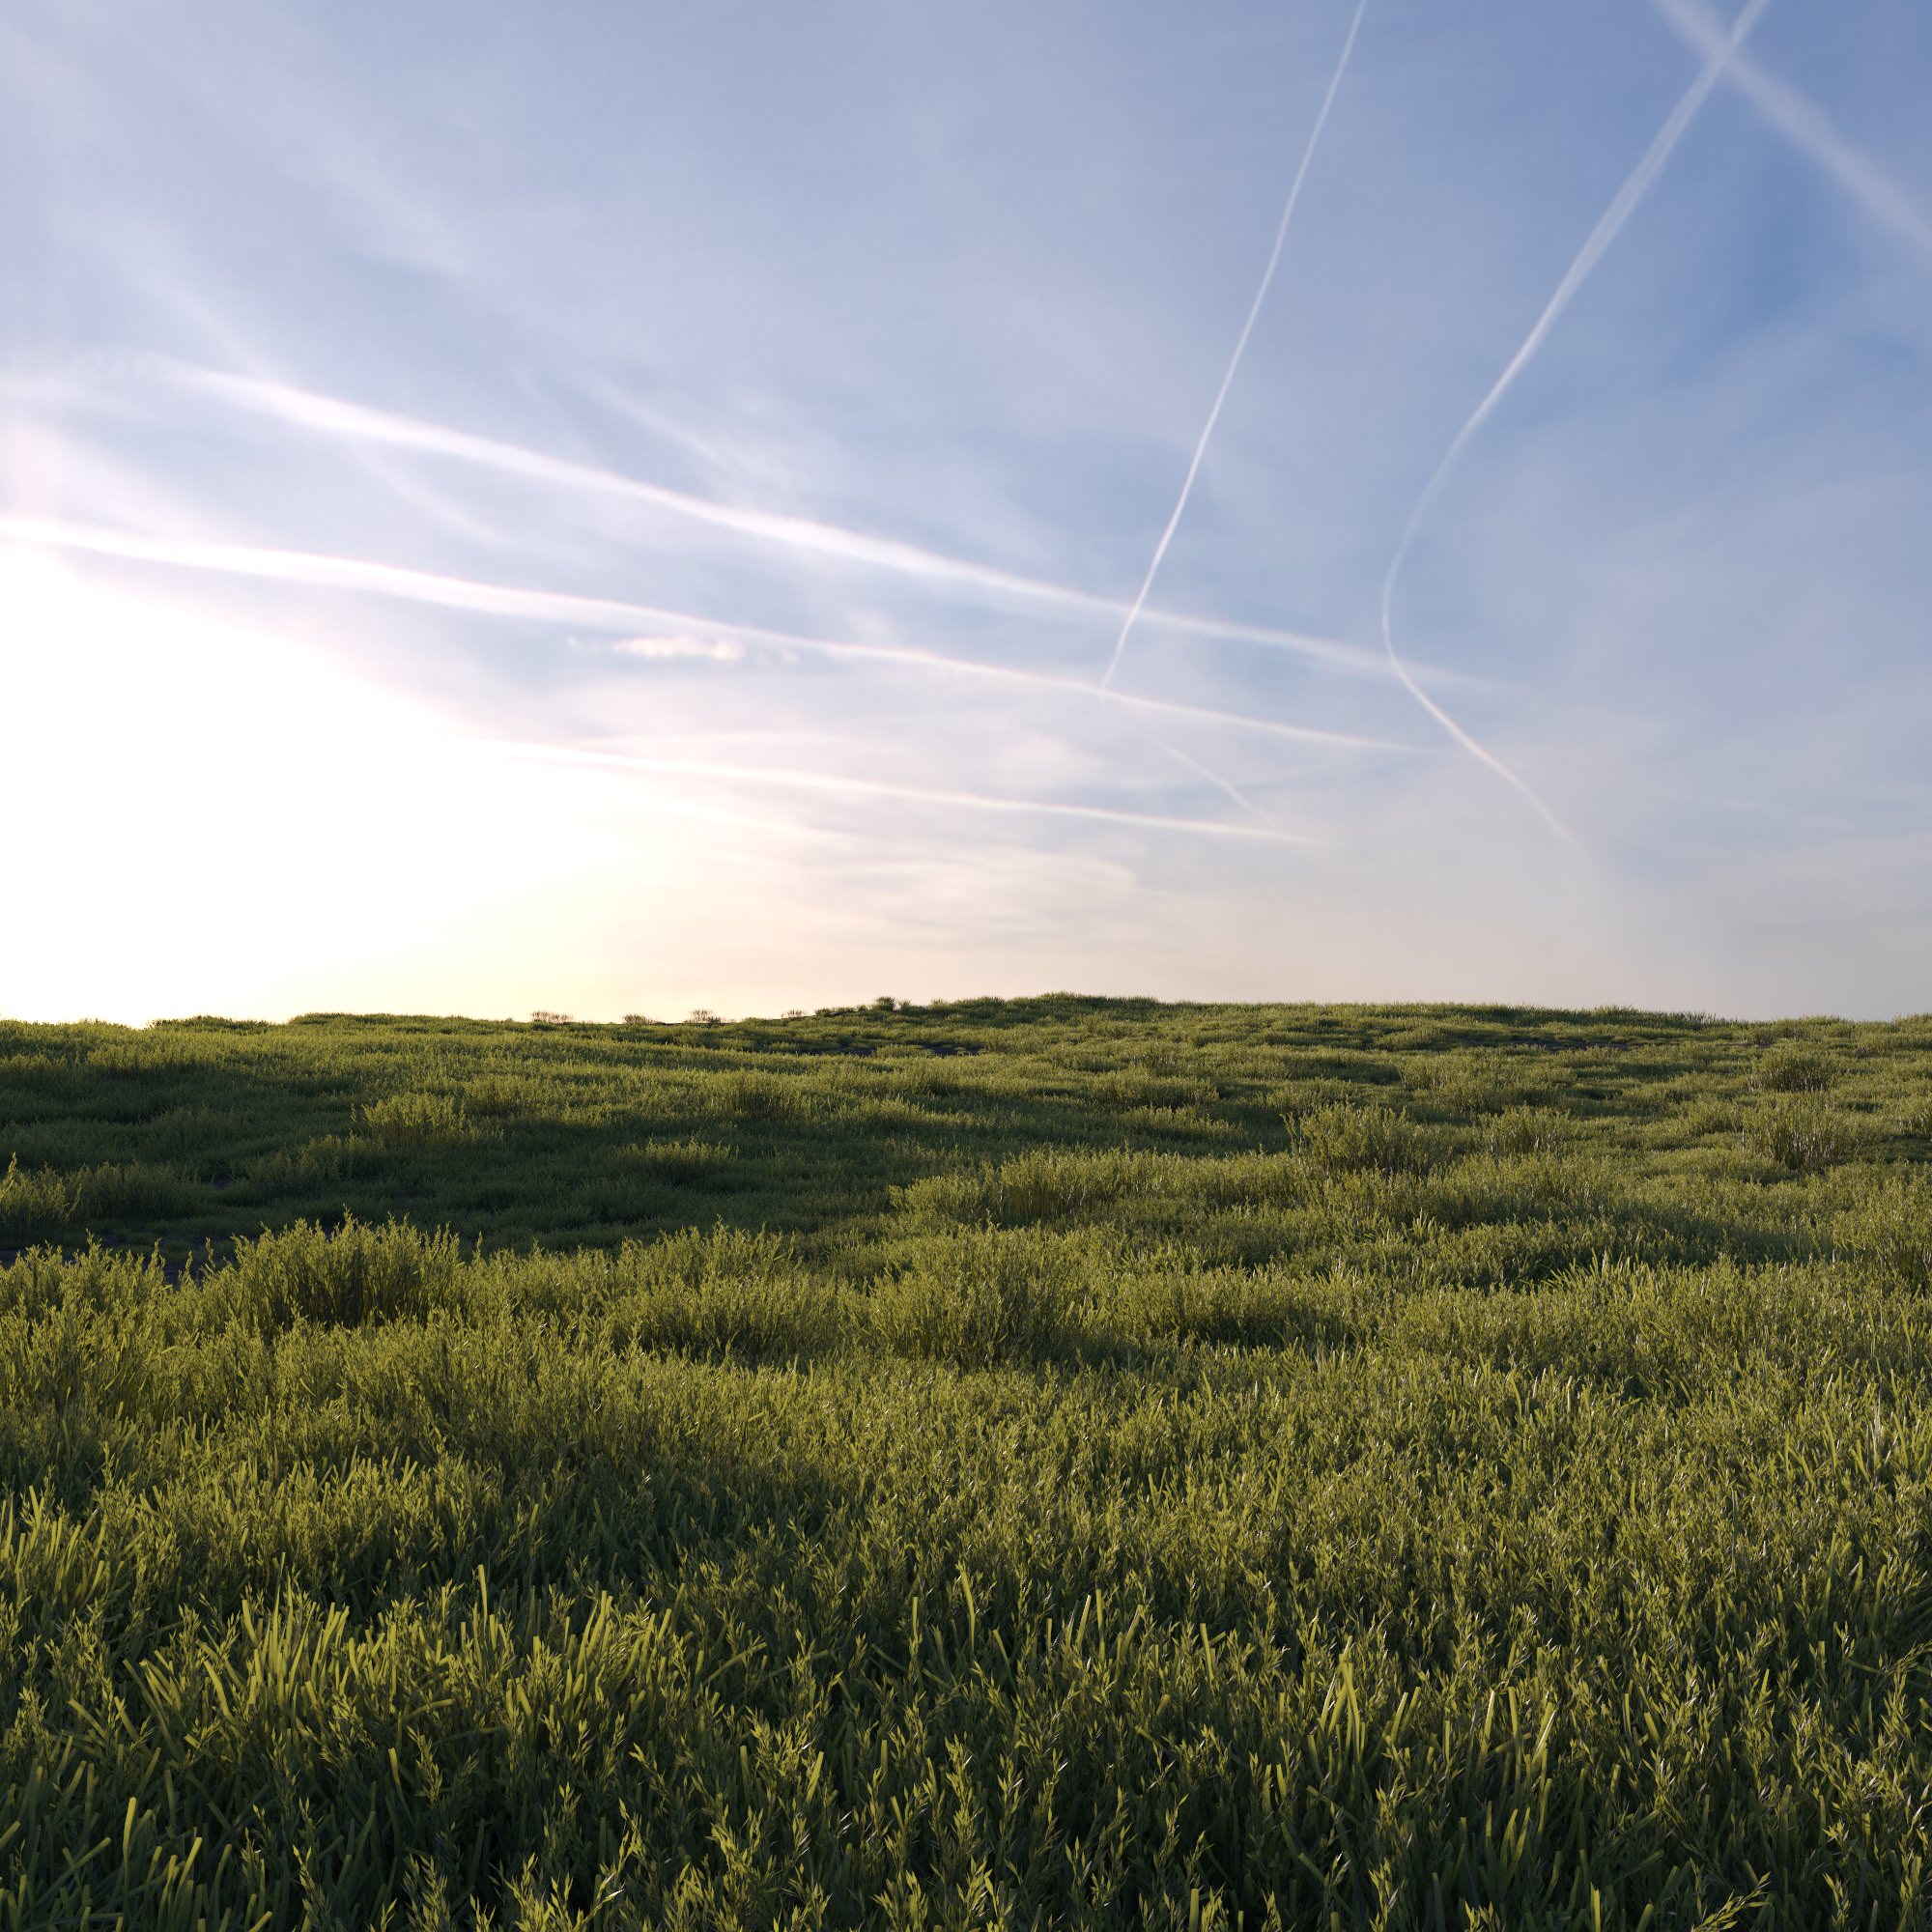
These, at last, are some tests I made just today :
Scattering grass in blender & corona using the native particle system exporting as corona scatter. Pretty wicked, huh?
conclusion/final words
Well – what can I say. I am pretty excited how good Blender works these days and how fine the Corona Renderer is integrated into it – I hope you might get curious a bit to try it out for yourself! You won’t regret it!
I know, there are limitations, and you surely cannot compare the Blender with full-grown “professional” software like the big ones we all know, BUT : It is a great tool, and it has potential to become a true replacement in certain scenarios. Also most important thing:
The only way to improve it is by using it!
Find the weak spots, point them out. In opposite to a commercial product, I have the feeling people involved in the developing circles are more open to issues and don’t cover them up for marketing reasons. Always remember: we are talking production software here and no consumer product. As professionals, we are obliged to help to improve our tools.
Render on!
Lasse.


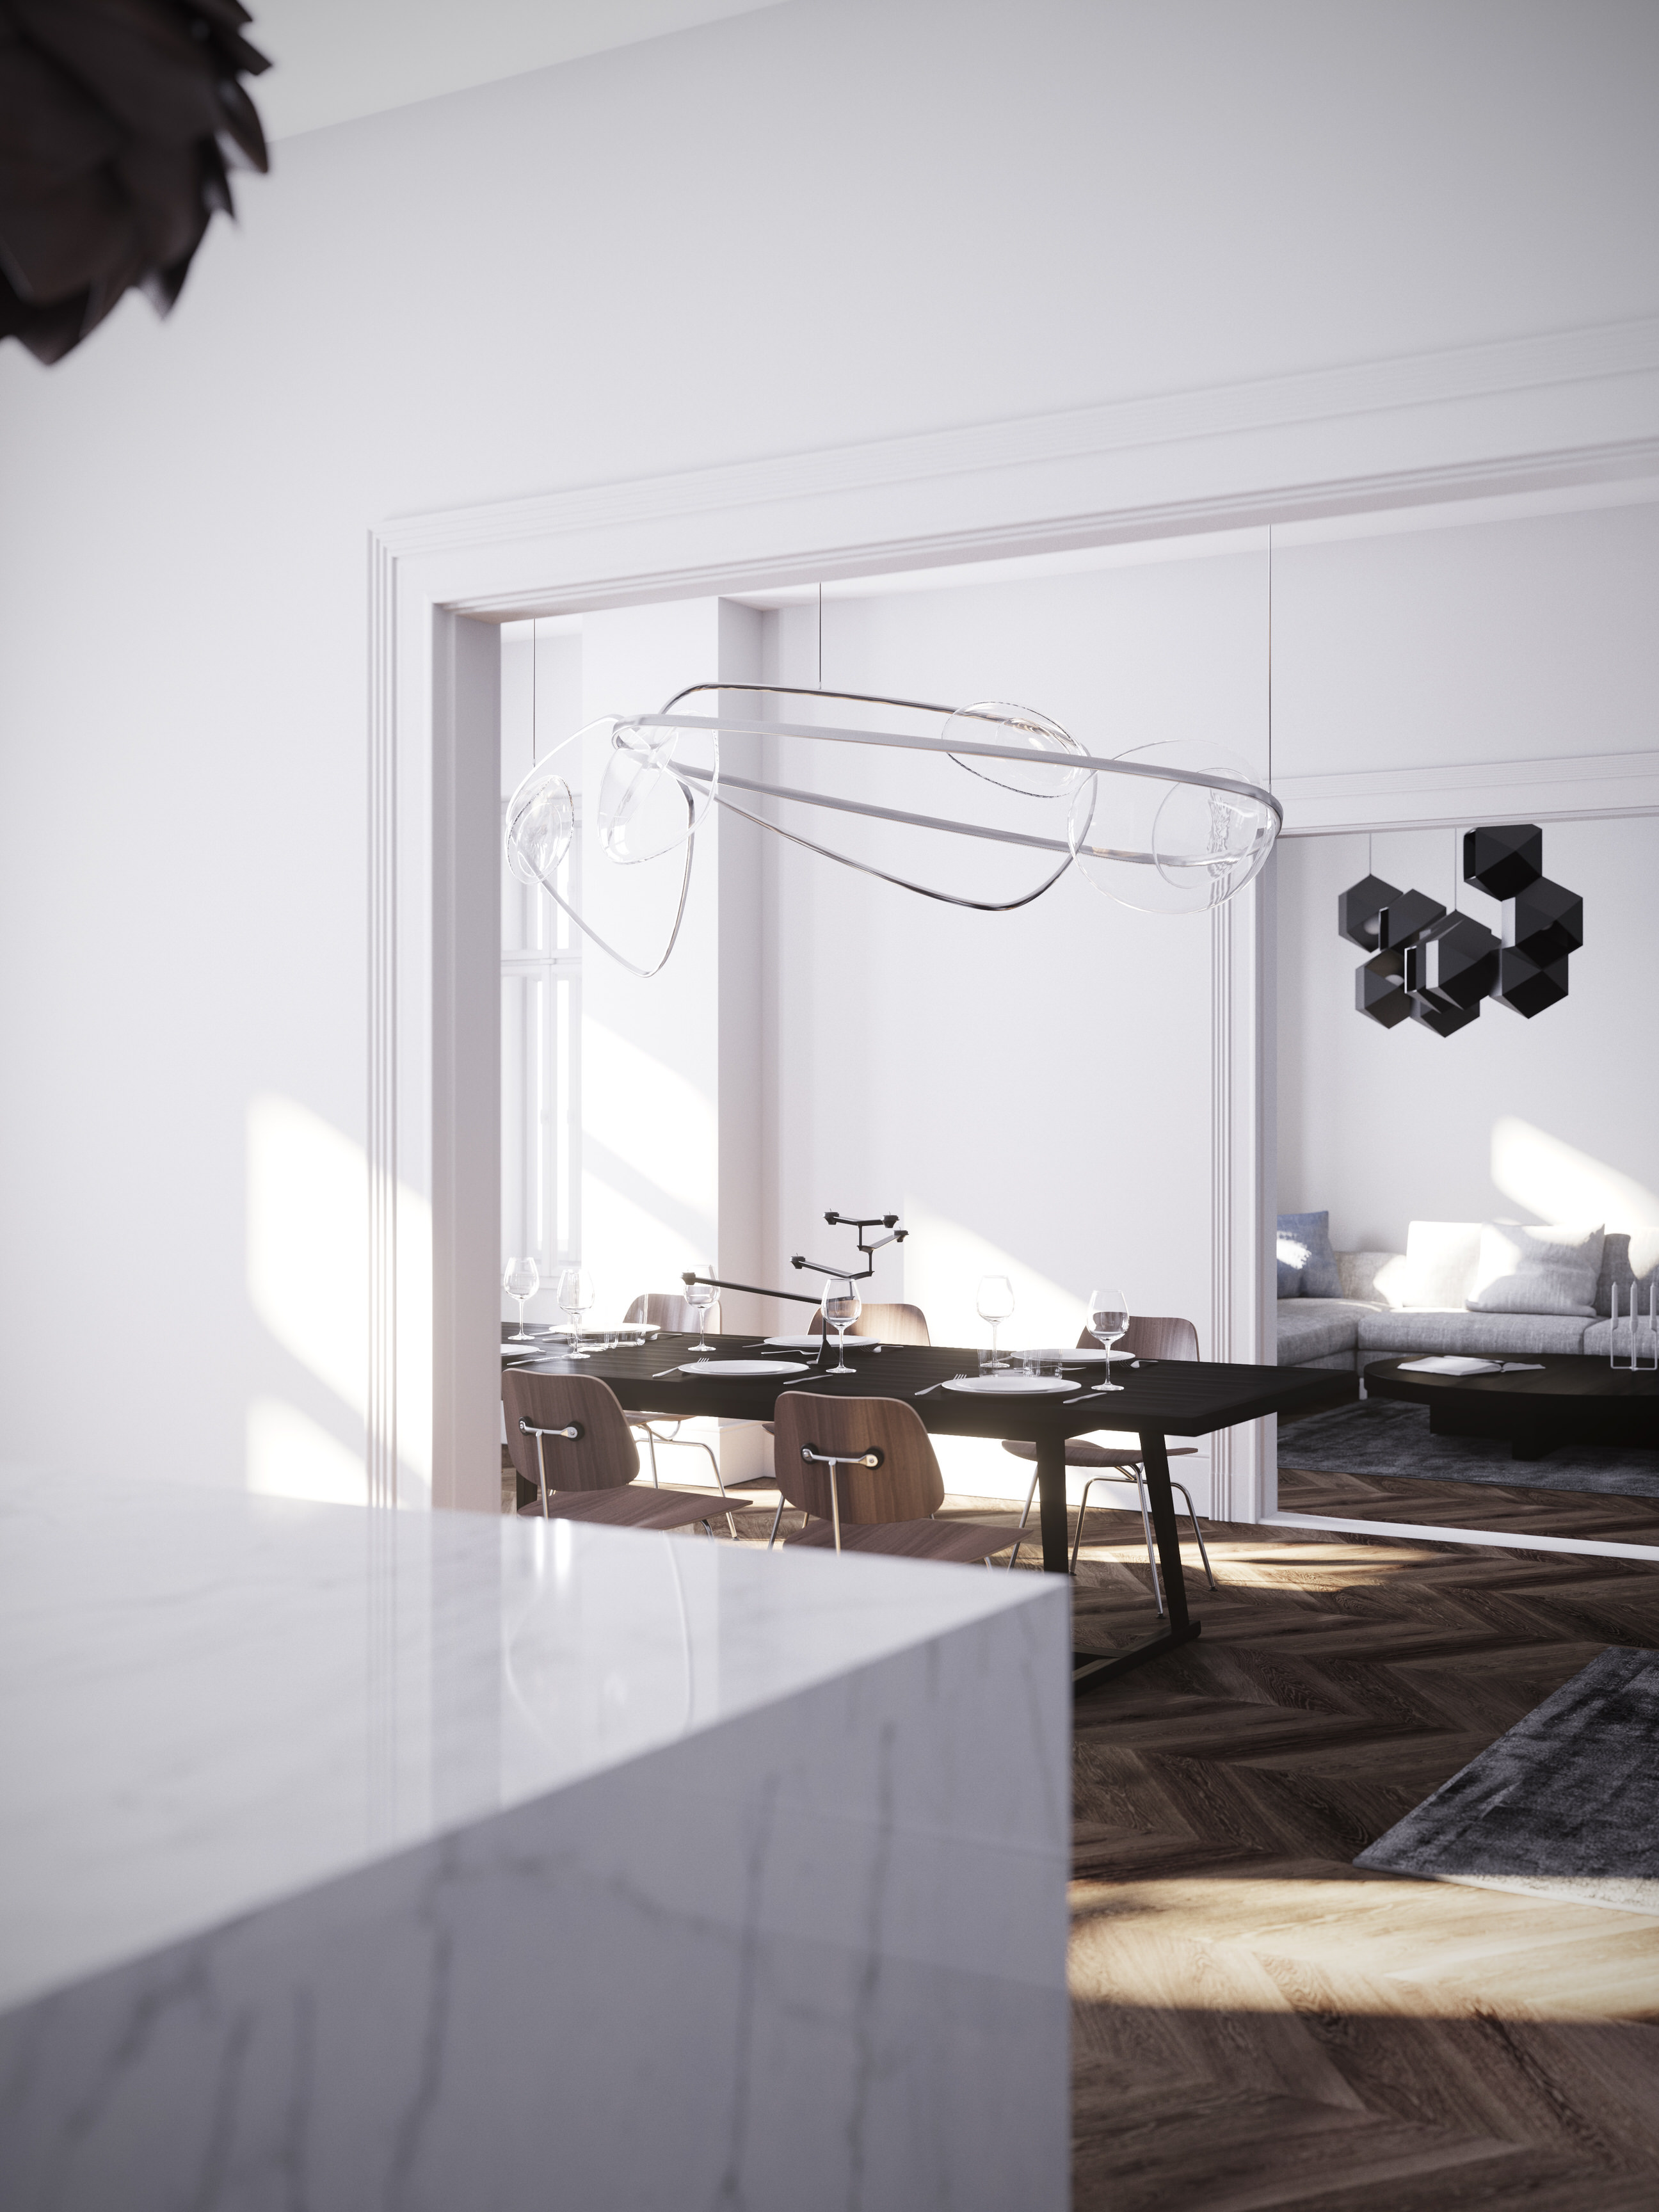

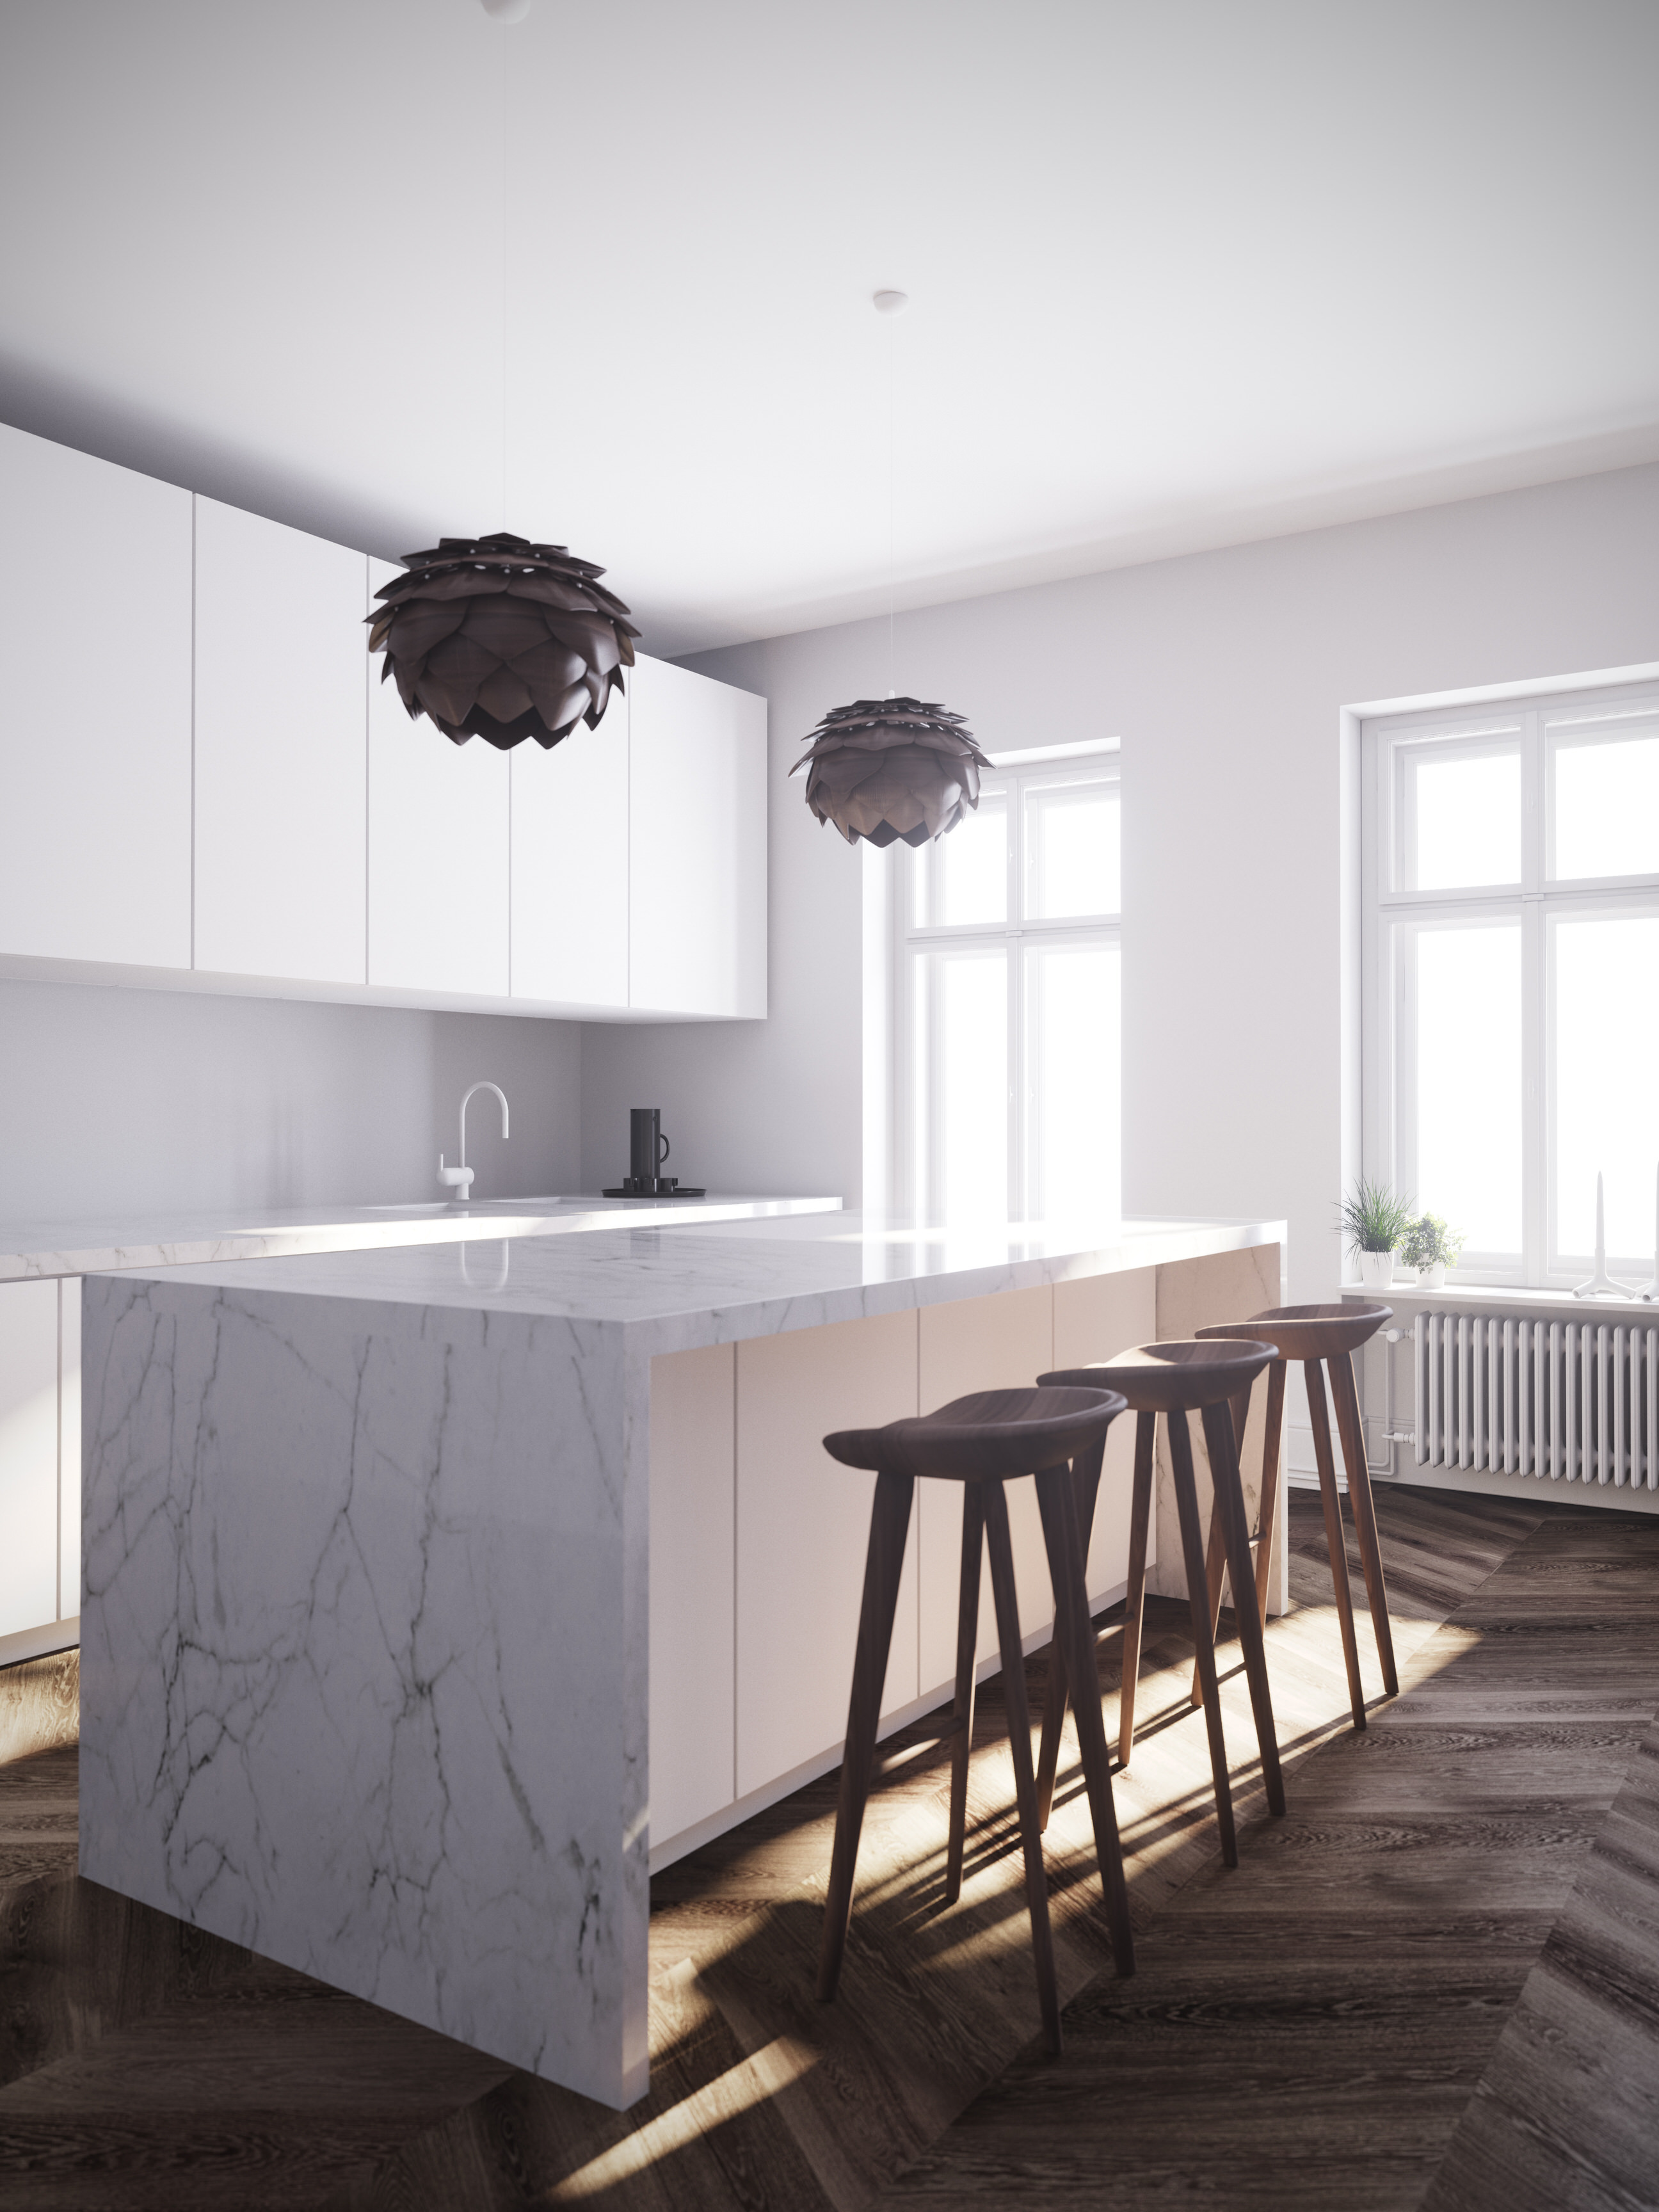
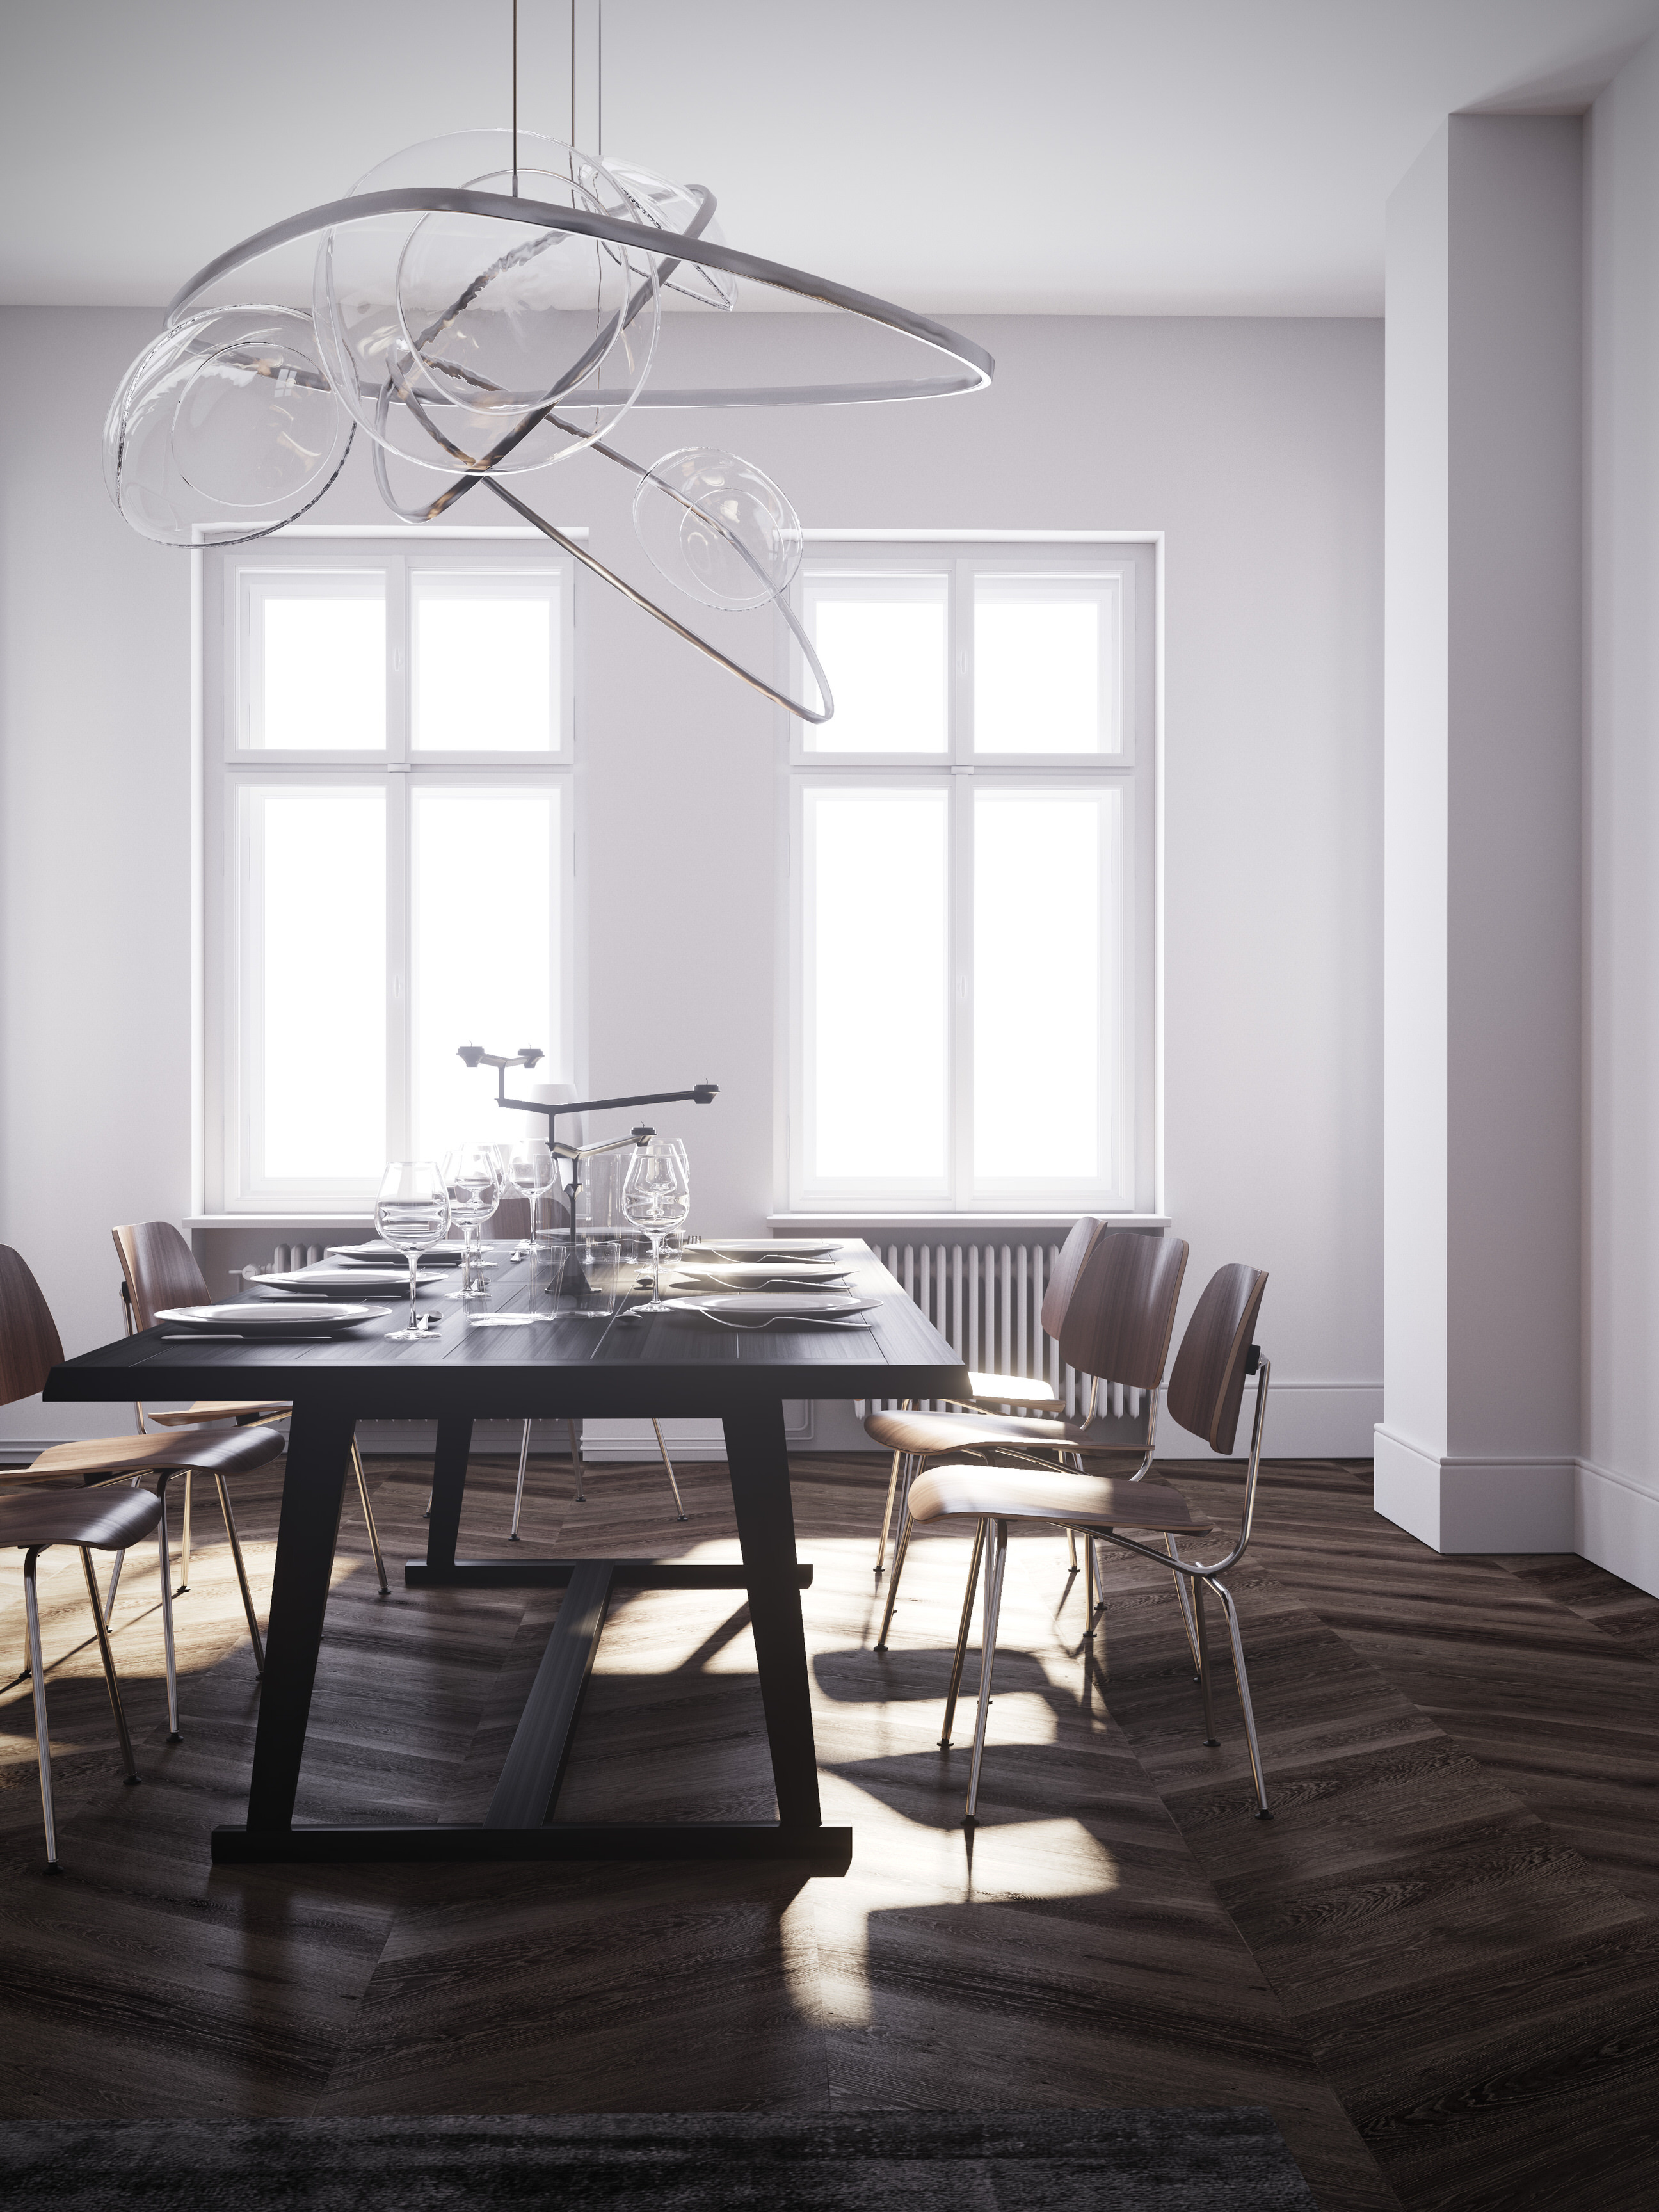
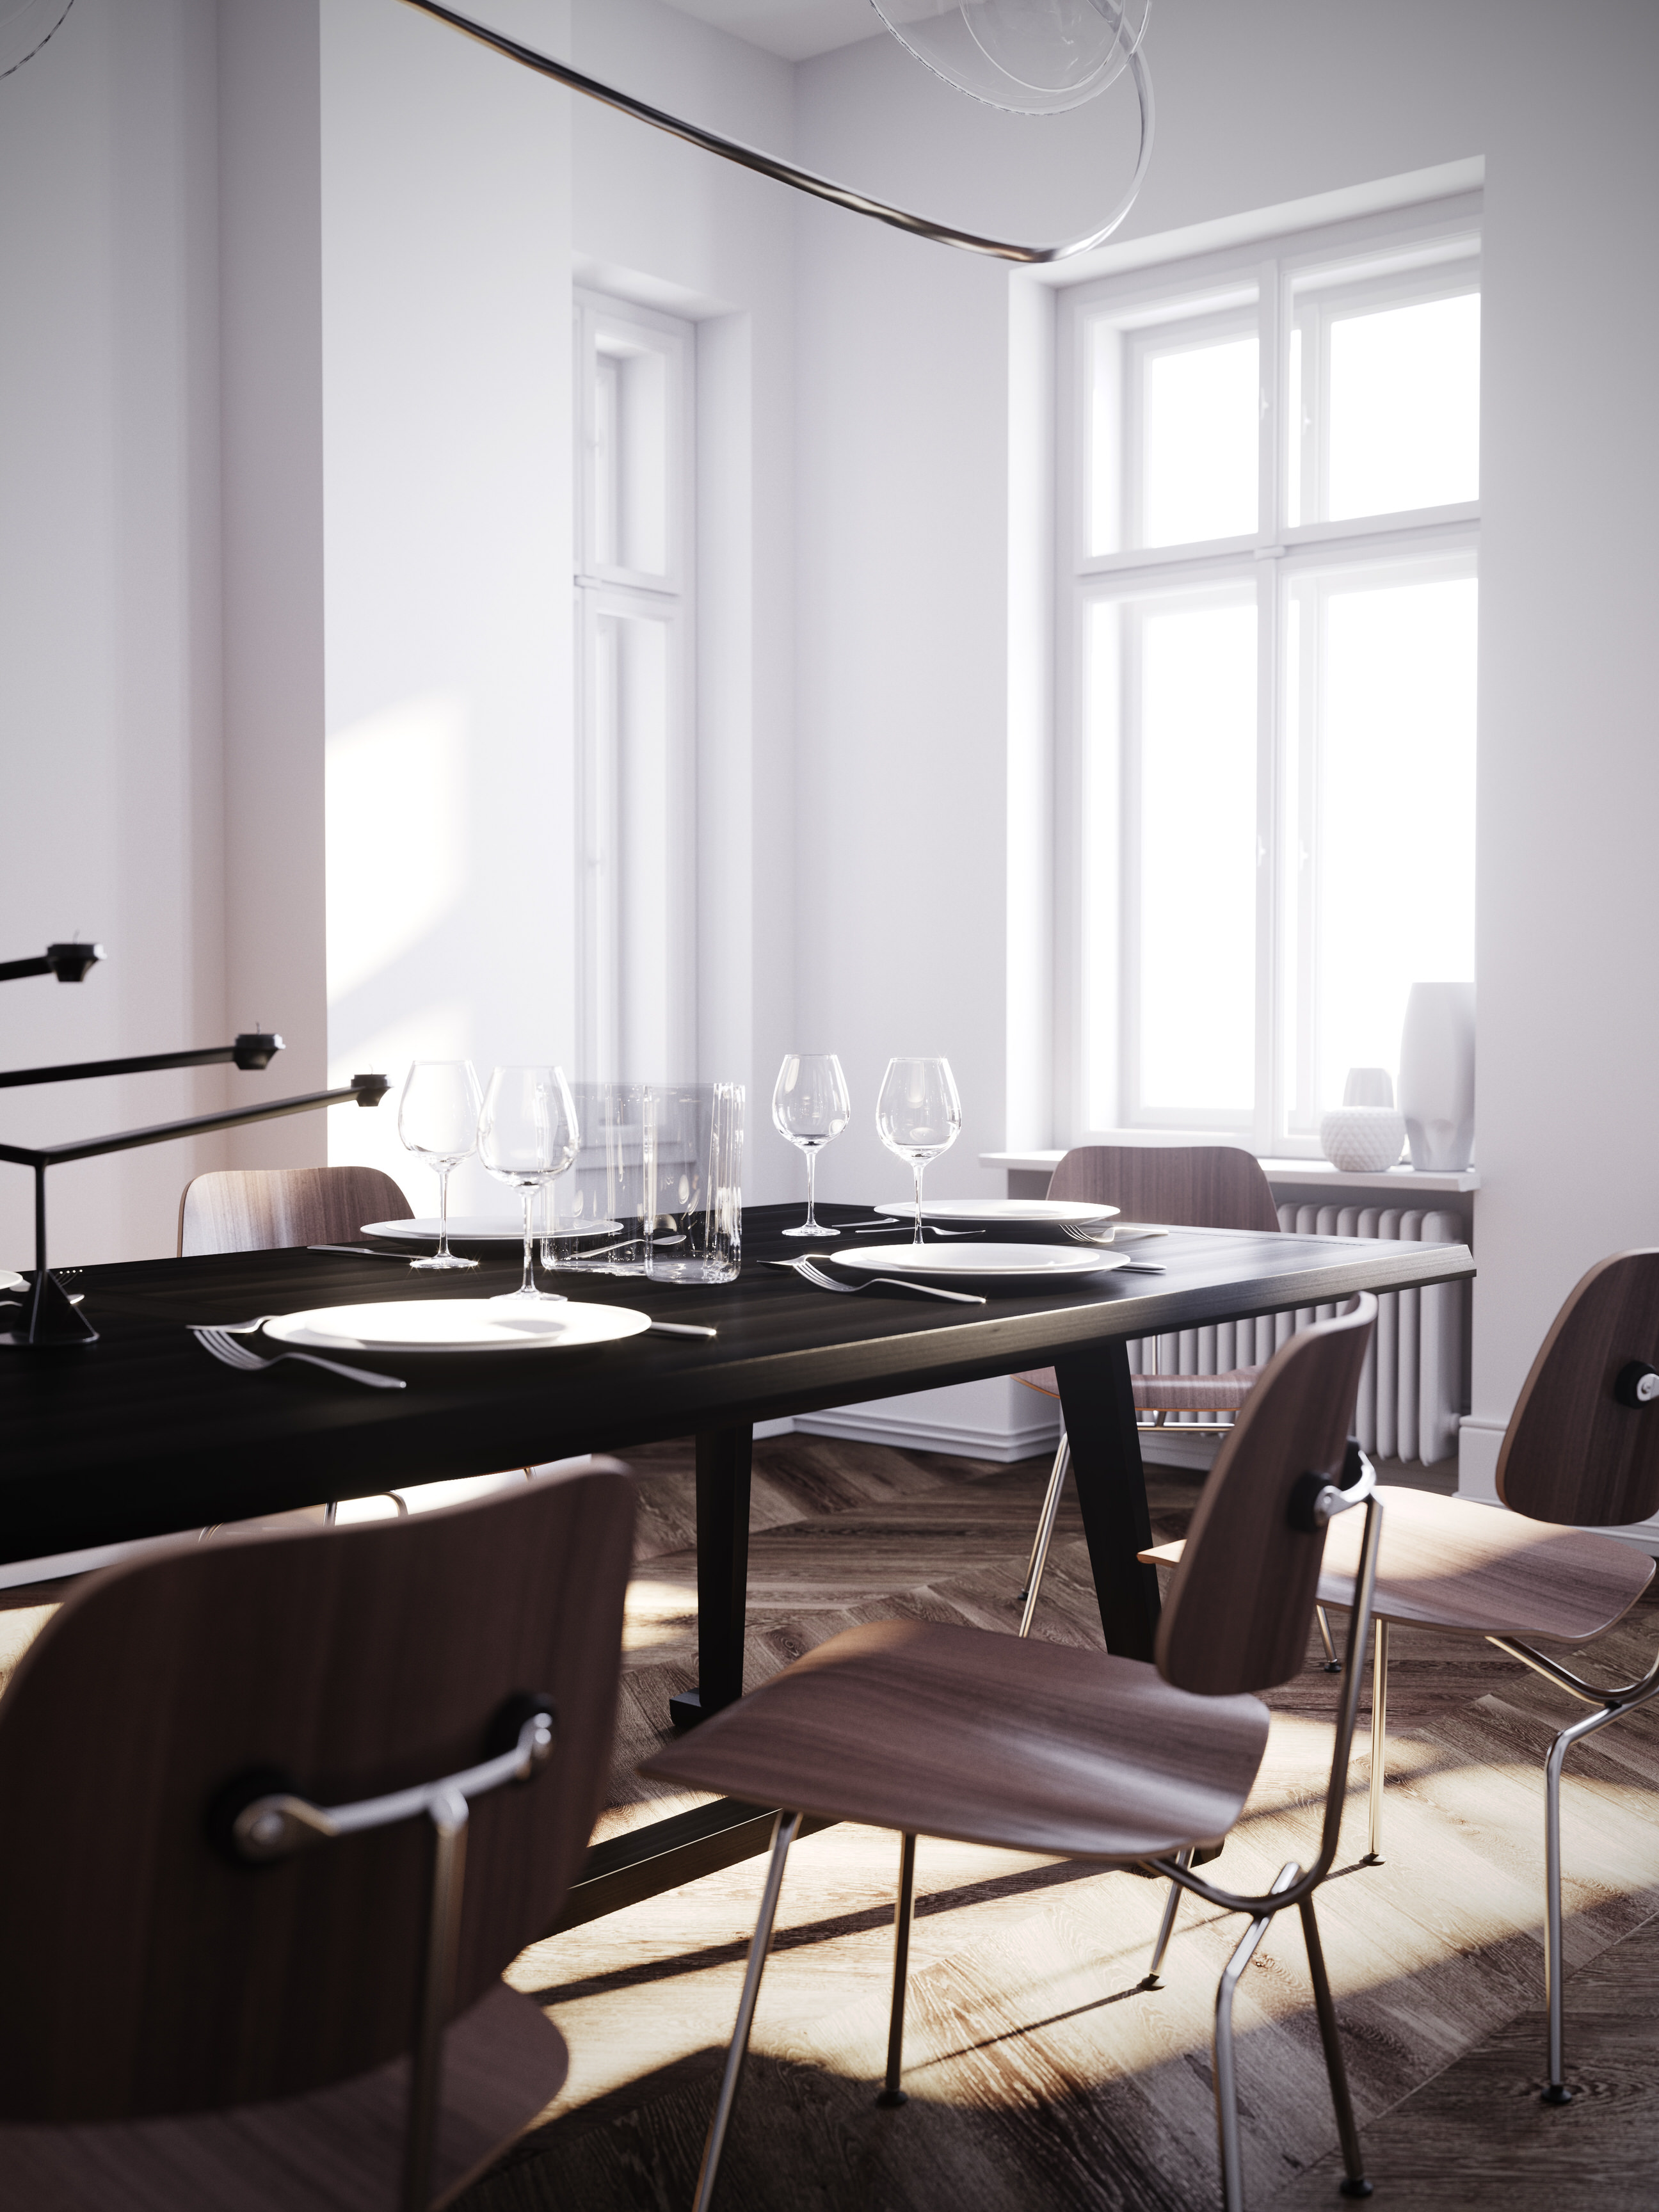
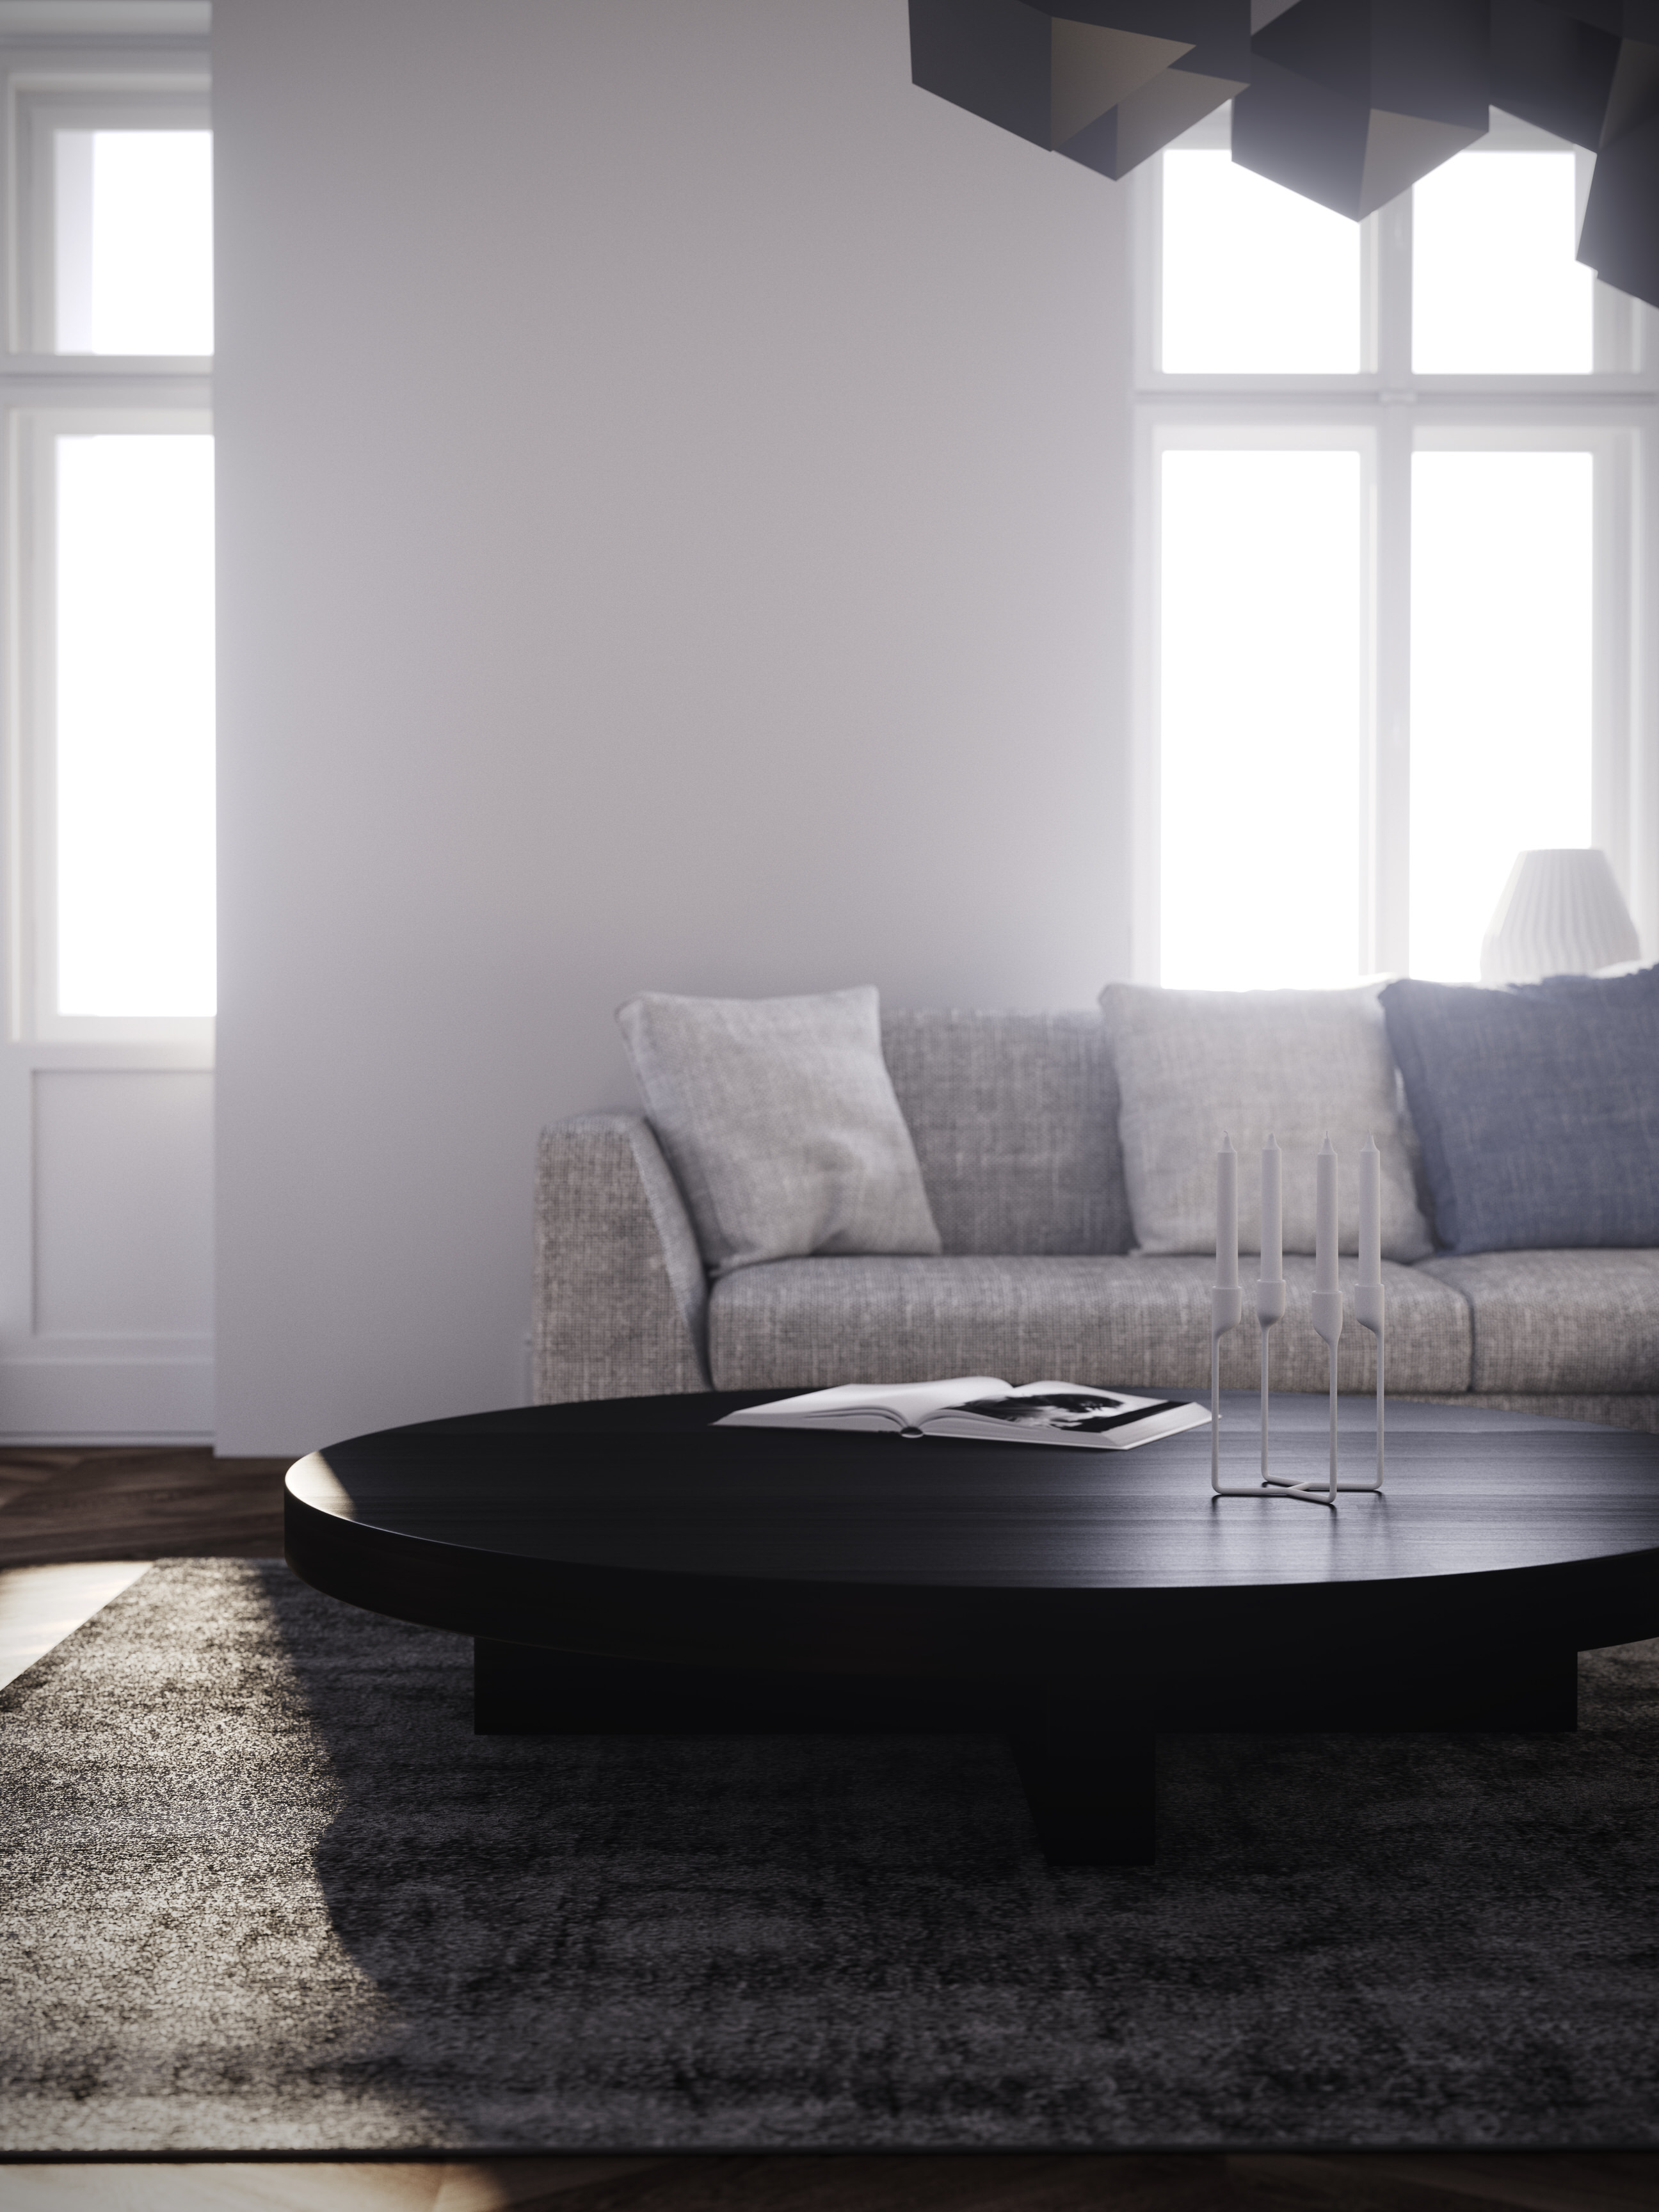
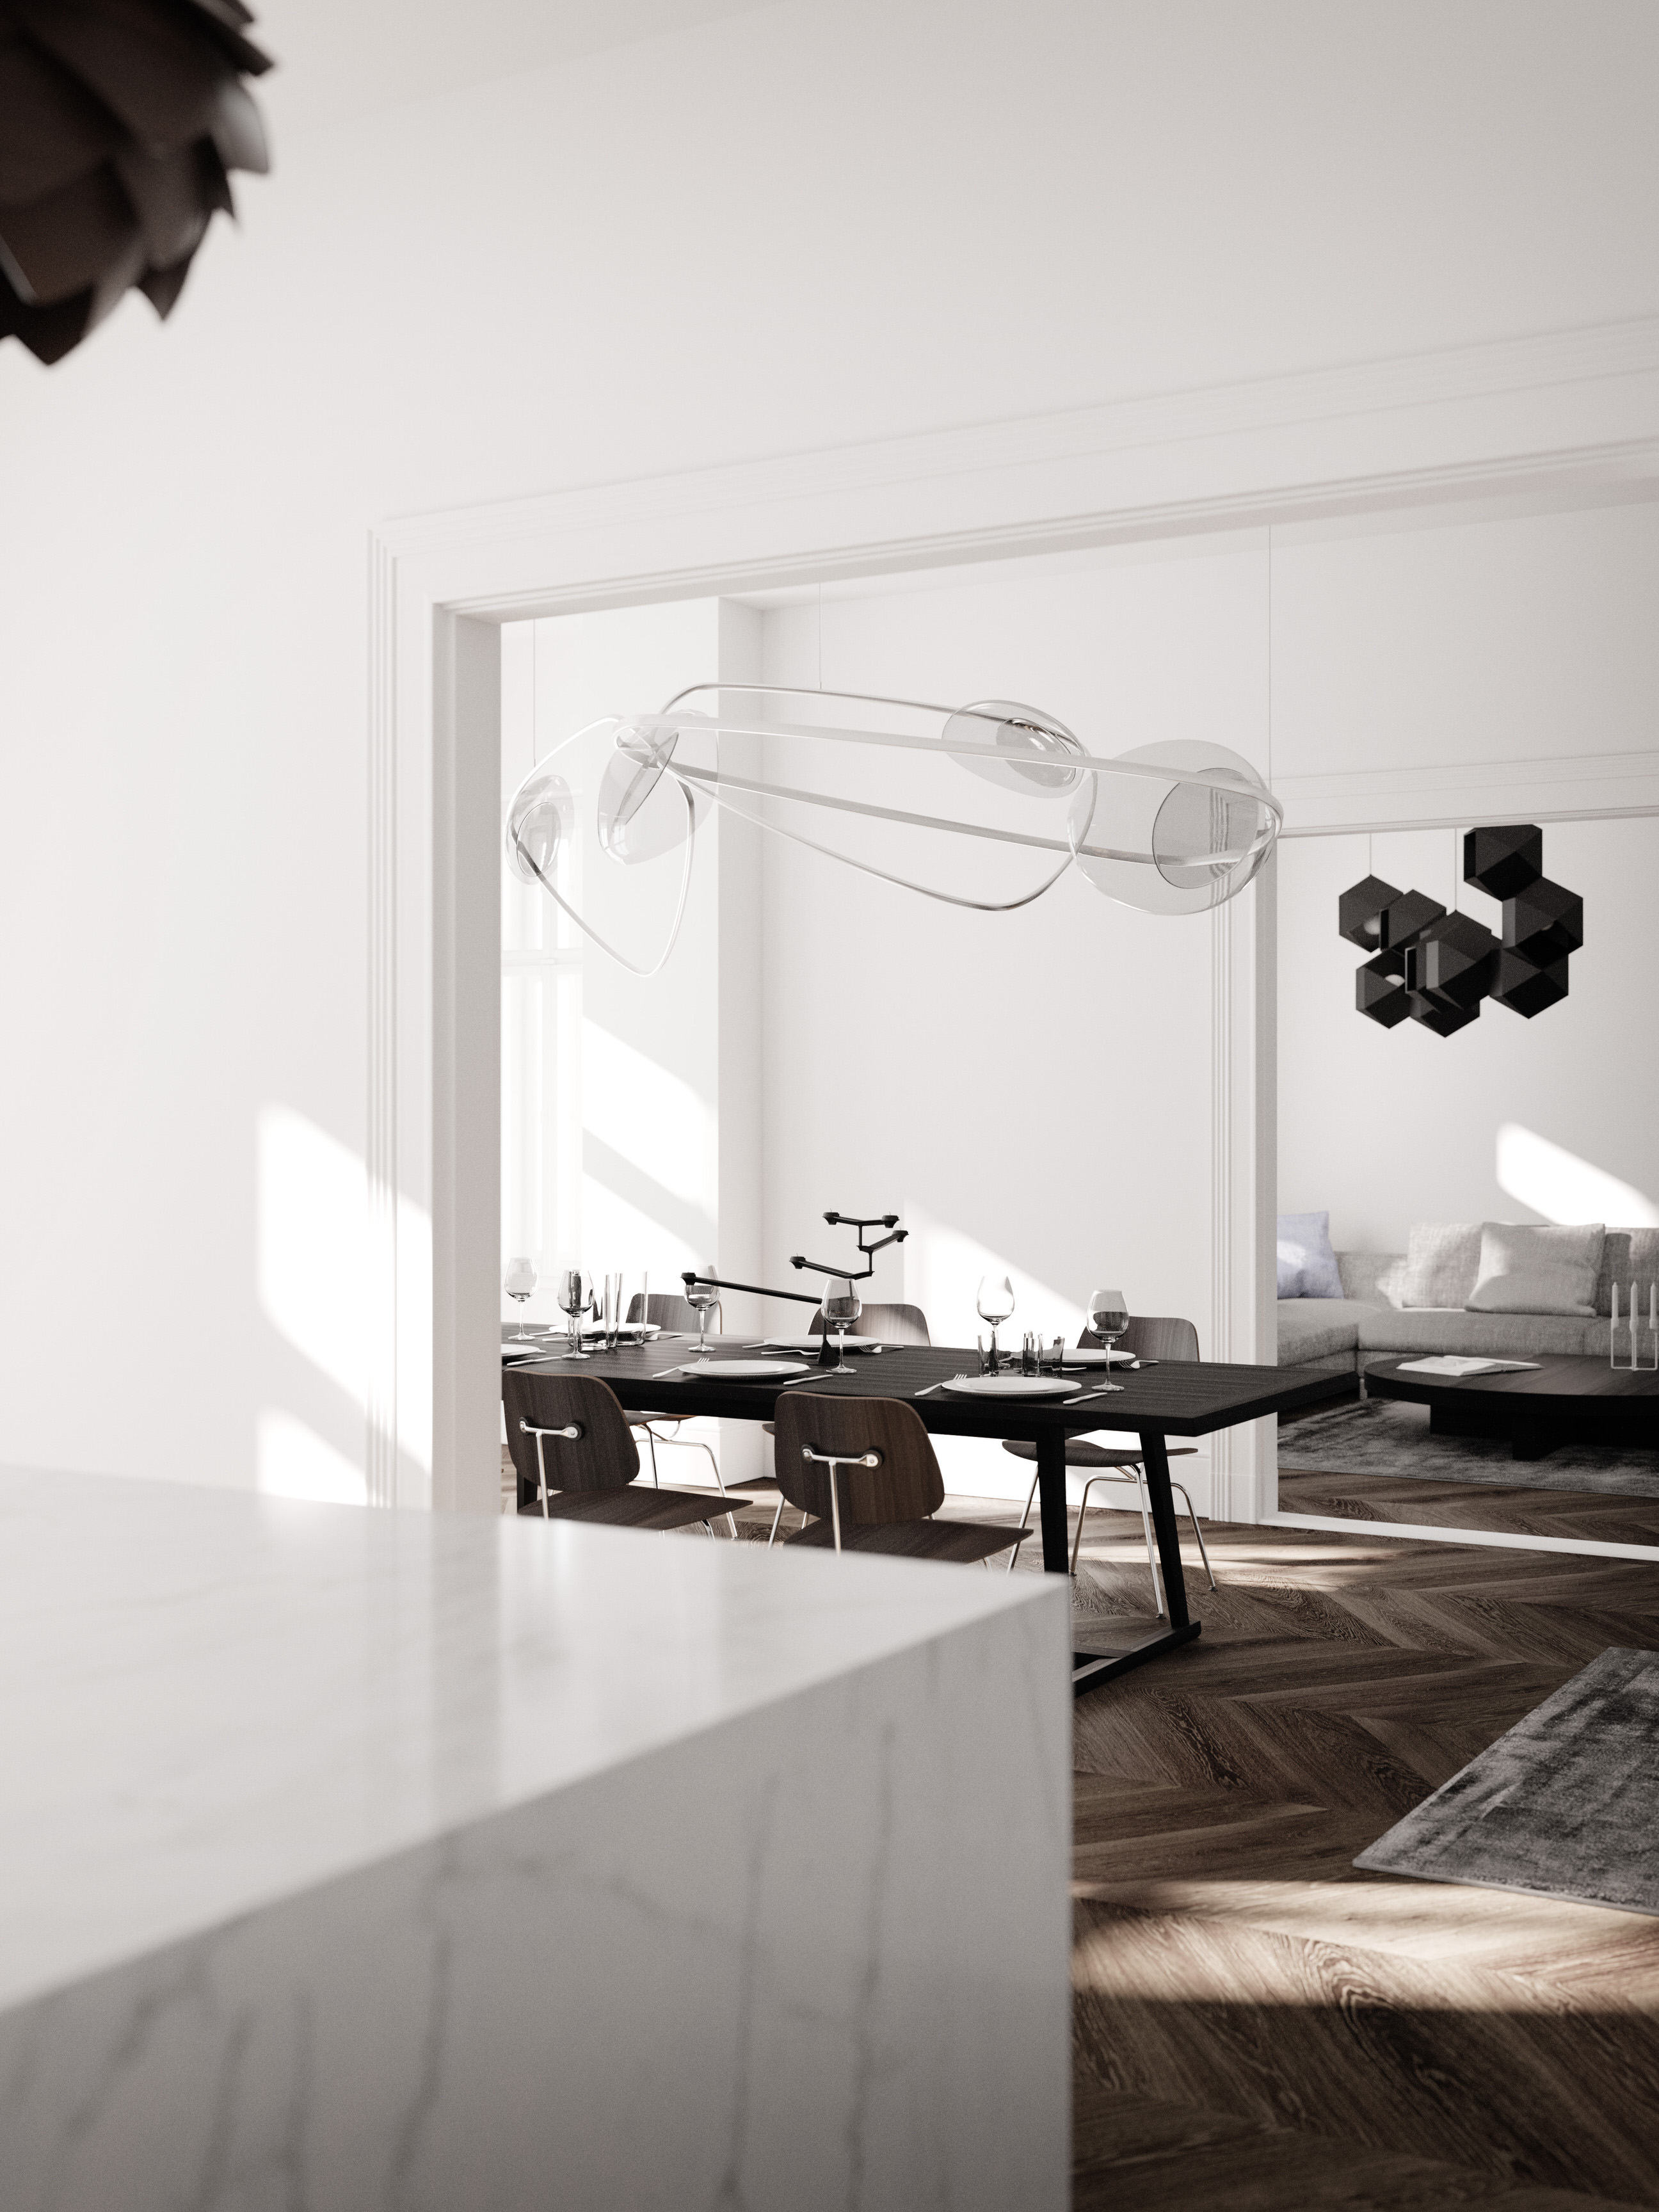
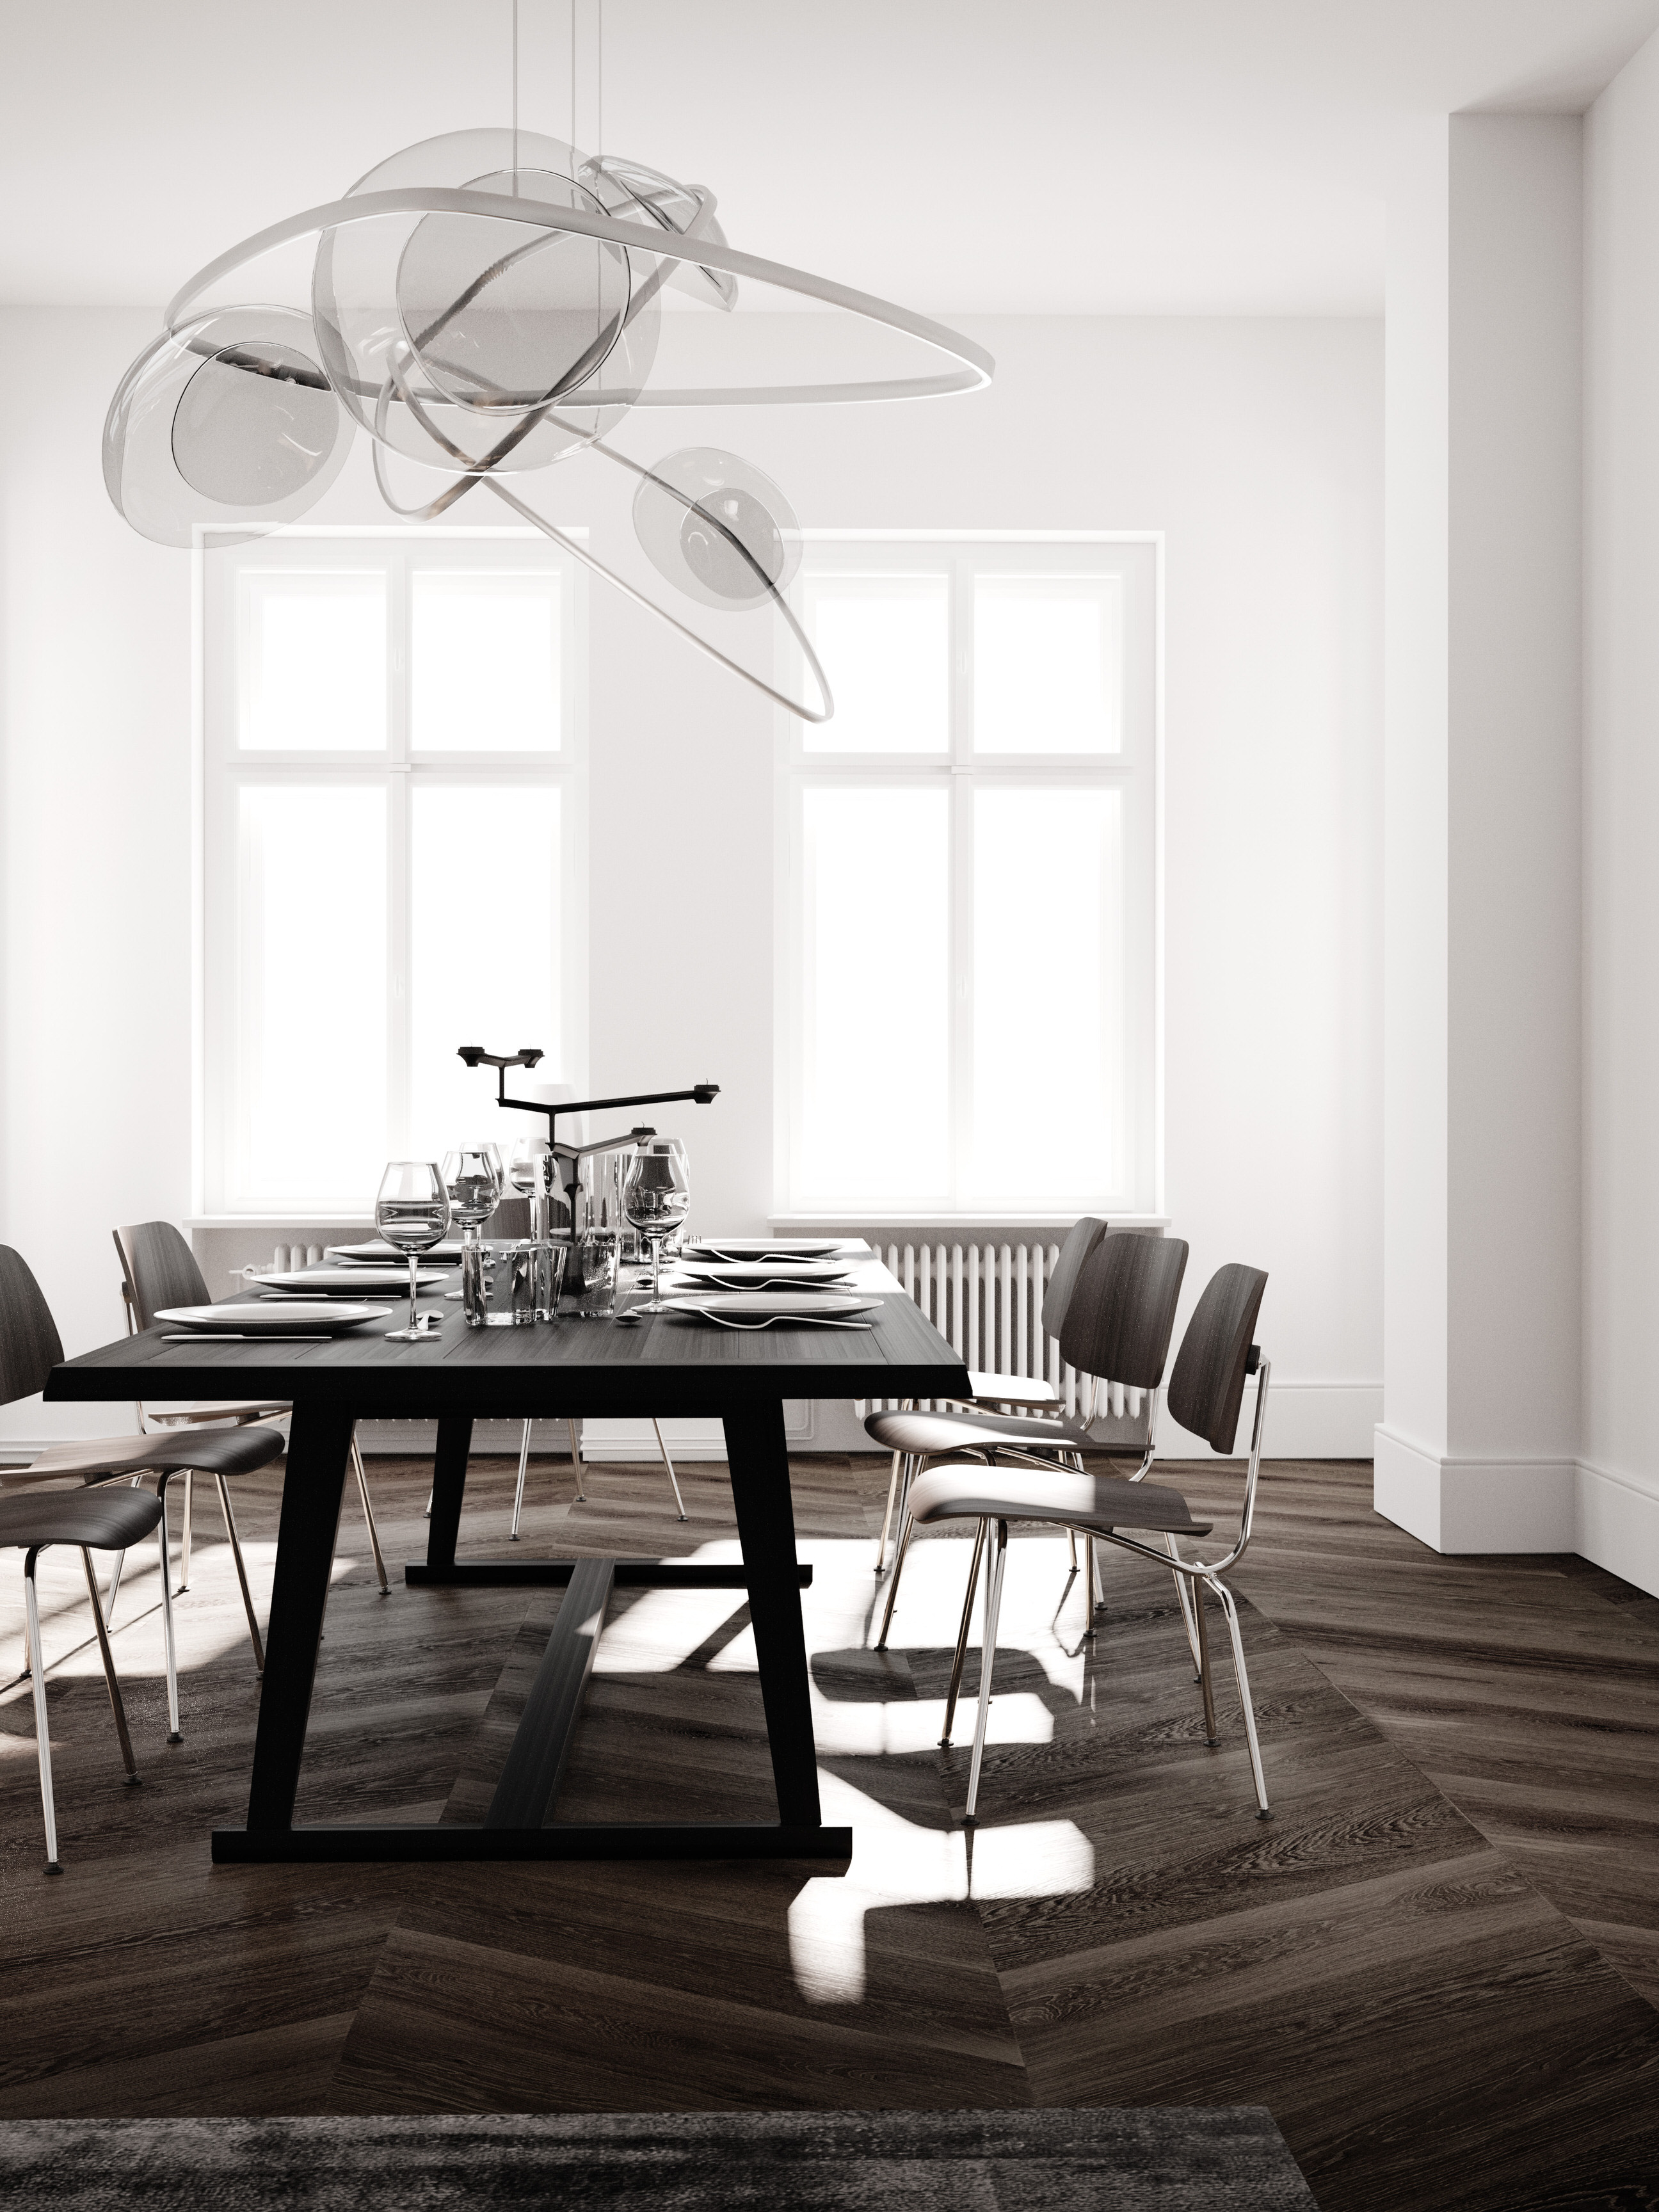
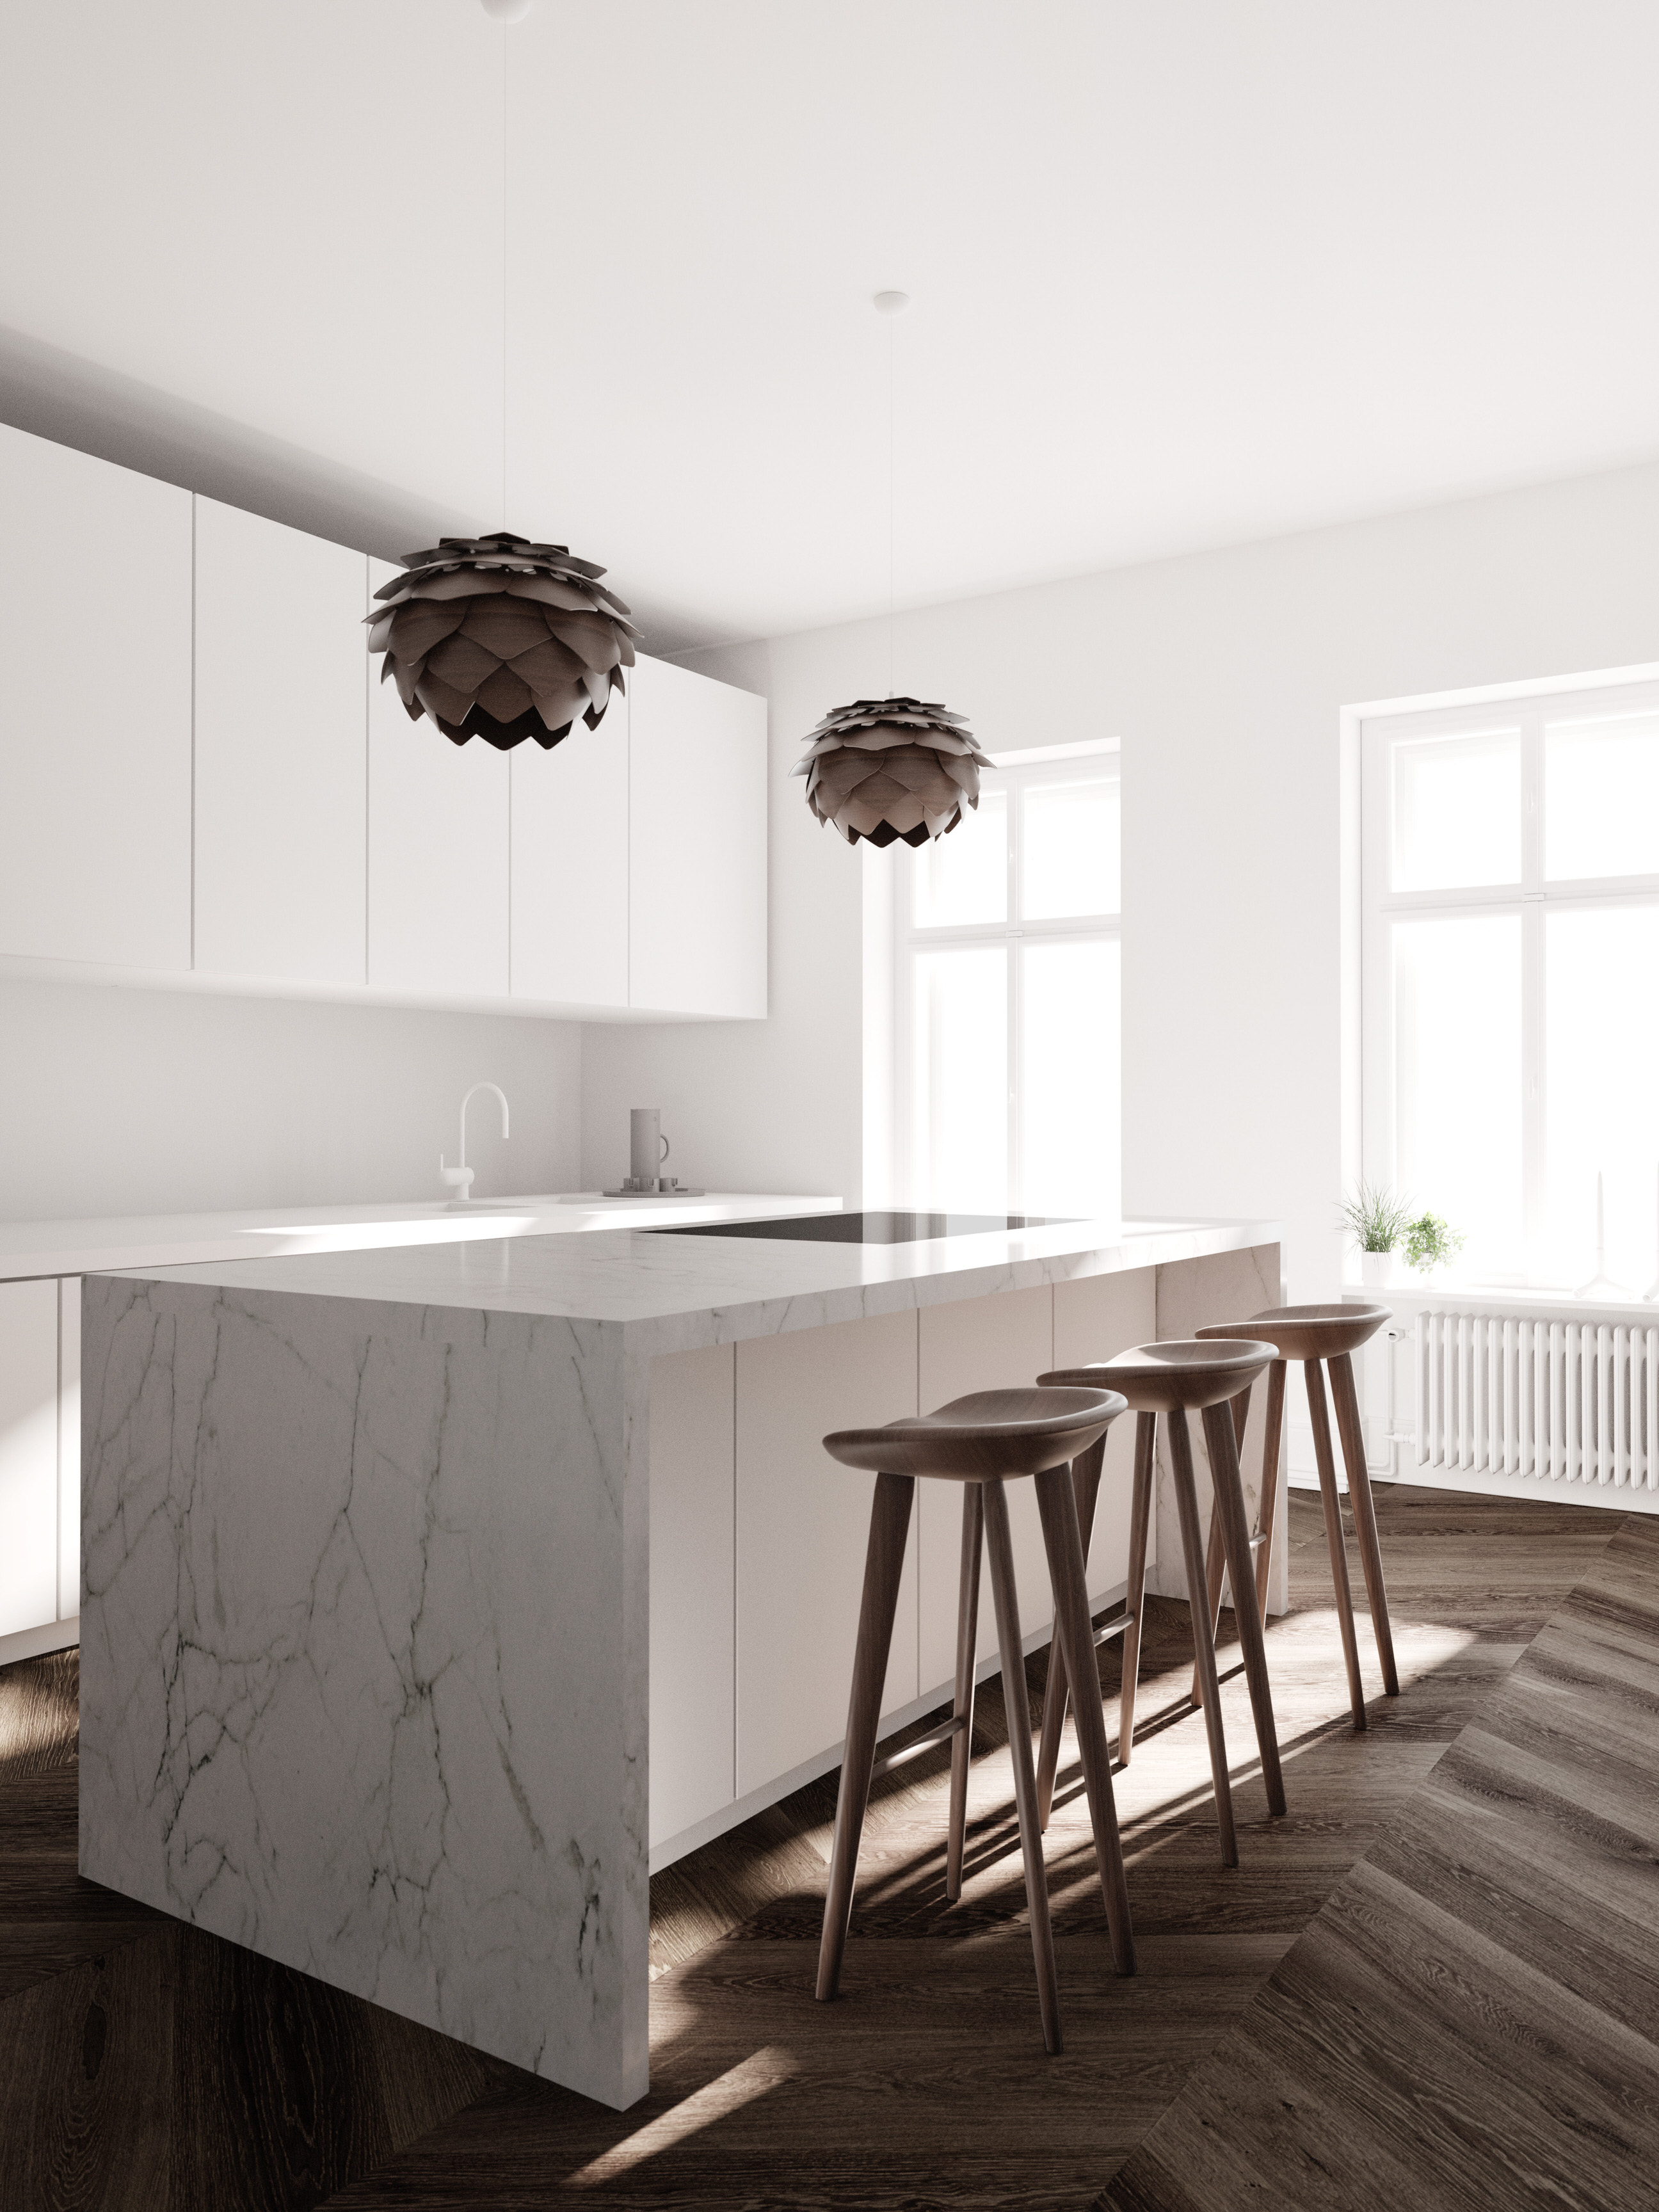



Hi,
Amazing work and a very detailed walk-through. It was a fun read.
I’d suggest you to try filmic-blender (an OCIO config with a film-like tonemapper with desaturation towards the highlight clip).
That allows the use of realistic lighting ratios without the busted highlights you probably saw when using the default Blender view.
There are some tricks to reduce the grain with some comprimises, like reducing the bounces or turning caustics off (I’d avoid clamping completely, specially of direct lighting). Also the branched path tracer allows you to assign more samples to certain type of rays.
Cycles still needs some adaptive sampling and noise reduction, but some of those features are in the making.
Hey!
Thank you 🙂
Yes- in the meantime i had some discussions about that as well.
I actually tried the filmic in the meantime – funnily the output i get with it looks similar to what i achive with my “gamma stunts” i am describing, only difference is that the material look much more predictable 😀
I have also tested the branched PT in the meantime, unfortunately most noise comes from the diffuse/GI, so there might be no other way than going brute force, hehe. there are barely matt reflections etc which could cause that.. there is also this denoising option in blender post, works quite OKish when rendering with very high resolution so it does not blur away too much detail..
it was very much fun to test all this and learn that software which is toally new to me in many ways. but i am positive about tat completely. best thing indeed is the corona – connection for me, as this is a very sophisticated engine which i love working with 😀
For me they seem like perfect match, two things made with love!
cheers!
Corona for Blender works fine, but I found some major problem with it, like materials preview that get easily stuck, or the unavailability to render preview in real time as for cycles or Corona for Max.
BTW great comparison tho and very nice results.
Hello, I was amazed with the amazed how fat was corona render but realized that its only limited for about a month, do you have any idea or old version that do not expires? Thank you and really great work
hi … i have always a location : : -1 eror …have you any solution pls ?
I am completely amazed why didn’t you talked about the cycles de-noising feature as it completely makes your render noise free.
Hello Ronen…hello every body… Someone could help me to explain the process in order to export the blender scene to Corona Standalone app ? There’s no demonstrative video information on the web. Is the standalone version is free when you bought the Corona plugin for 3DS Max ? Thanks for all these information. Thomas.