3D Modeling How to / The Mills Chair
Following up on the Mills Chair 3D Model Freebie by Eduard Caliman, he now kindly takes us through the complete process of modeling and texturing such a chair. He’s using 3ds max and ZBrush, but the process shown here can be translated to your favorite modeling app.
Hi, I’m pleased to share with you the process of making the Mills Chair which you can also download here by sharing…
[wpsharely]
[/wpsharely]
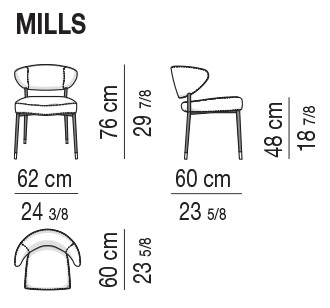
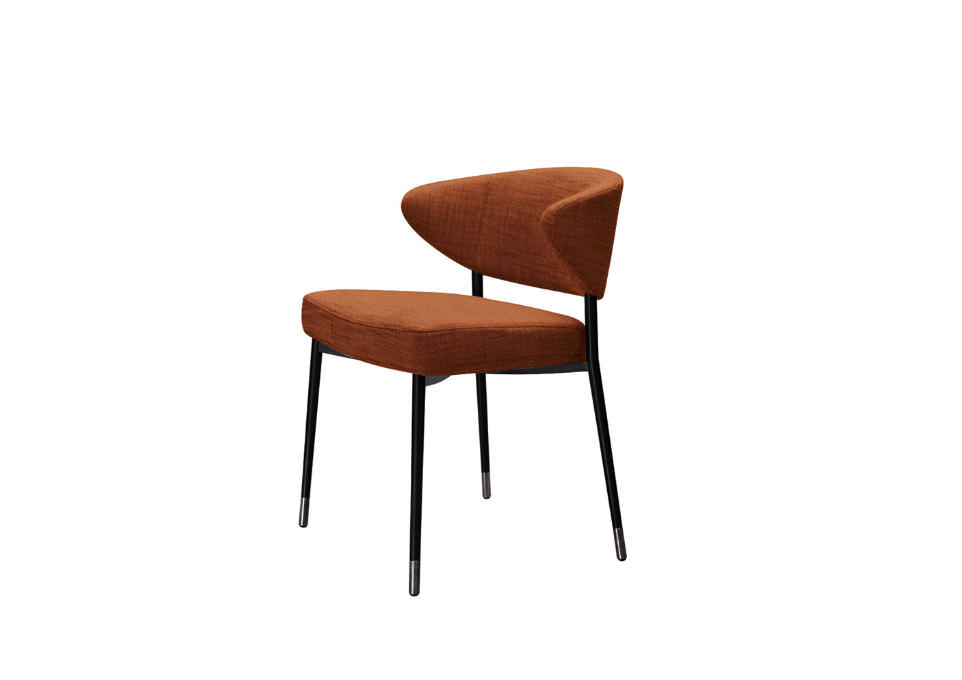
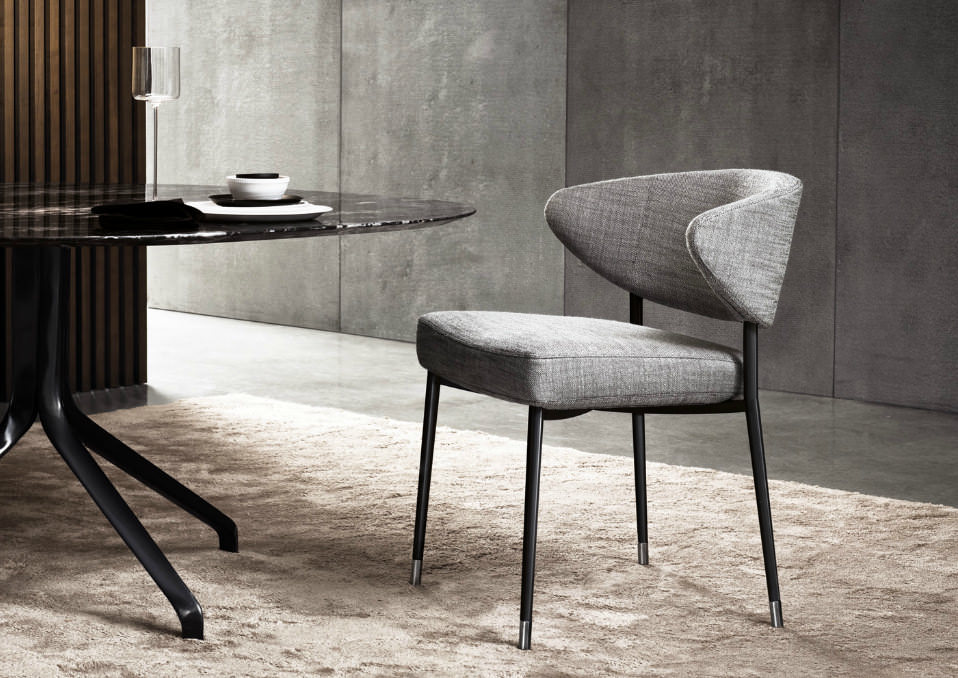
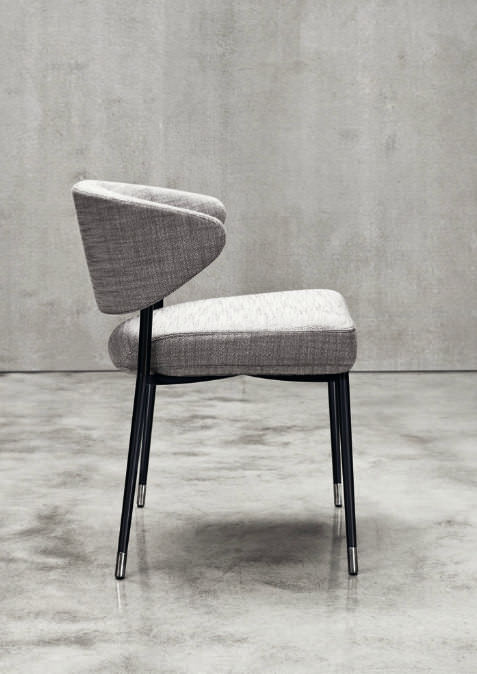
The first thing that I always do when I start modeling something is to search for reference images and the dimensions of the object I am modeling which you can see here…
The Backrest
The first element I started to model was the back of the seat. I started out by creating a simple box in which I put the exact dimensions of the volume of the chair as seen from the specification file – 62x60x76. This serves just as a general guideline so that I know within which limits I need to kepp the 3d model.
I then created another box with 3 segments along the length, width and height and added an Edit Poly modifier. In vertex mode I began to give it some shape by dragging the vertices as in the screenshot below.
With the Turbosmooth and the Symmetry modifiers activated, I then re-sized the model to fit the real sized box.
I then made a copy of it which would later on become the softer frontal side of the back.
In Vertex Mode, under the Turbosmooth modifier I then offset only the external vertices to enlarge the volume of the chair. As you can now see I needed the 3 segments along the width of the original box so that in this phase it would stay rigid.
After I finished the process this was the result…
Since the back of the chair is divided in 3 parts, 2 symmetrical and a central one, what I did was I made a copy of it and just deleted the polygons that I didn’t need and closed the hole that was generated and I obtained the following result.
The Seat
The modeling of the seat was made using the same method as described above for the backrest and was pretty straightforward as you can see in the next few screenshots.
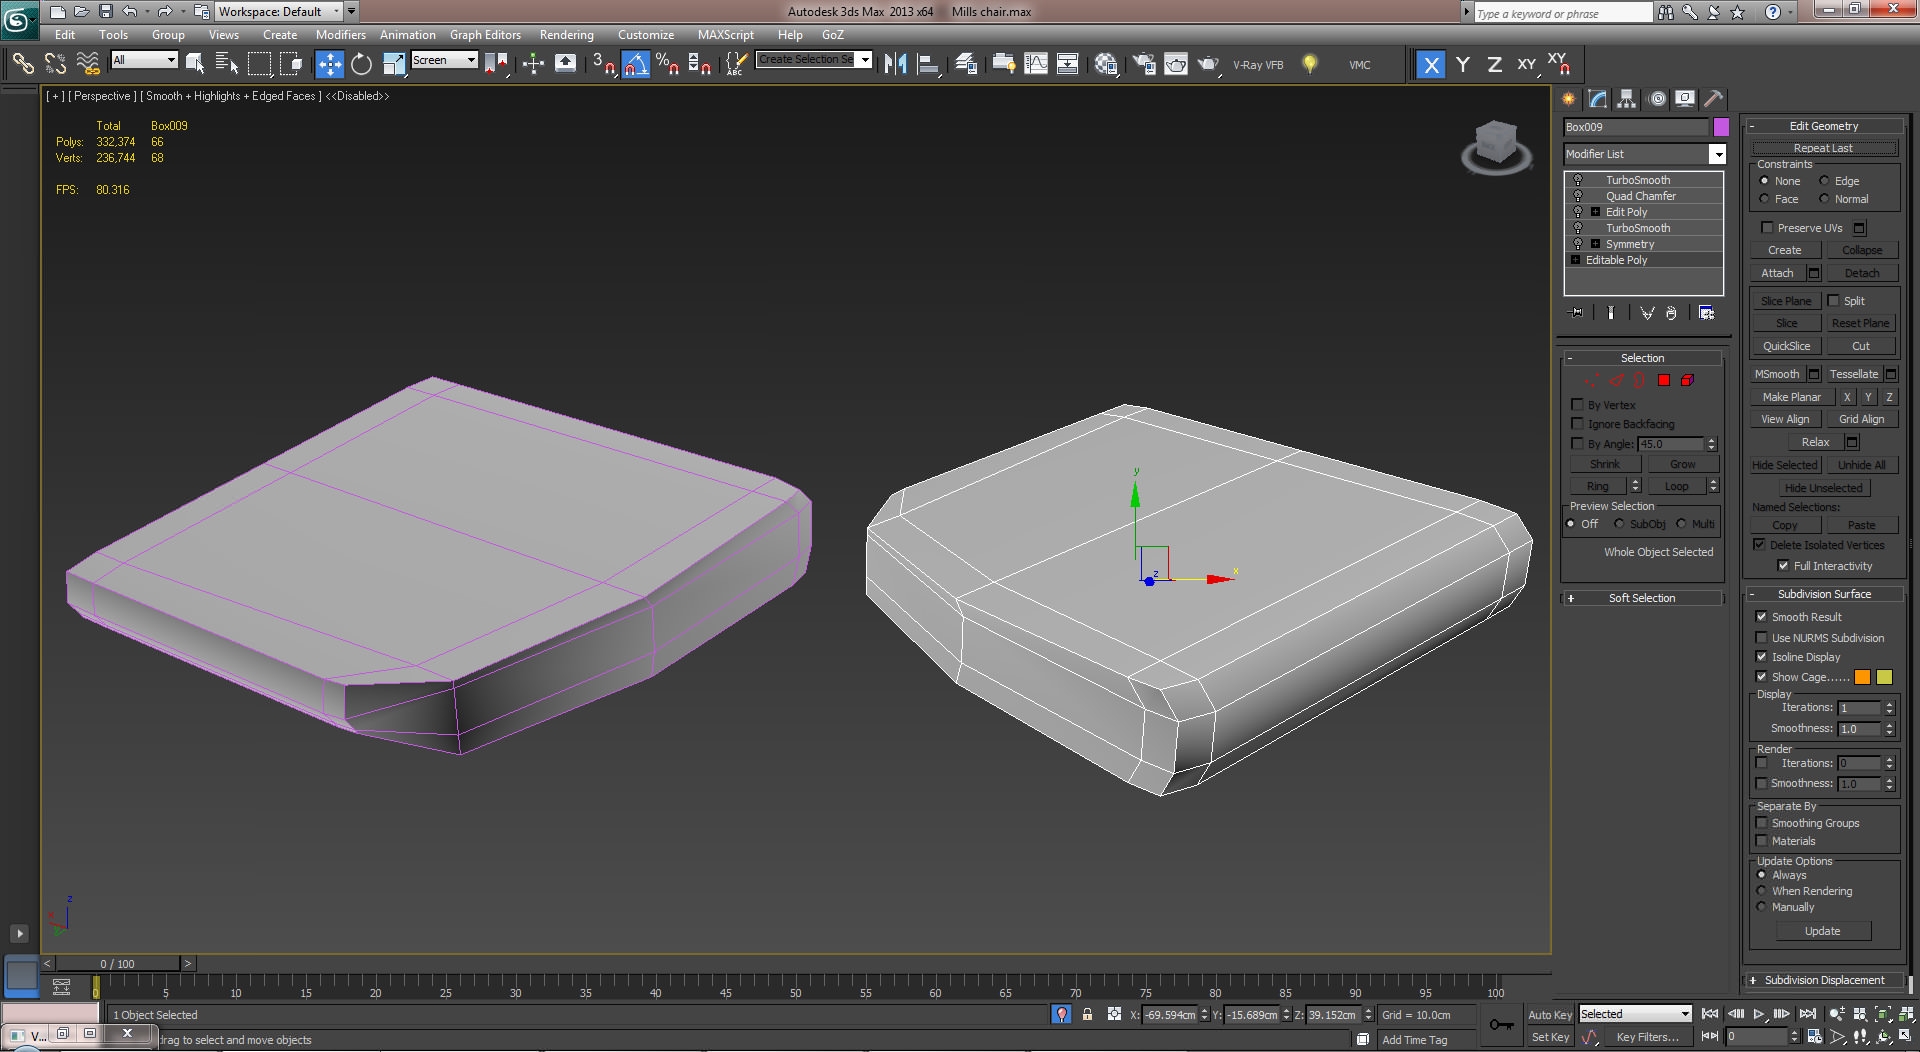
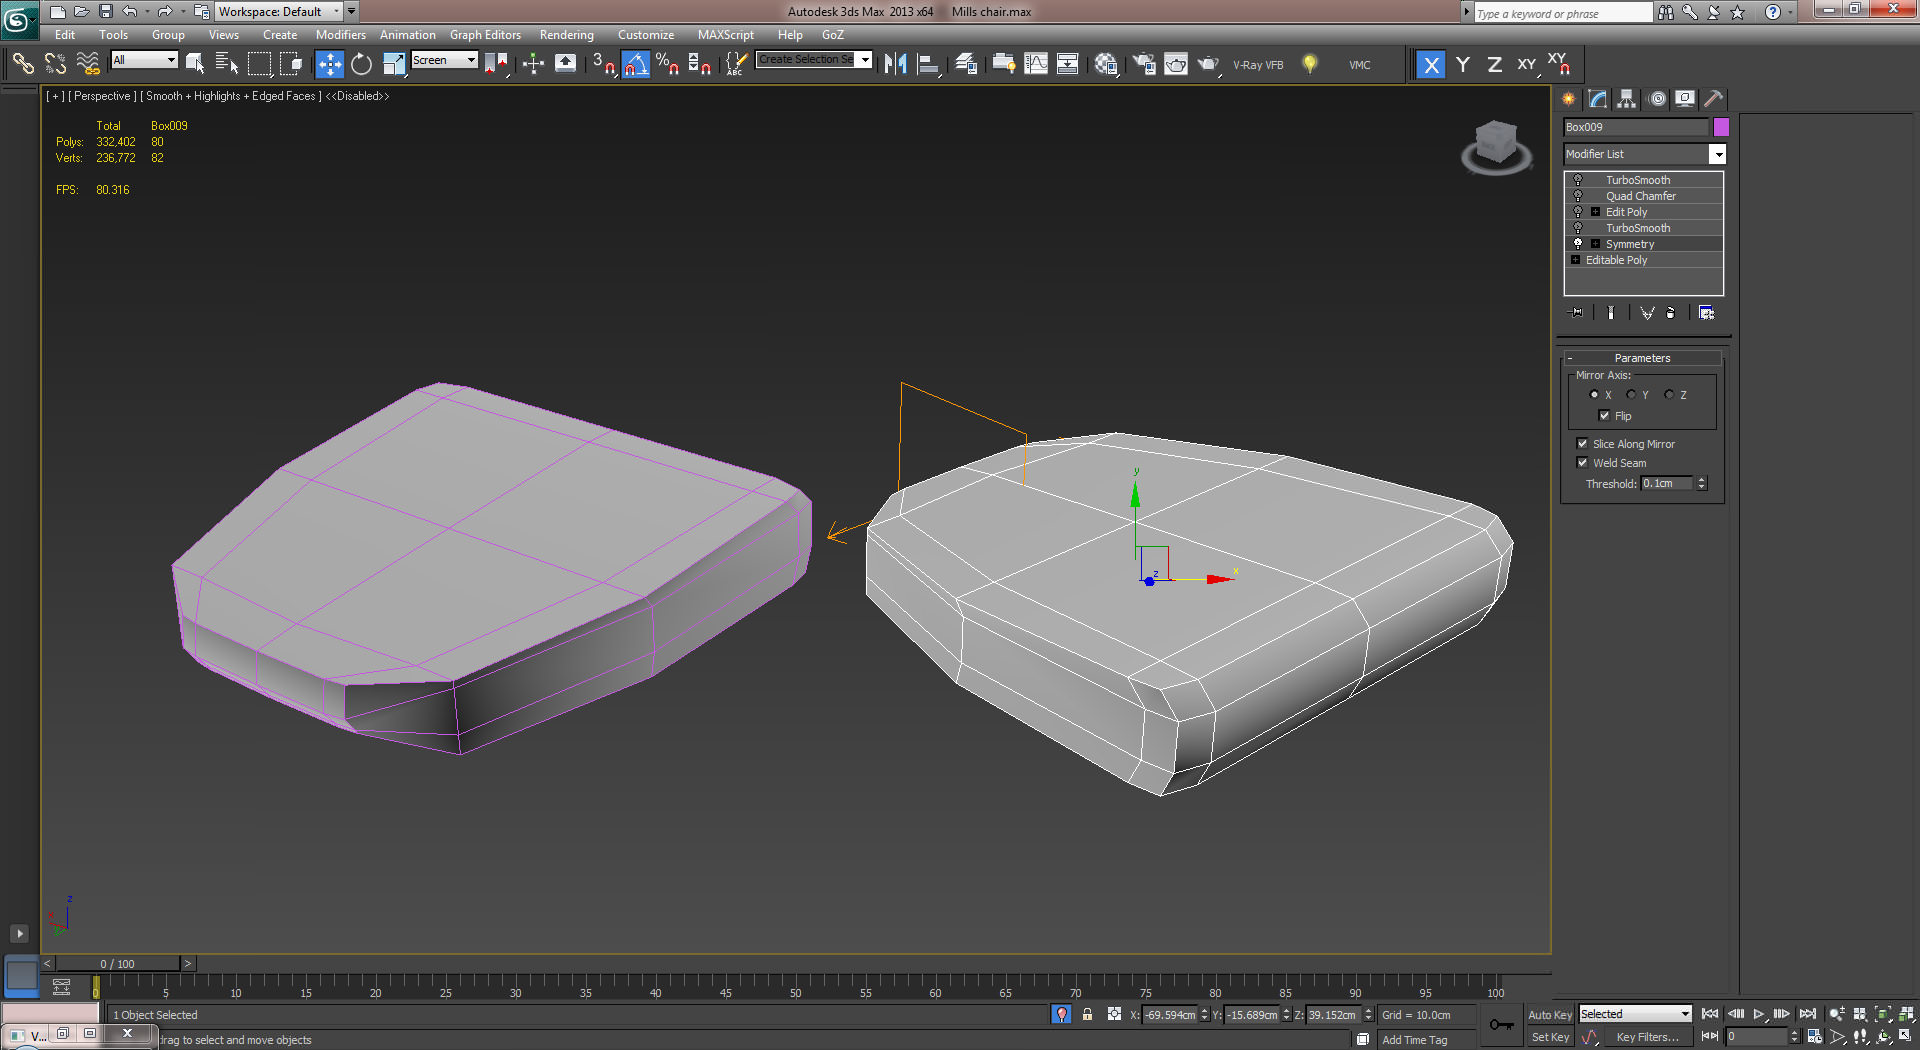
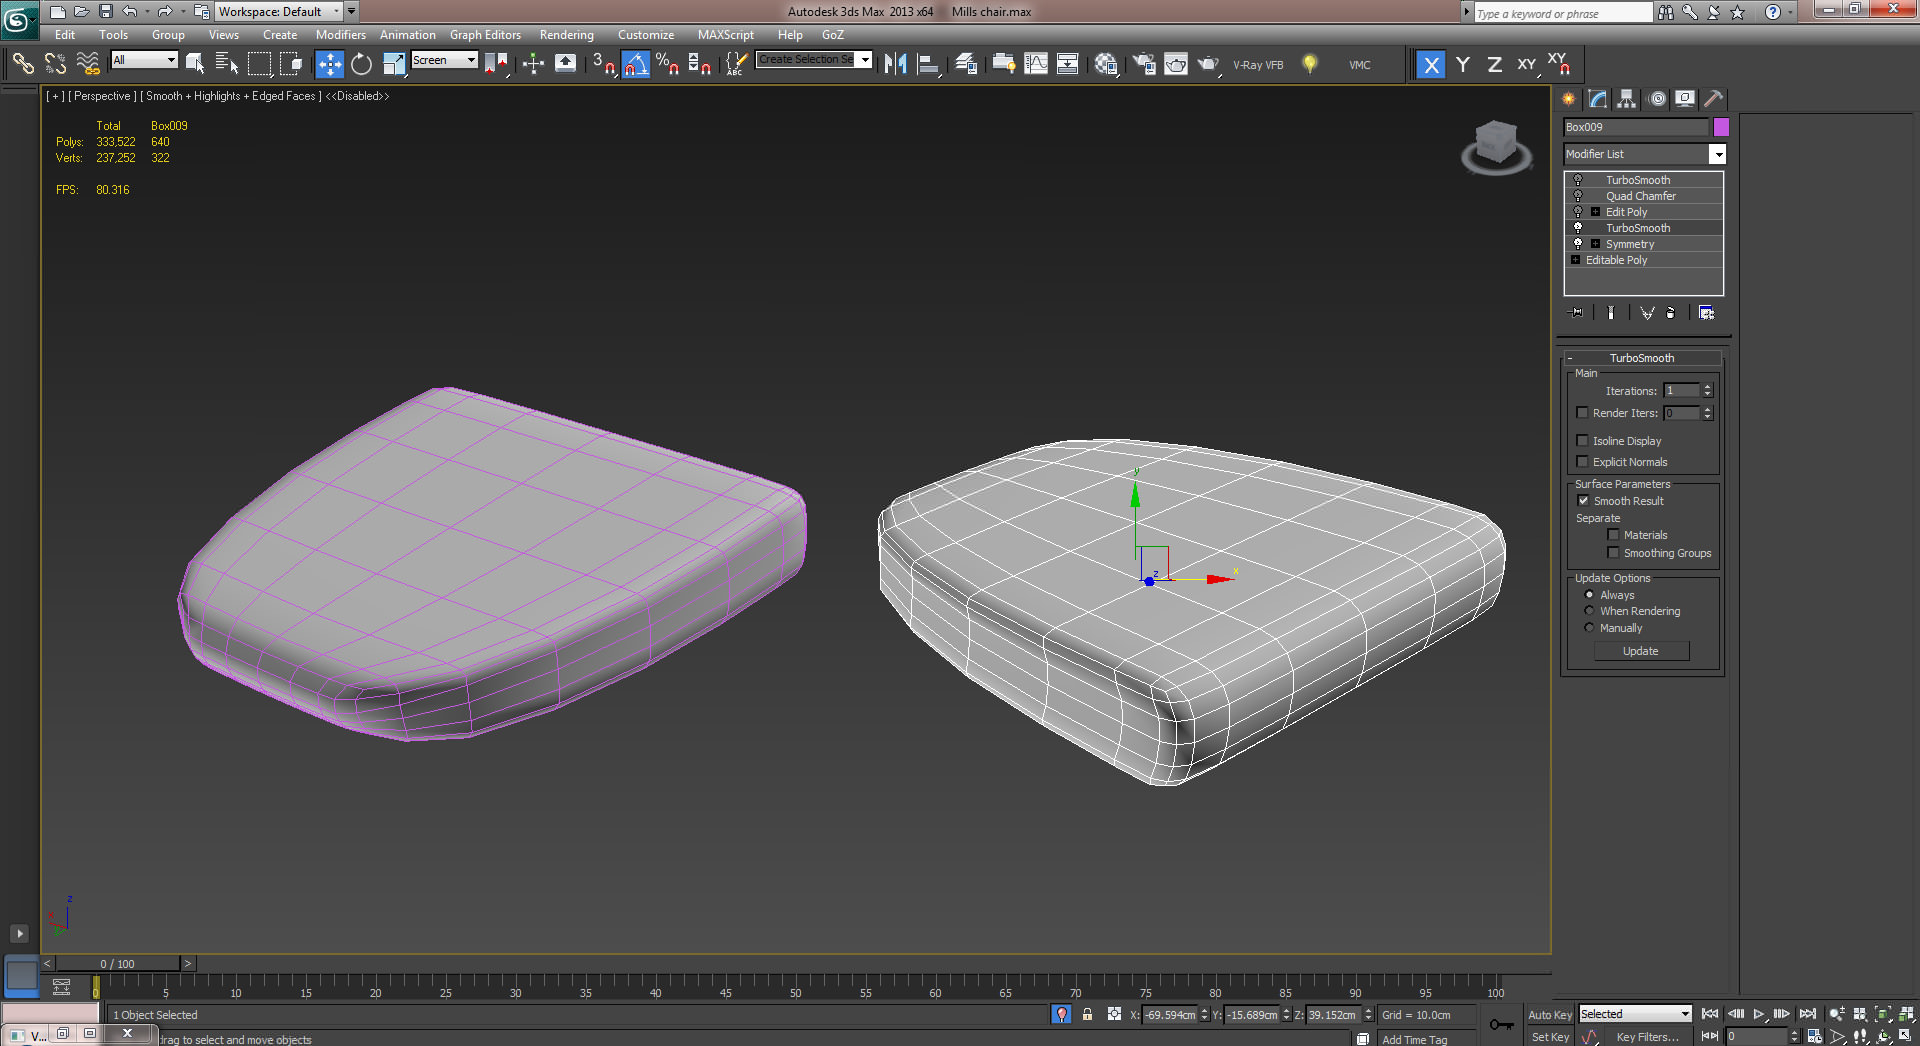
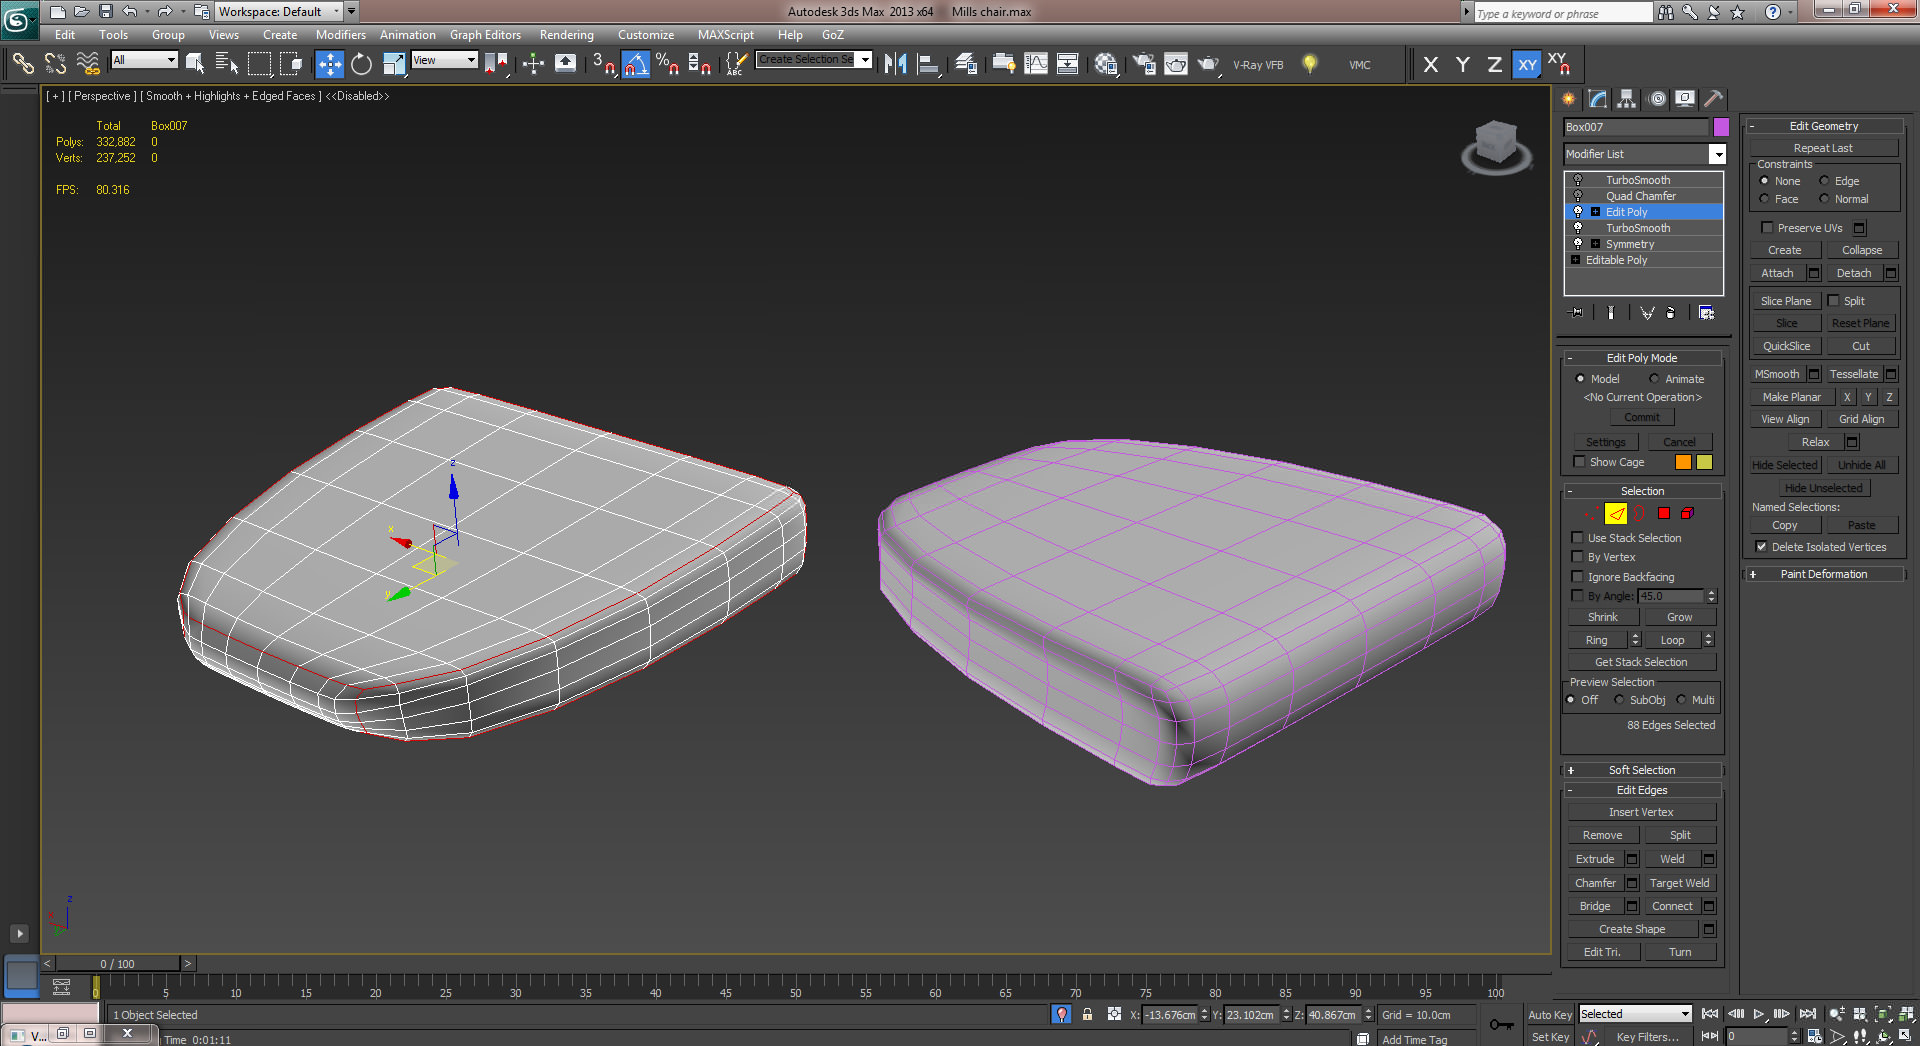
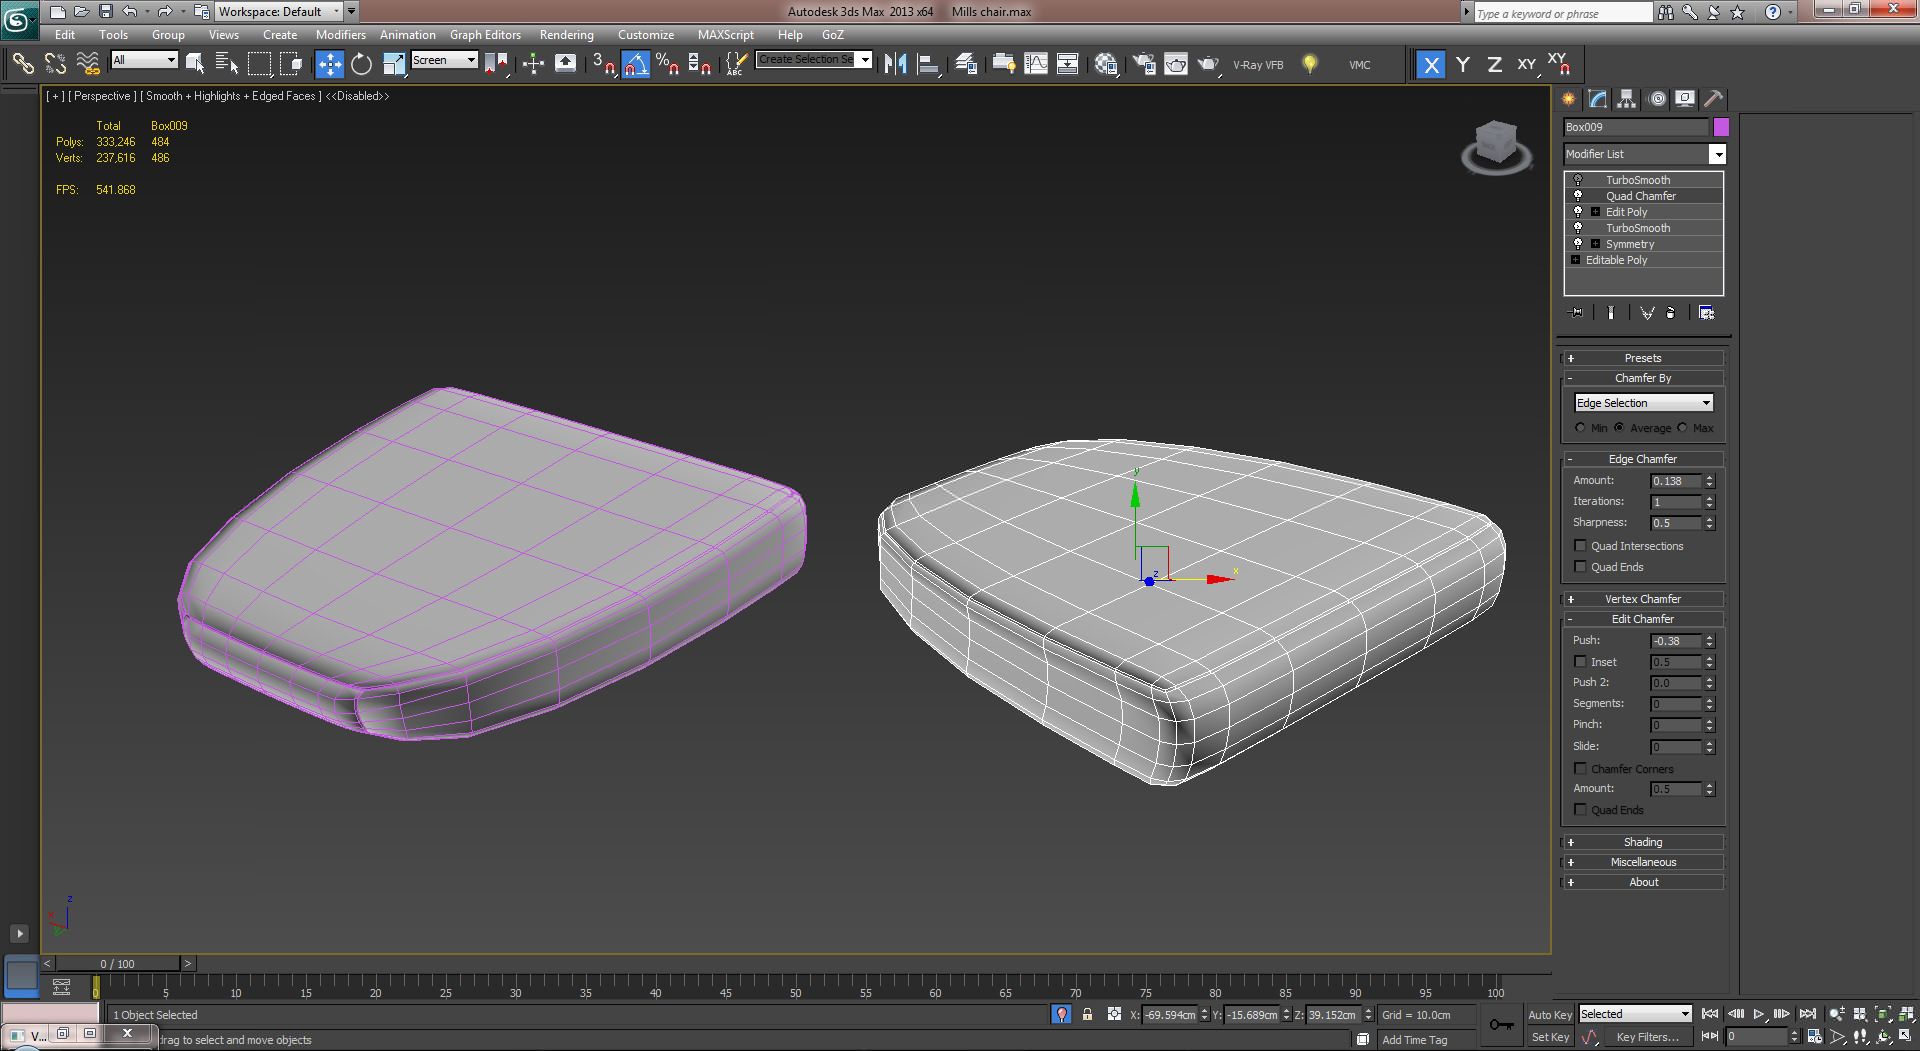
There is one interesting tip that I would like to share with you which is the usage of a plugin called Quad Chamfer by Marius Silaghi. I use this plugin a lot when modeling furniture because it gives me a lot of flexibility in creating sewing lines, and since it is a modifier it allows me to come back and change its values anytime I need to make tweaks.
The way it works is very simple, you just need to select the edges and apply Quad Chamfer from the modifier list. I usually only change the Amount, Iterations and Push values.
This is how the Mills Chair looks now…
UV Unwrapping
Even though the 3DS Max Unwrap tools are very effective, at times they can be very slow. That is why it is nice to have some quick alternative methods and this is where ZBrush comes in.
So, here we go…
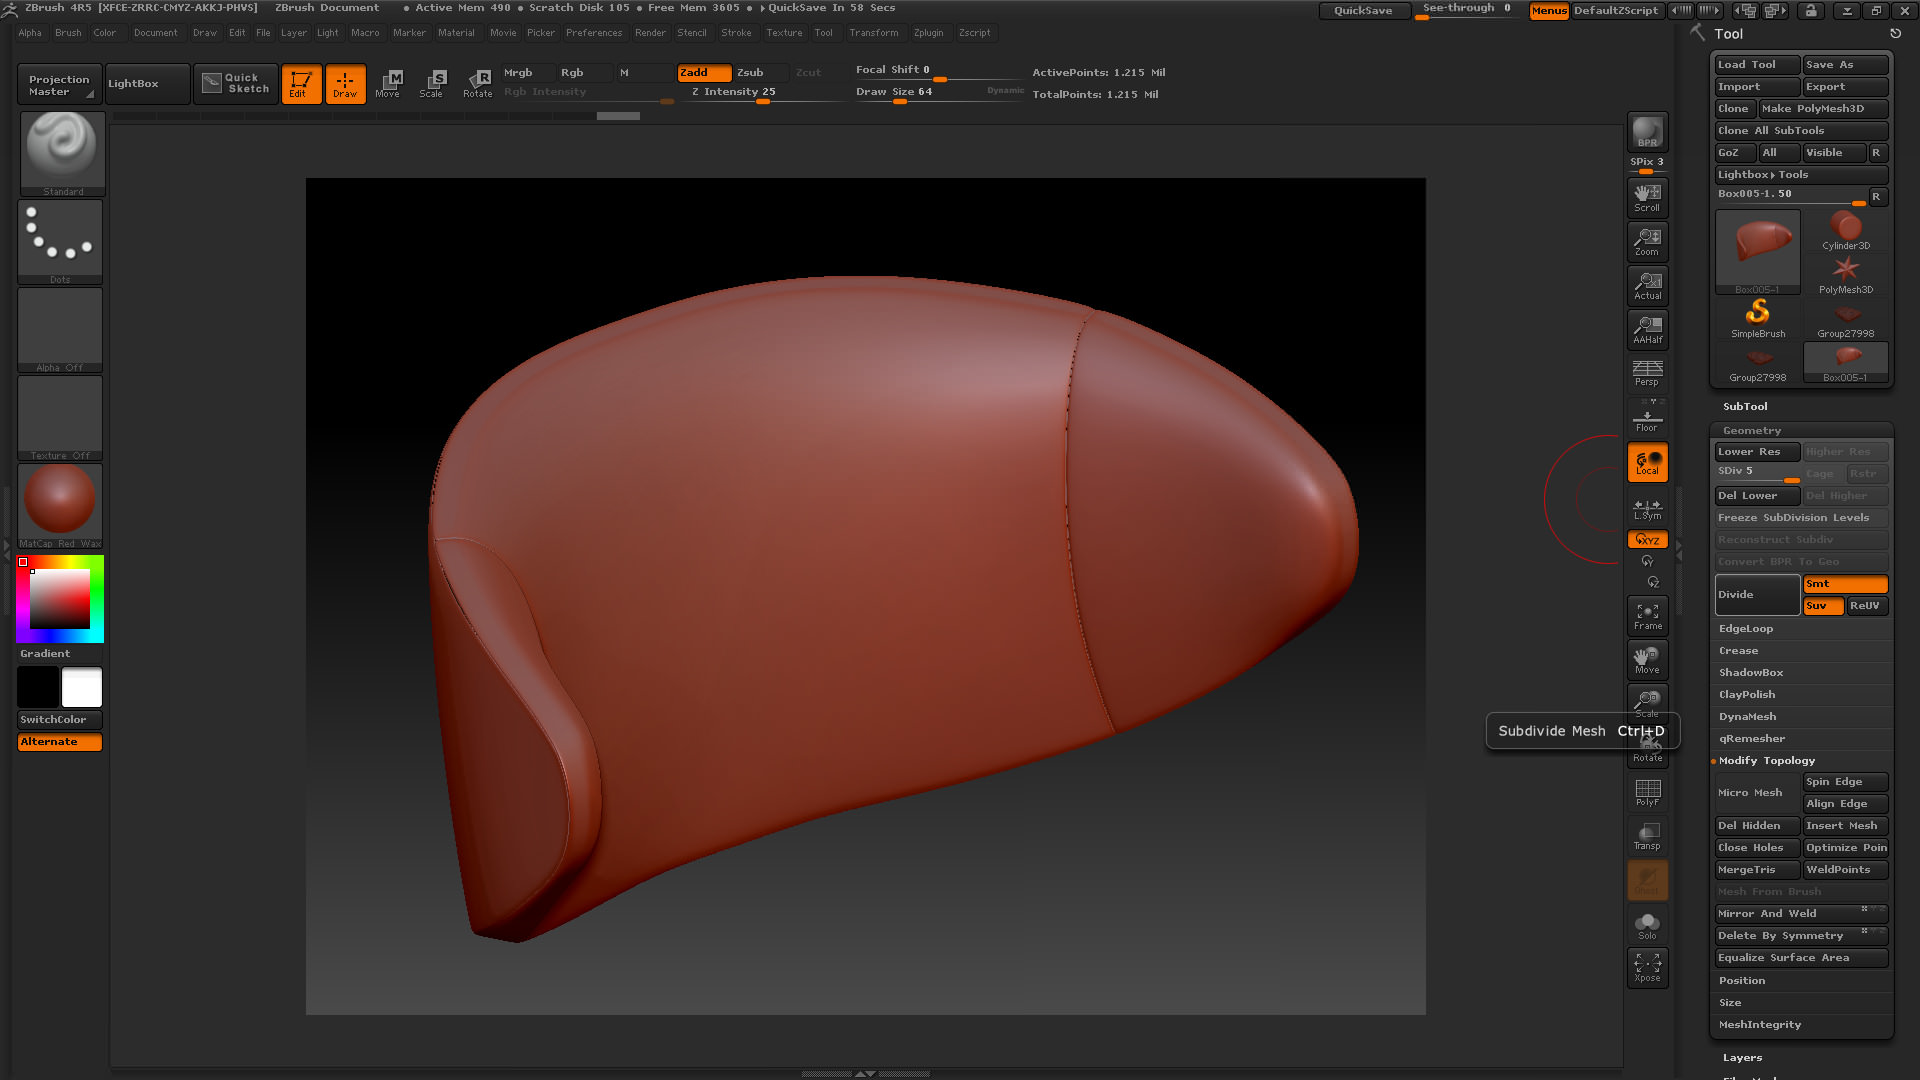
I imported the model into ZBrush using the GoZ button from the menu and applied a checkerboard texture so that I can better see the UVW.
I then went to the ZPlugin drop down menu and under UV Master I clicked on Symmetry and unwrapped the model. After that I flattened the UV so that I could see how the islands were generated.
I then did the exact thing with the seat.
After I exported the OBJ from ZBrush and imported it into 3ds Max I applied an Unwrap UVW modifier so that I can better position the islands inside the UVW square.
Modeling the Stitches
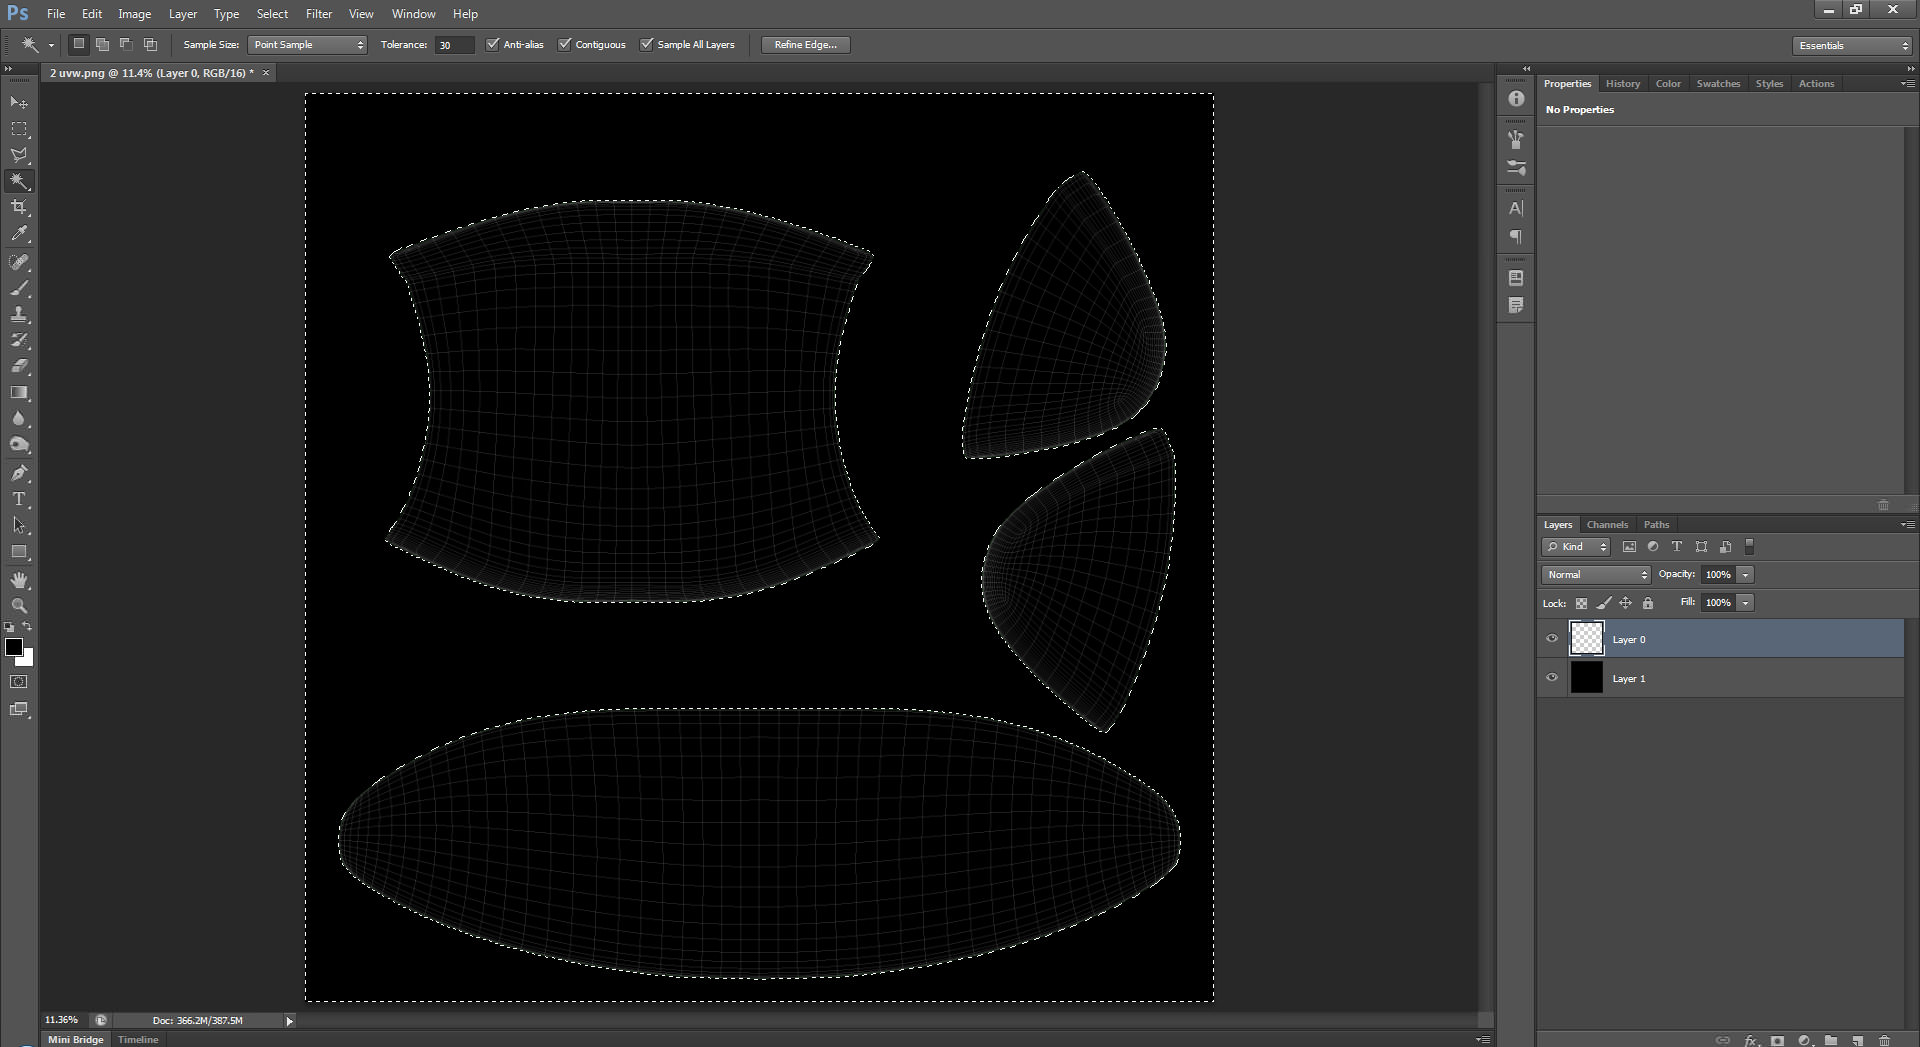
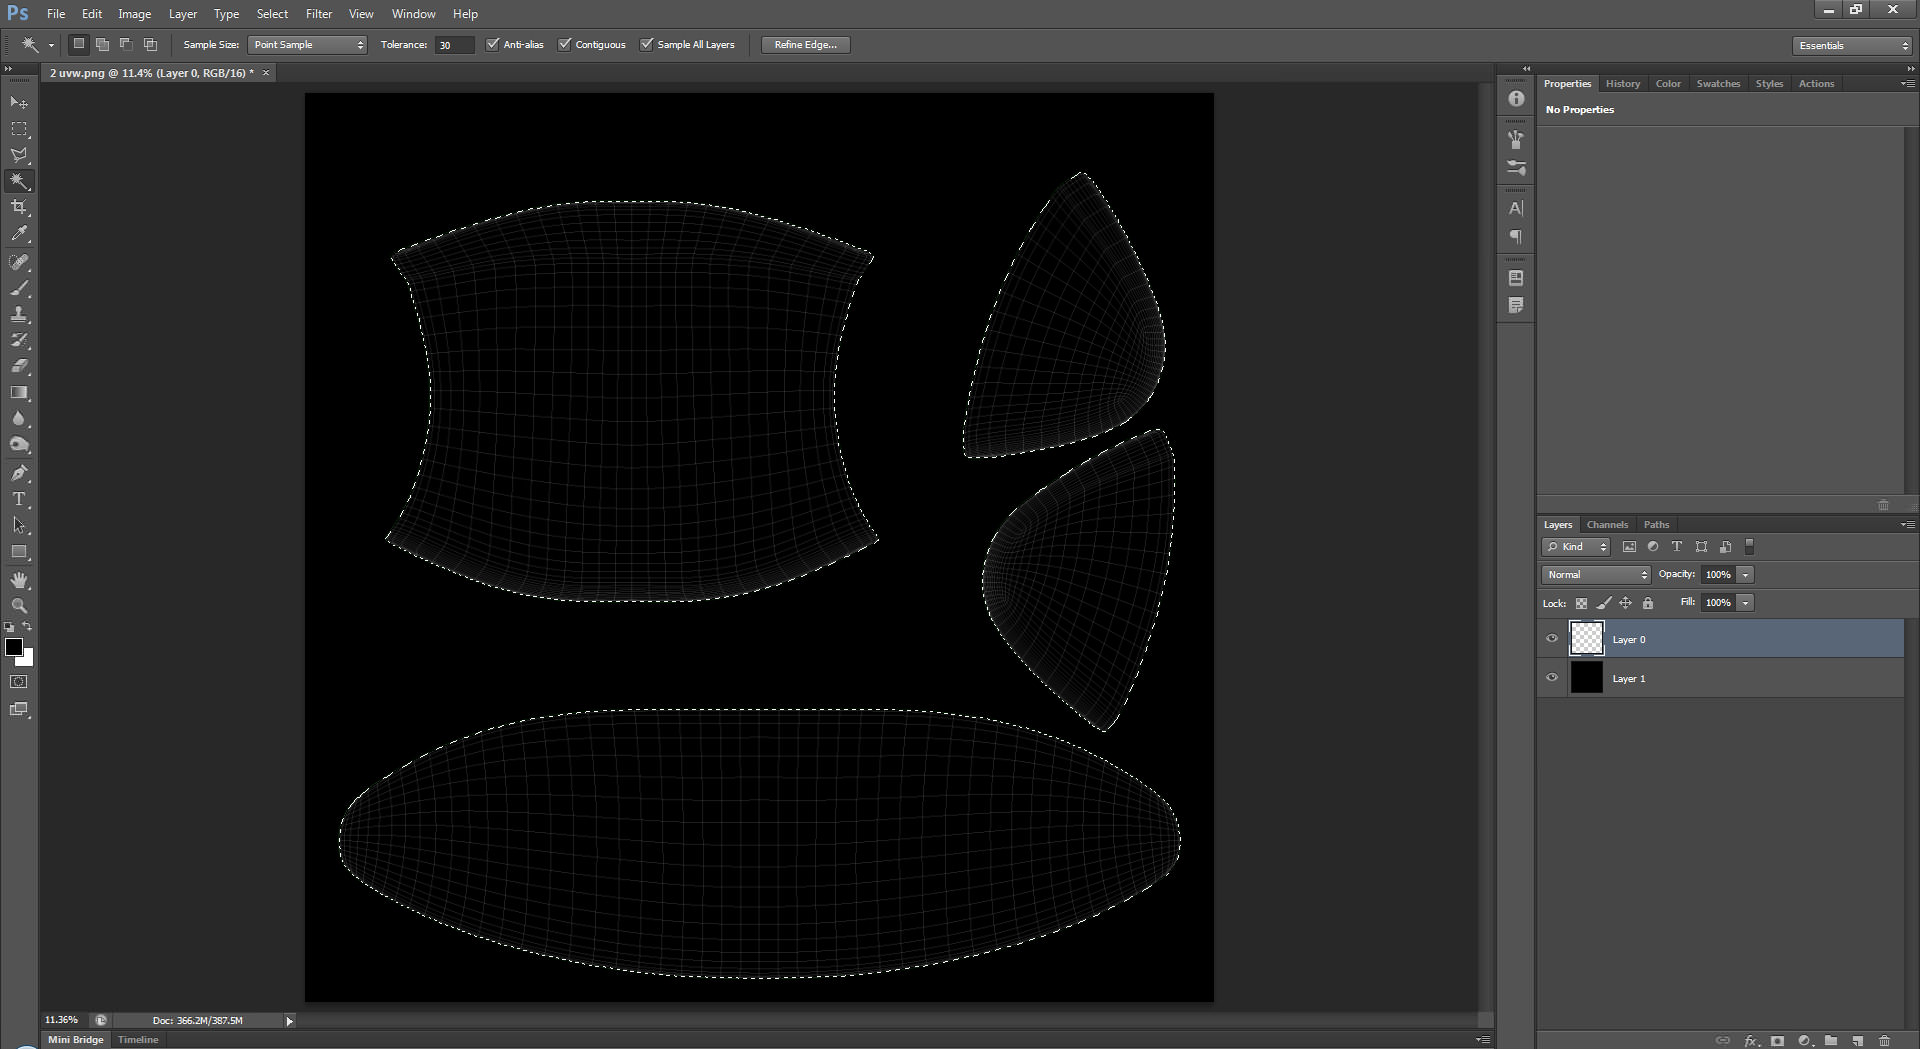
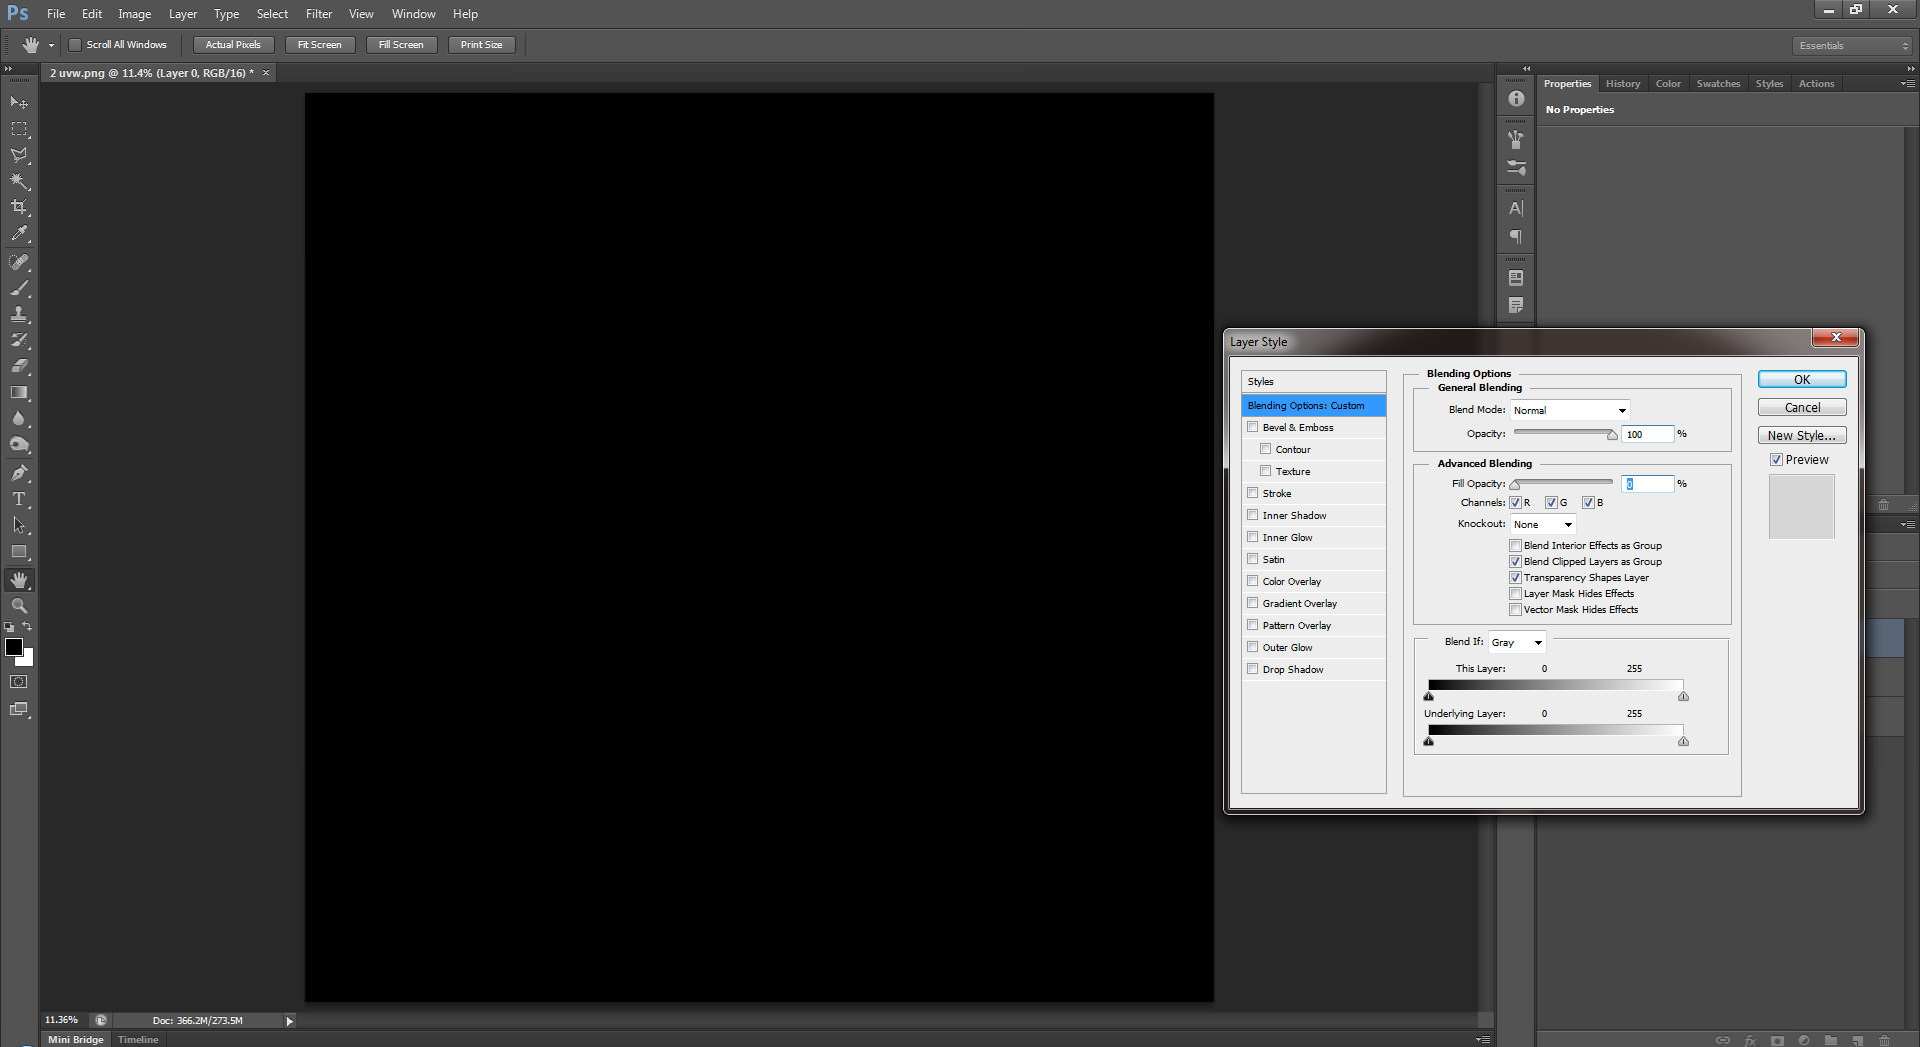
After that I exported the UVW layout as a PNG interlaced and opened it in Photoshop. I then created the selection of the islands’ borders and created a new layer of that selection. I then opened the Layer Style for that layer and applied a white thin stroke and saved out a JPG of the result.
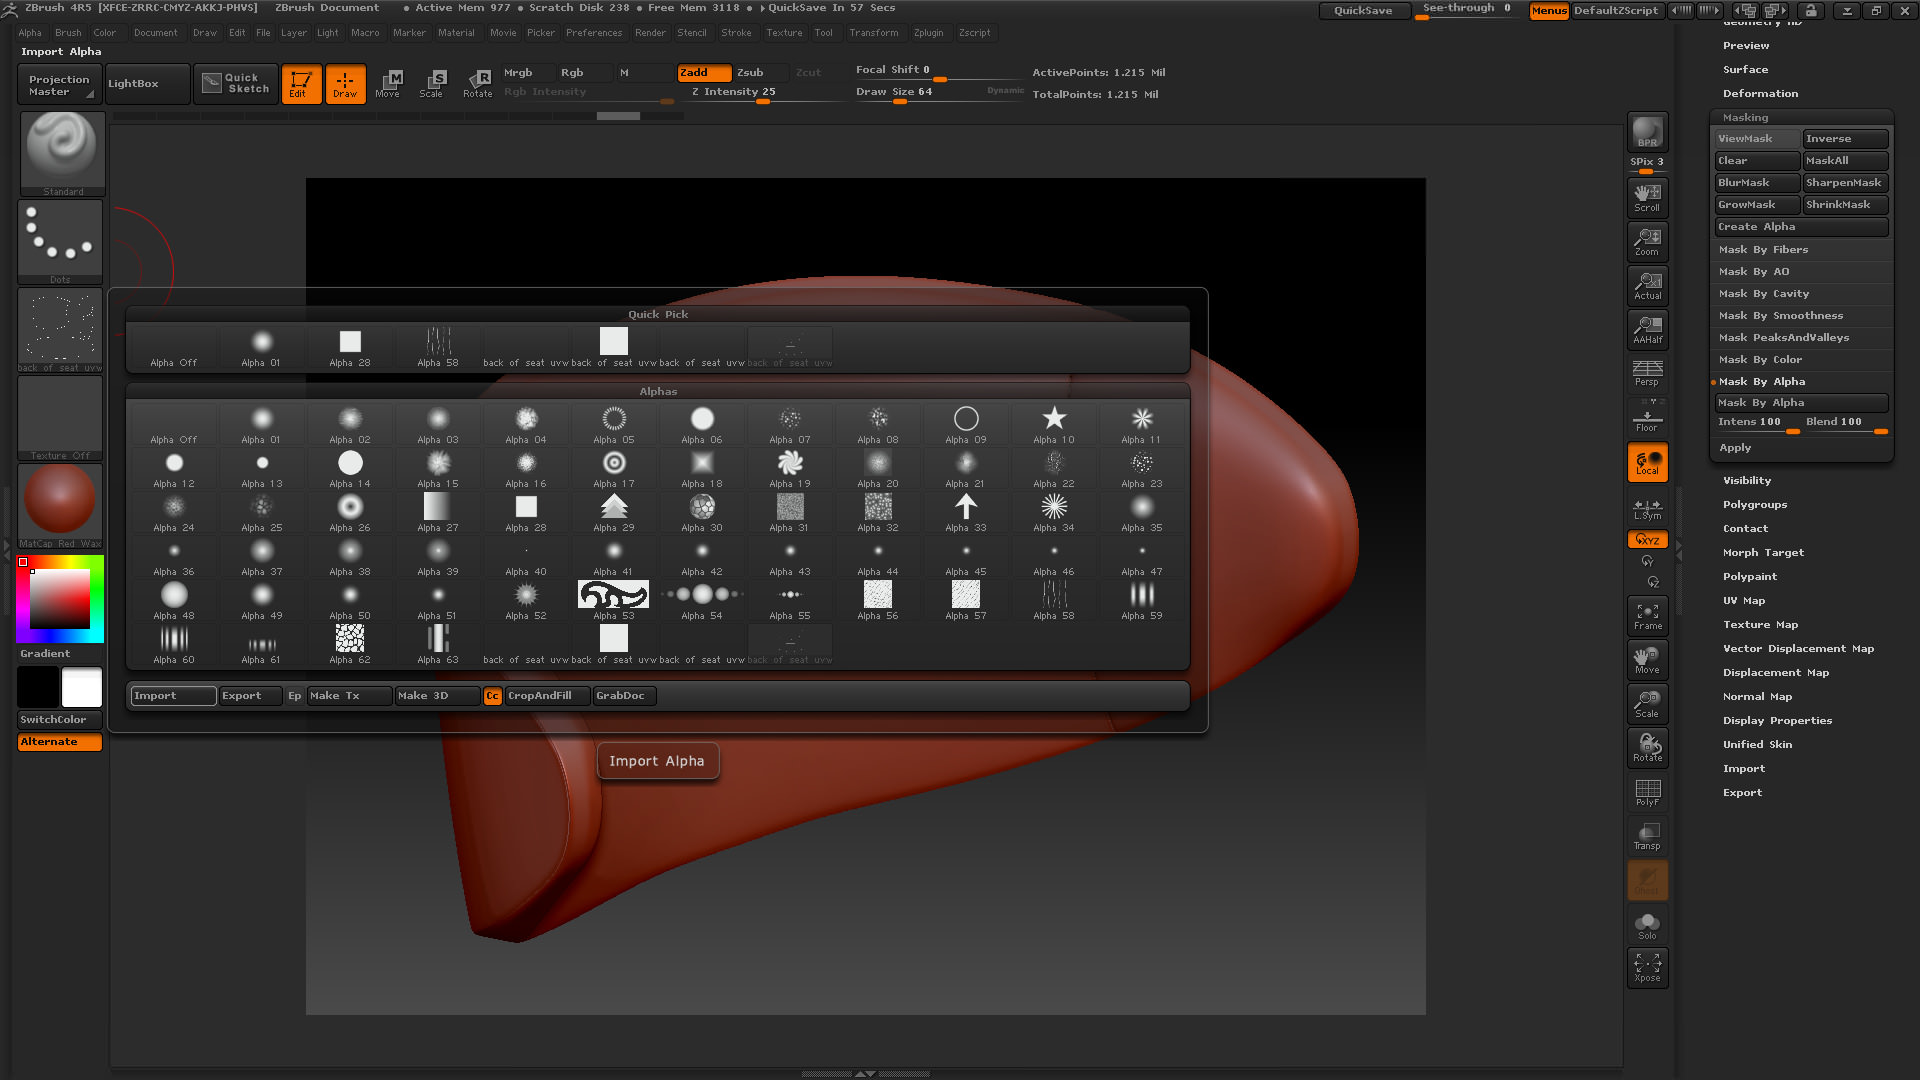
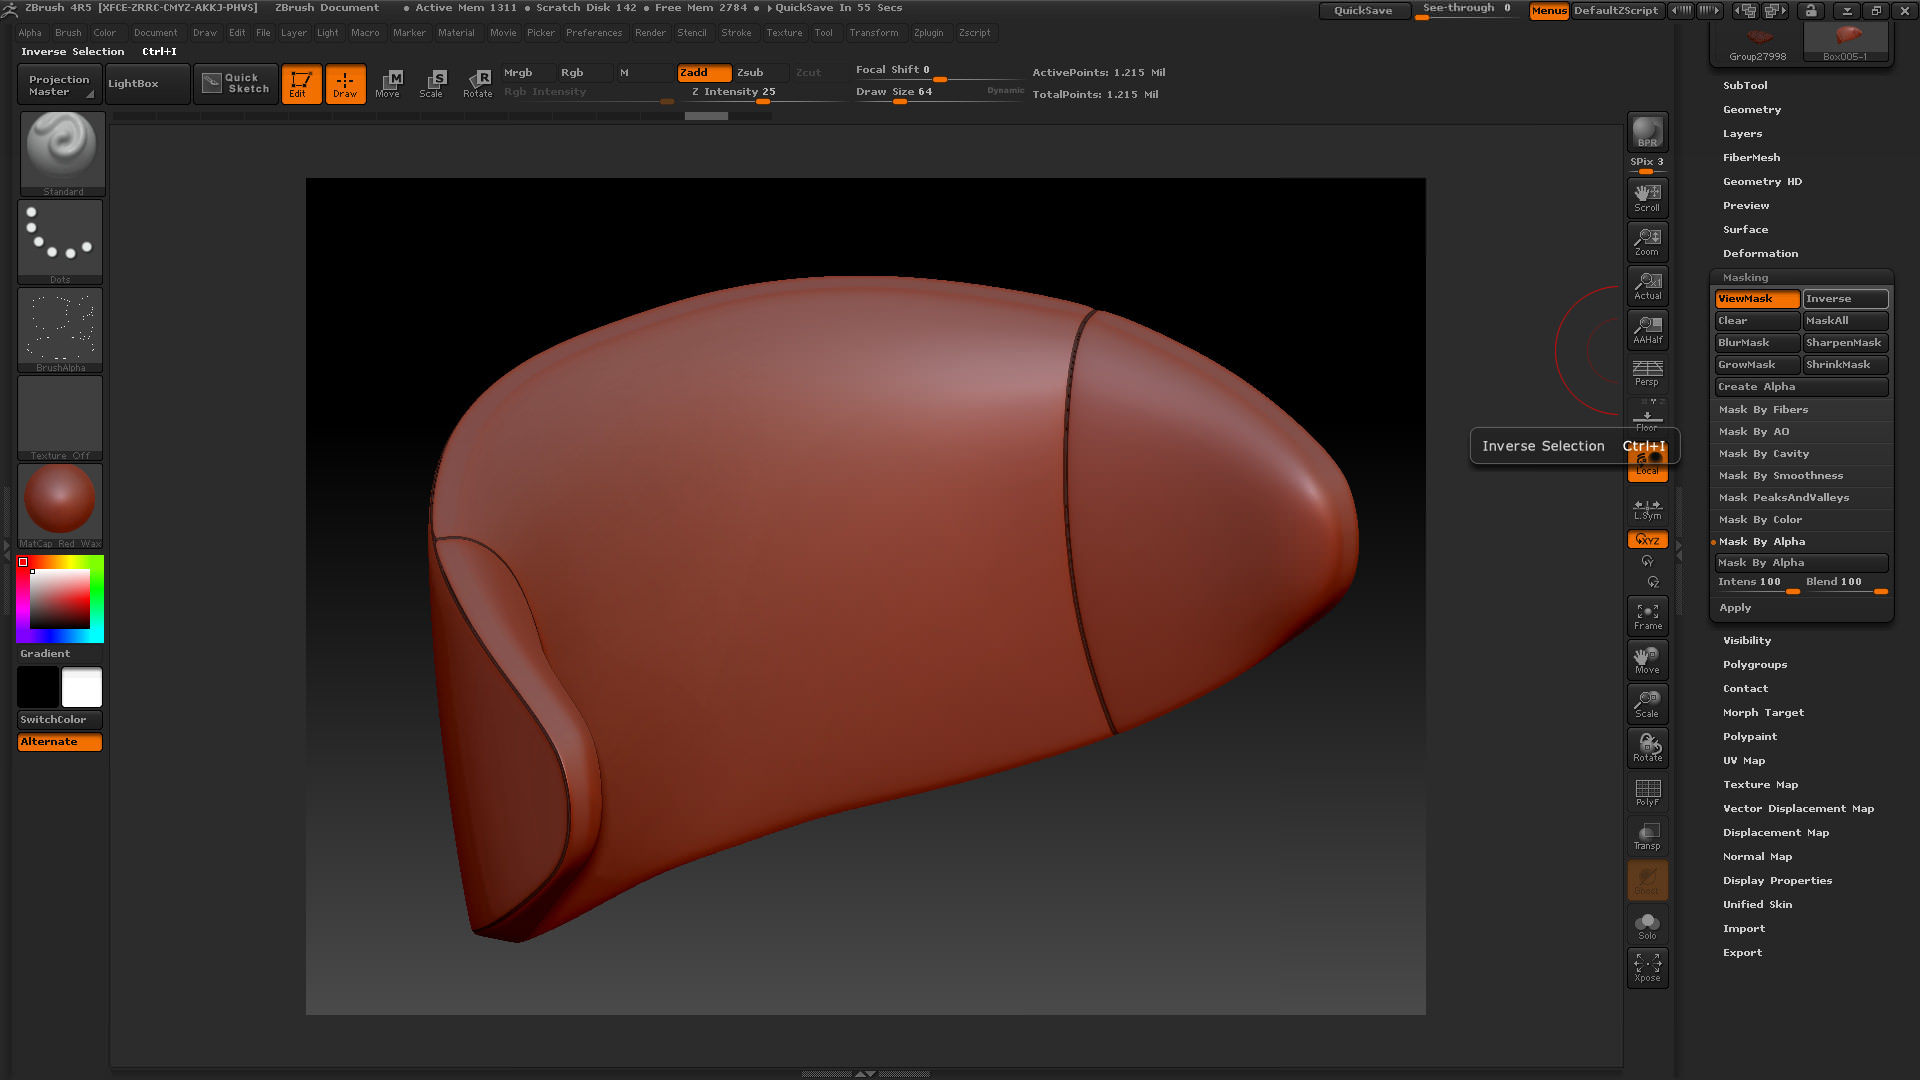
With the model opened in ZBrush, after having subdivided it, I then imported the JPG that I had just created previously, in the Alpha square that one can find on the left of the ZBrush User Interface. In the Masking drop down menu on the right I then masked the model by Alpha and then clicked on Inverse which is to be found in the same tab.
In the Visibility tab which is right underneath the Masking tab I clicked on HidePt and then from the Geometry tool I clicked on Del Hidden to delete everything else aside from that thin white stroke I had previously created in Photoshop.
So in the end this was the result…
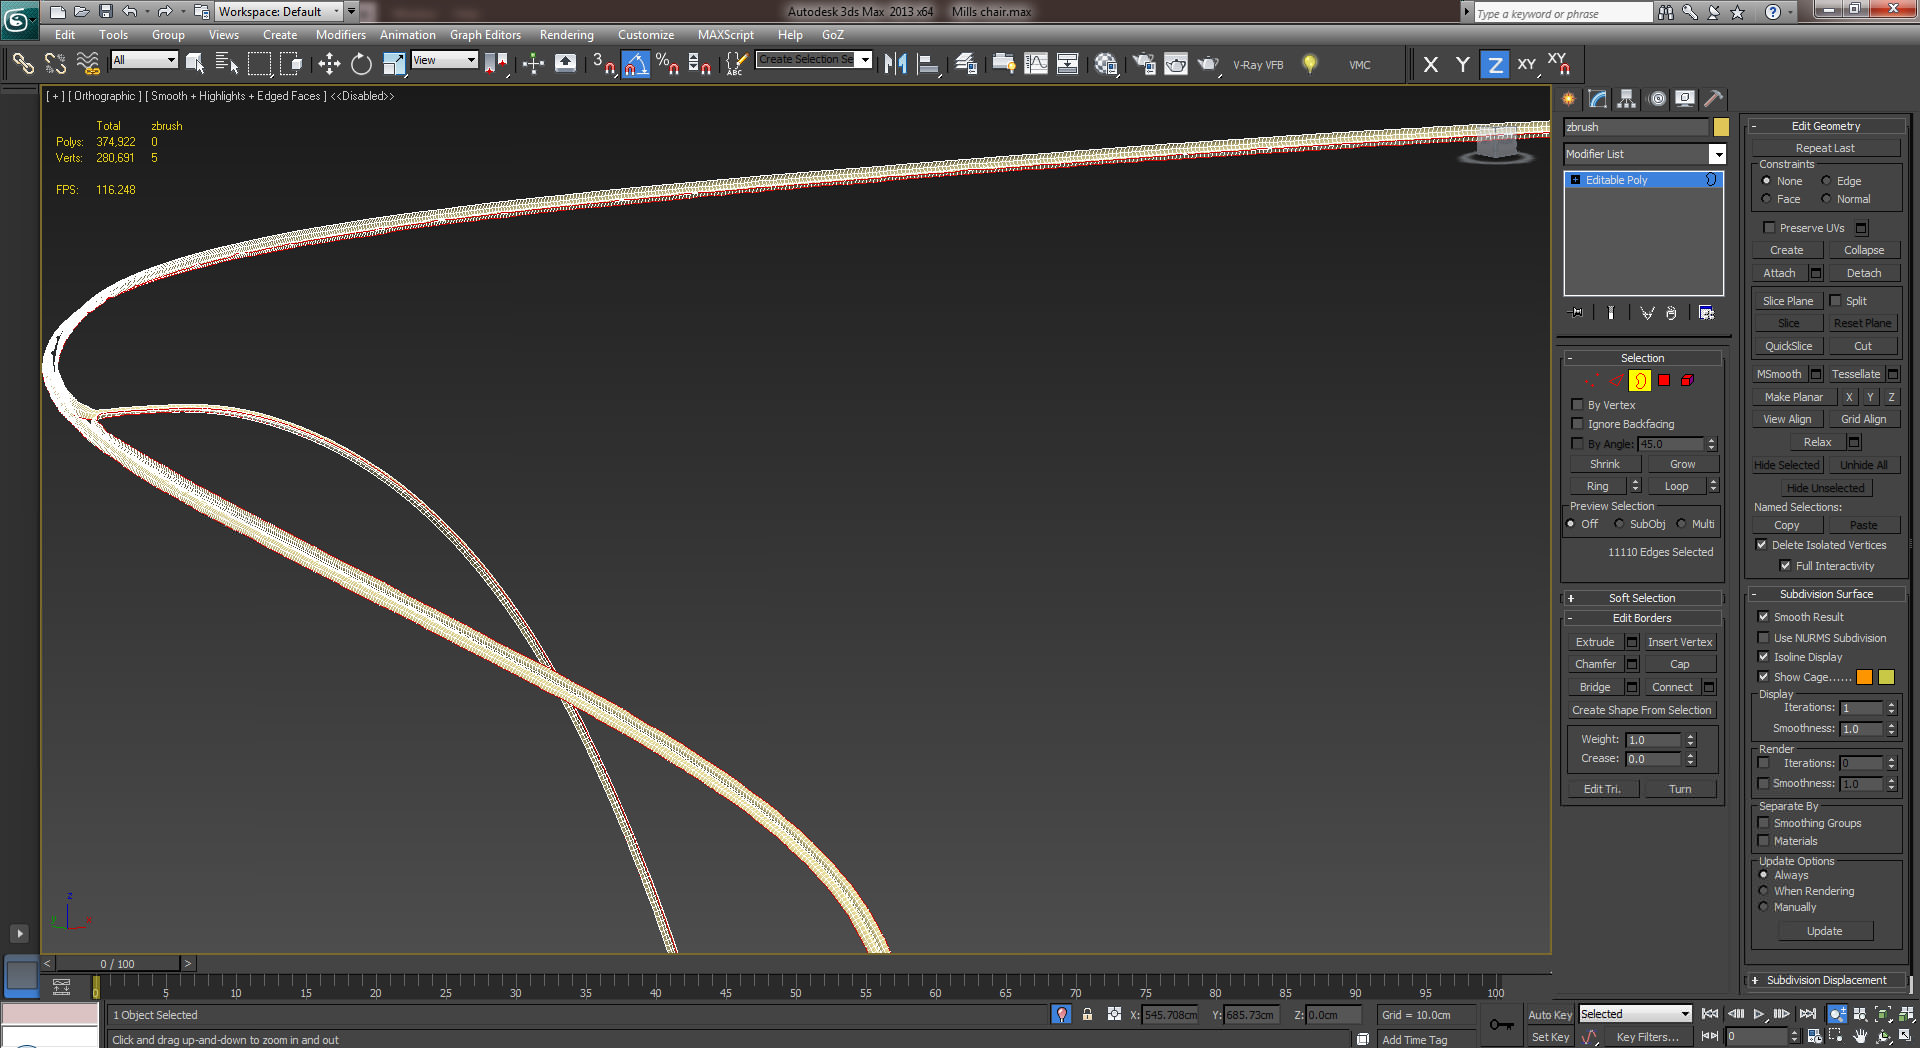
The result was then cleaned up a bit using QRemesher as you can see in this screenshot…
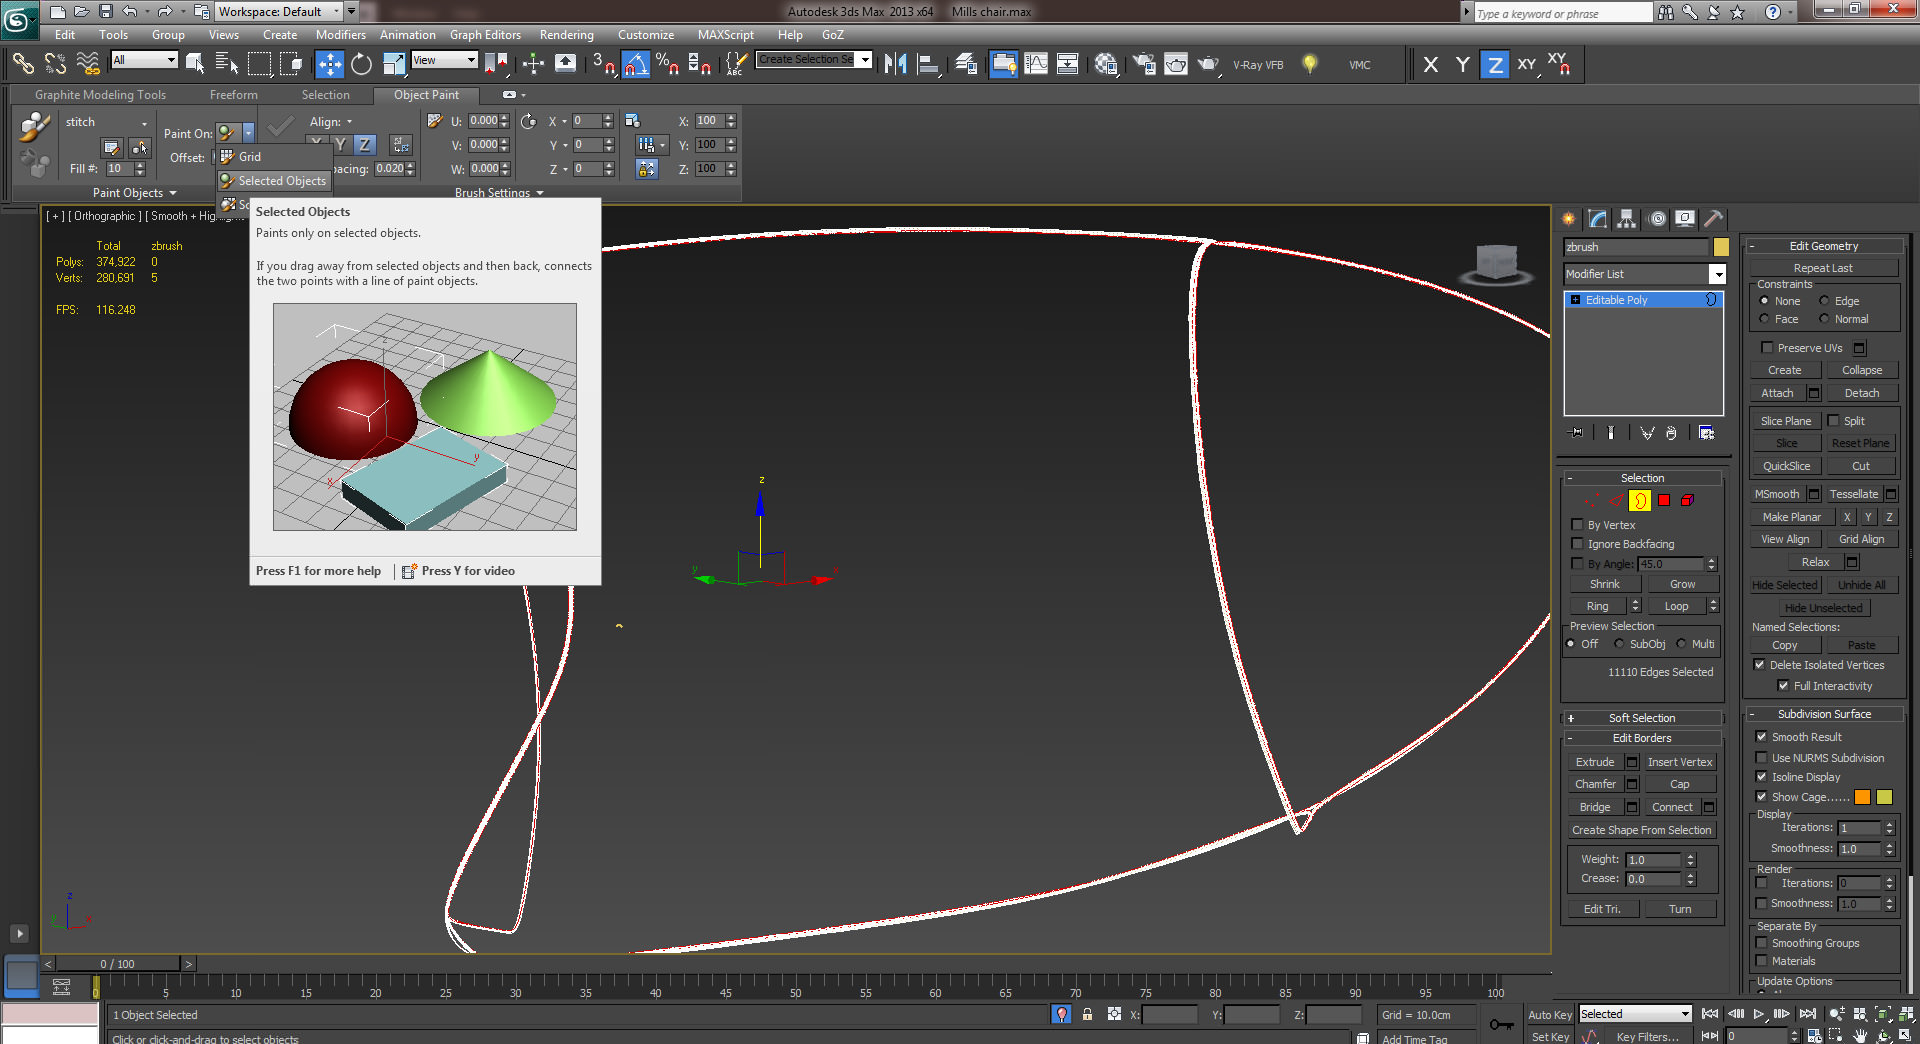
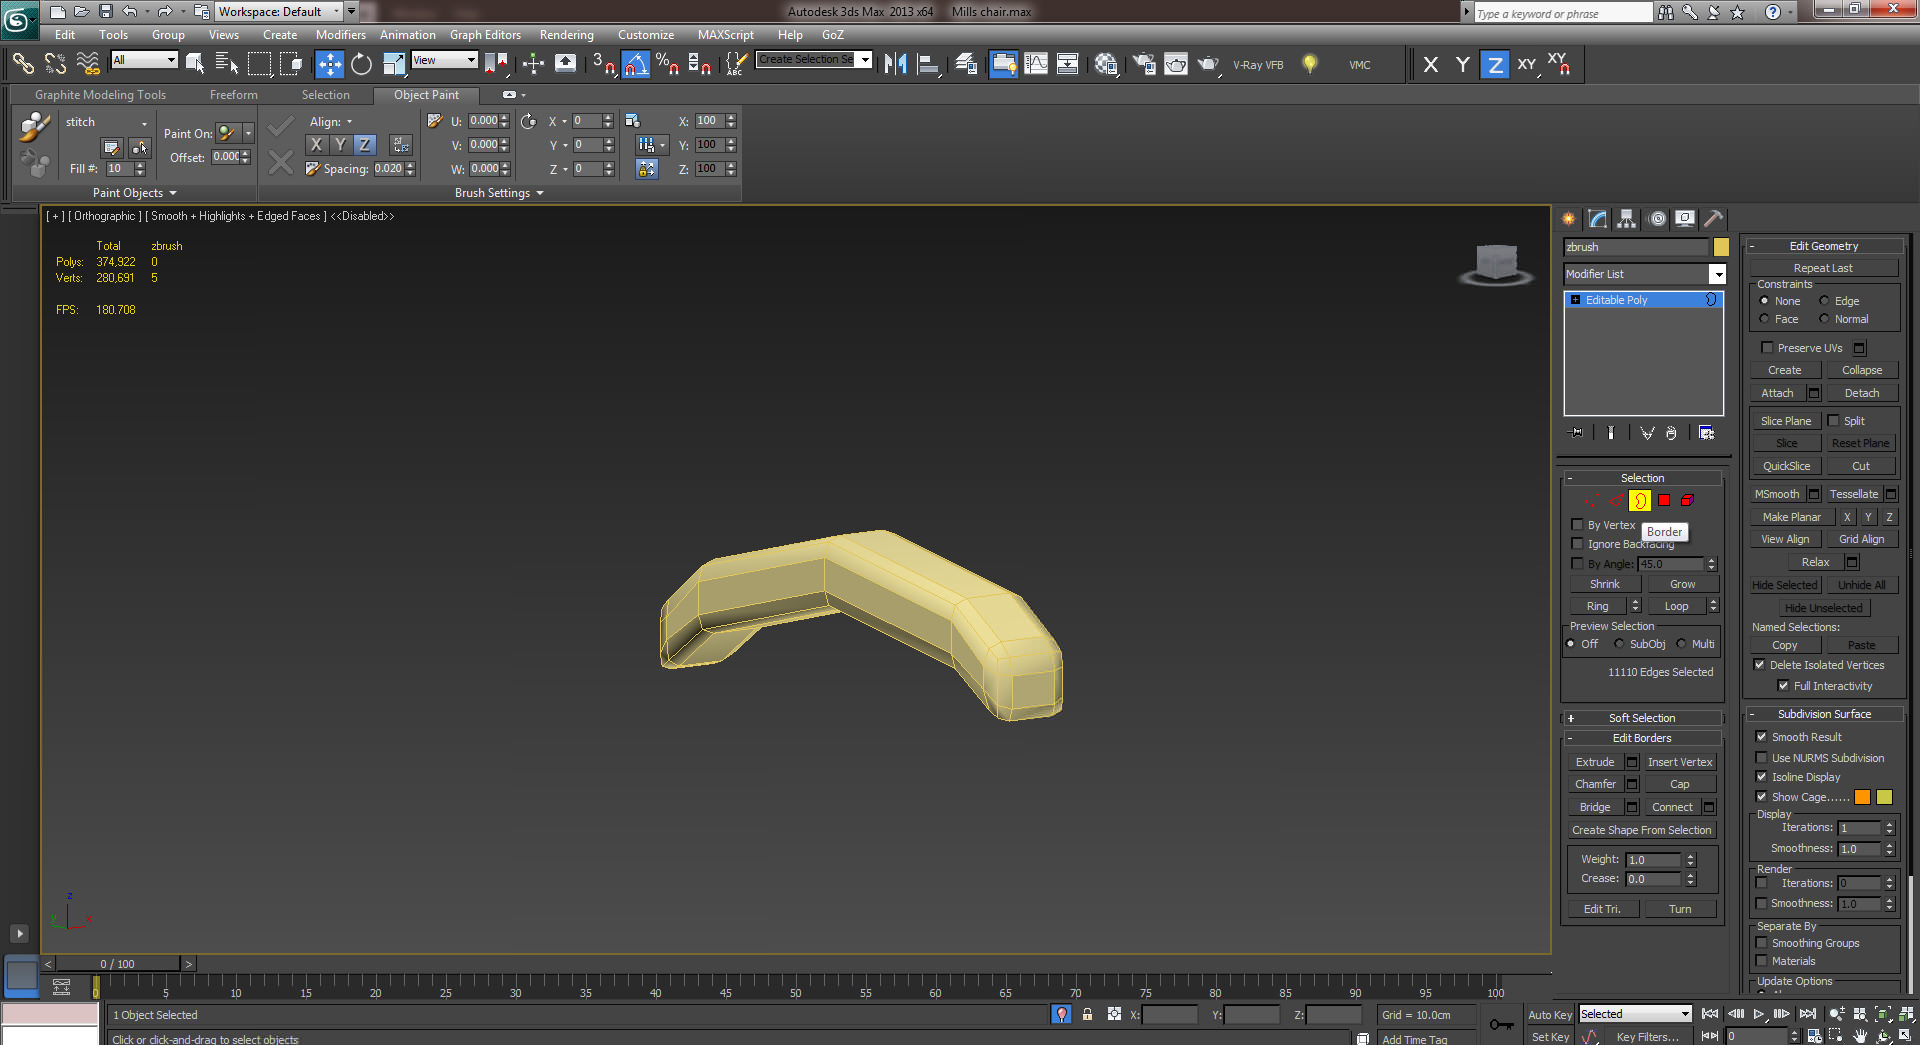
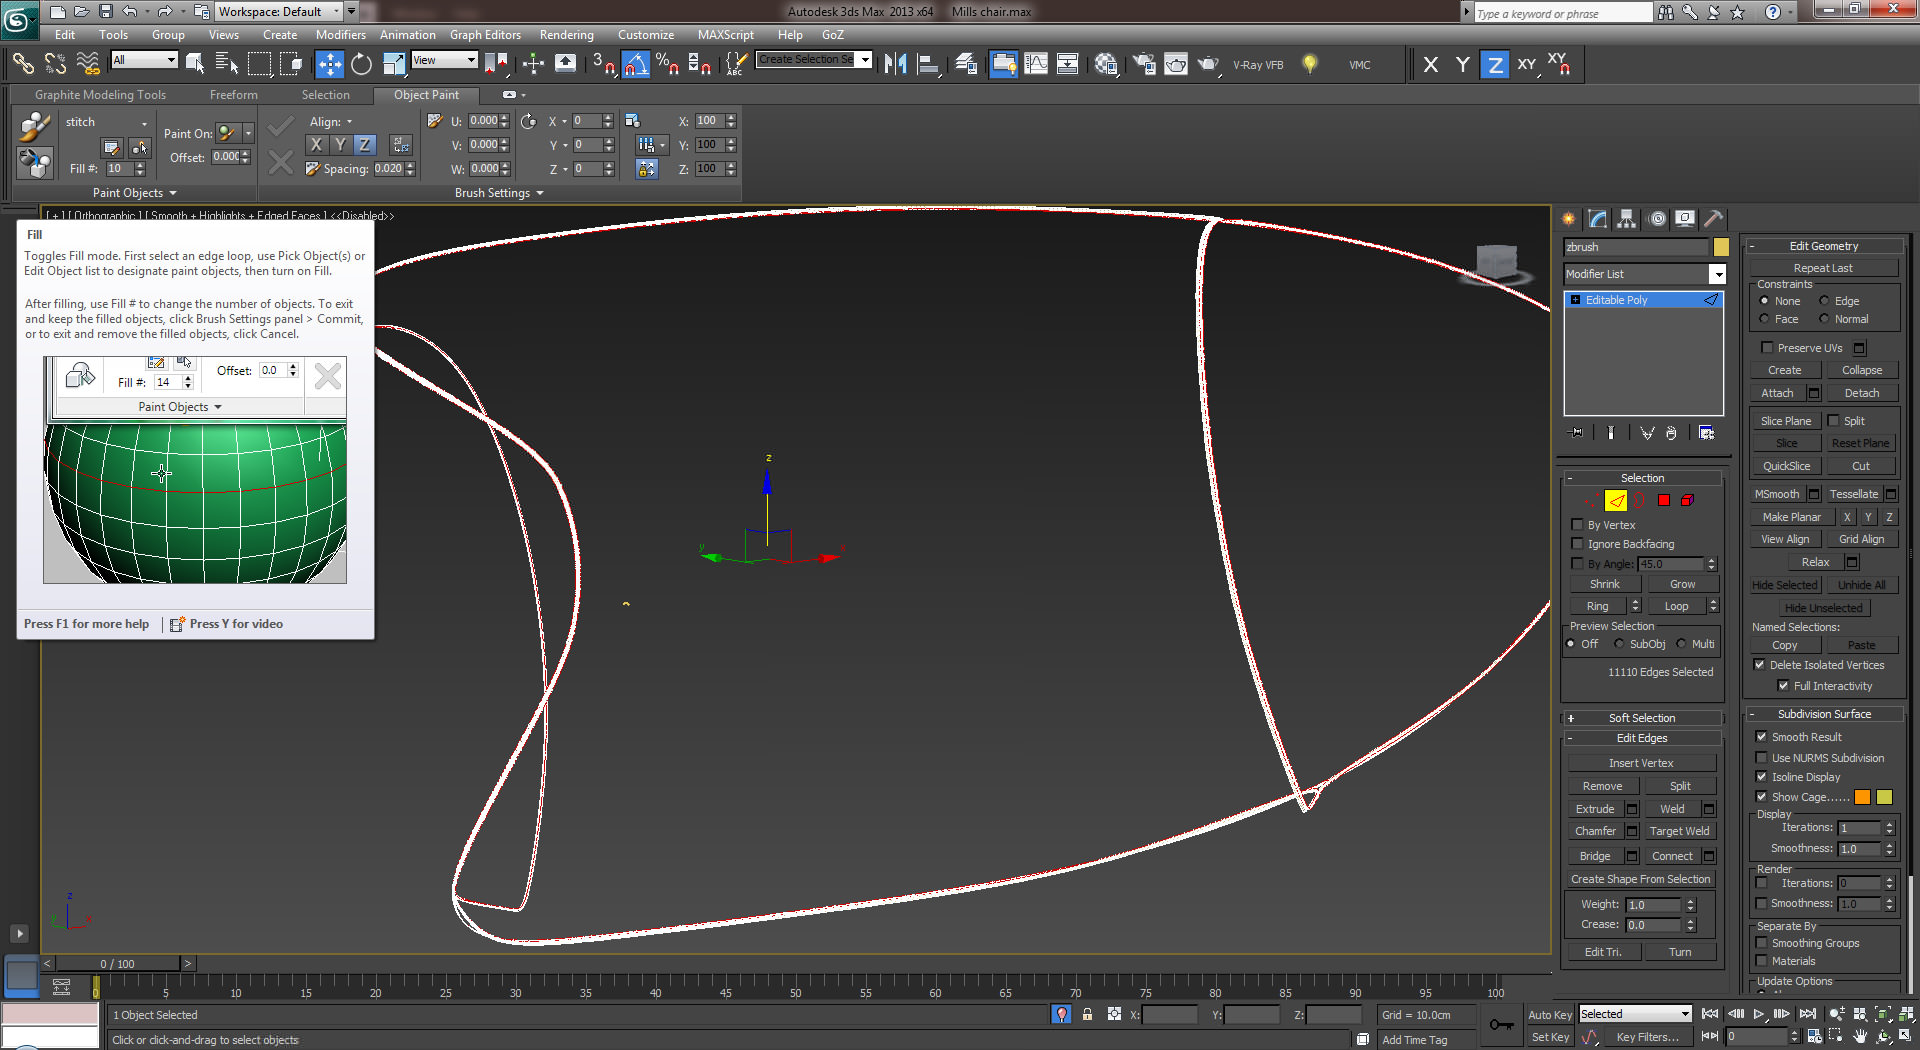
After importing the thin polygon flow from Zbrush (yellow polygons) I then went on Borders Mode and selected the borders along which the stitch was going to be cloned. By keeping CTRL pressed and clicking on the Edges Mode I converted the borders to an edge selection. I then went into the Graphite Modelling tools and under the Object Paint menu I selected my stitch and pressed on Fill followed by the green verify icon that immediately gets activated. The only parameters that I had to change were the Rotation along the Y axis by 90 degrees, reverse the X axis, input 0.400 in the Spacing field and change the Fill count.
After countless tests done with different plugins (and softwares) the Object Paint was the only one that worked flawlessly for this type of cloning.
I will leave out the modeling of the legs since they were just basic cylinders with nothing else applied to them other than Turbosmooth modifier.
I hope you enjoyed this tutorial as much as I enjoyed sharing these tips with you. I’d love to see some chairs made by you, and go ahead and ask me anything you like in the comment section below.
Cheers,
Eduard Caliman.













I am a big fan of you and your work from Greece. I was watching the mills chair tutorial but unfortunatelly i haven’t open zbrush even once before, so i got some weird seams with the uv master, basically it unwraps my model pretty well but the position of the seams aren’t in the seams position but inside the back of the chair so i cant get the correct uv islands to make the stitches, could you help me with what i must do on zbrush to make it ? (In 3ds max before i export the model i tried to put the different islands on seperate mat IDs and i tried both group the back of the chair or editable poly) (ill post a prnt screen of that just to be clear what i am talking about) . Thanks a lot and i appreciate your work keep going!