Making of Roldal Pilgrim Center by Plankton Group
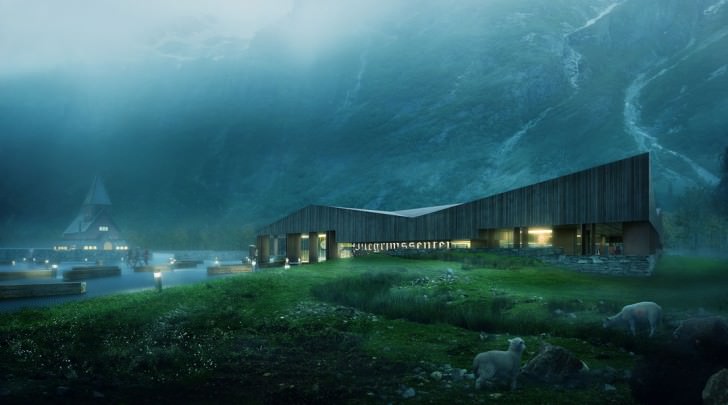
Planktongroup published the Røldal Pilgrim Center visual back in March this year, and it made a big impact on me. It reminded me a lot of MIR’s style, being located at Norway helped with that too… But this is a great piece of work standing alone, and relying so heavily on the use of Photoshop in achieving the final result form what proves to be a very simple raw render (from a super simple SketchUP model) makes the following read very interesting. Enjoy!
Author: Plankton Group
Plankton Group are a visualization firm based in Warszawa, Poland. Visit there online portfolio at – www.planktongroup.com
Introduction
The rendering was made for a Norwegian / Polish duo Thomas Tysseland & Micha? Bekas for a competition they did back in November in the small town of Røldal, Norway.
The competition site is located near a small river in a beautiful valley next to the Røldal stave church (Røldal stavkyrkje) which is a part of The Norwegian Cultural Heritage Site.
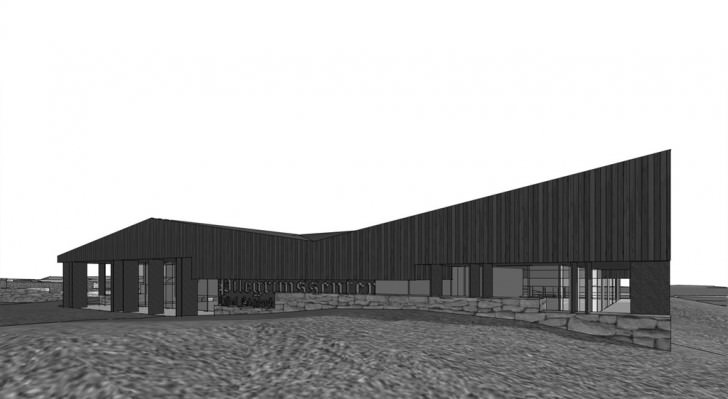
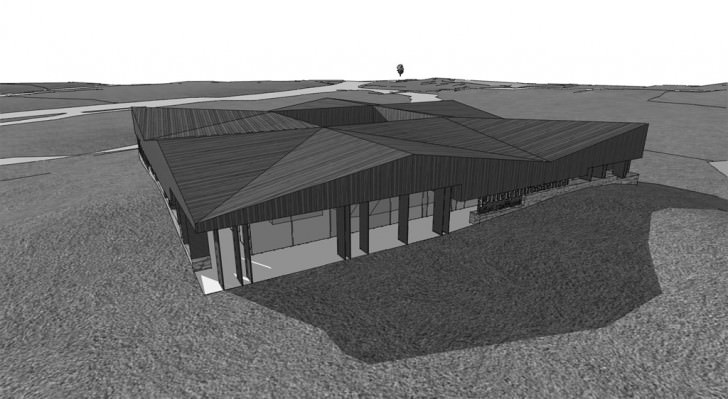
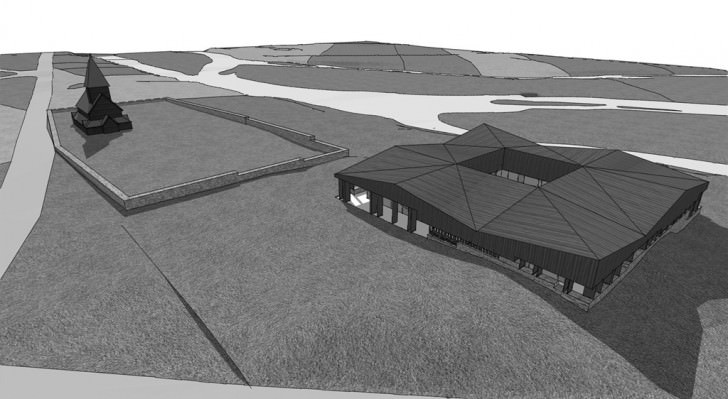
We were given a fairly accurate Google SketchUP 3d model. Considering the short amount of time we had for making the image it was really comfortable. We could focus on the atmosphere of the building straight away.
The image had to show the relation between the existing church and the Pilgrim Center. You could say the camera location was given by the architects, although we could slightly move the camera getting a better final composition.
Here are some screenshots of the model
Research
The research process was very quick. Since we first saw the project and looked at the area in which it was to be located, we almost exactly knew what kind of mood we wanted to achieve.
We heard lots of stories from our friends visiting Scandinavia, so the atmosphere we were trying to create was mostly based on our vision of Norway a cold, moody, foggy, peaceful, quiet place 🙂
Rendering
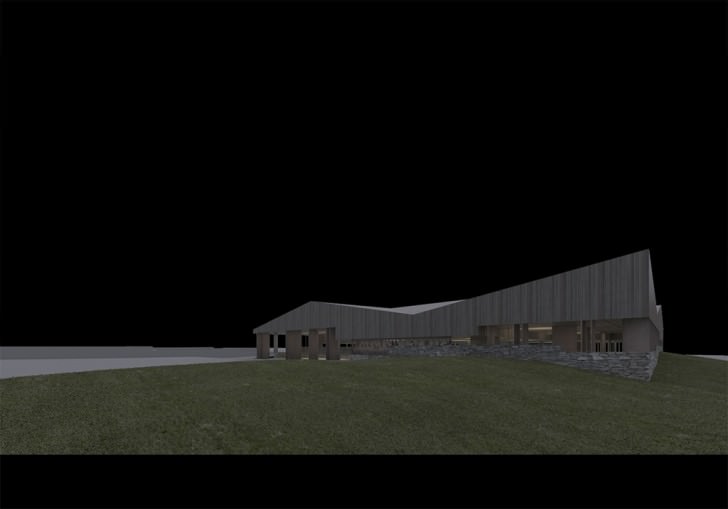
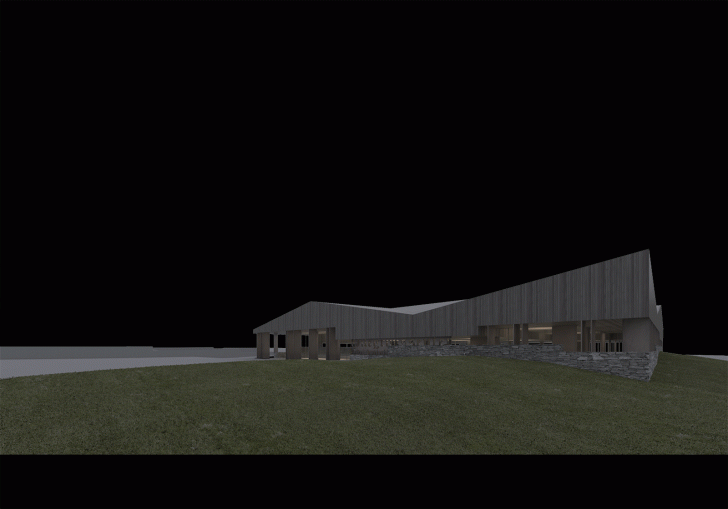
From the beginning we knew we wanted to do the majority of work in Photoshop so we really didn’t spend to much time refining the materials and lighting, as seen on the raw render below
We used basic Image Based Lighting with some cloudy HDRI we had in our texture library.
The materials were also very basic nothing spectacular here. There was much to be done in the post-production process.
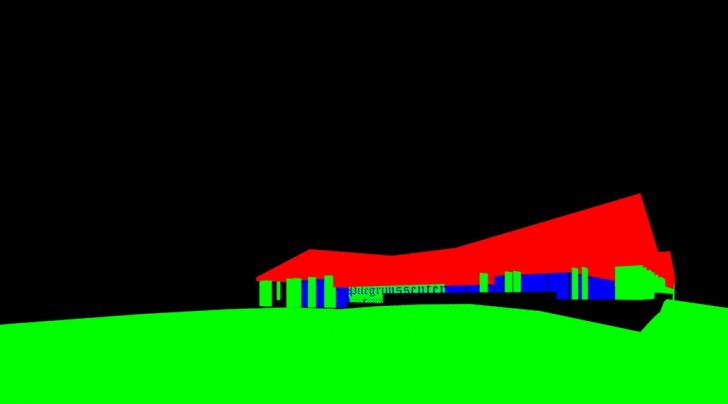
One more thing. We always use Wire Color channel to easily select parts of the image when working in Photoshop:
Photoshop (The Fun Part)
We don’t like to call this process the ”post-production” process, since in this case (as well as many others) we spent almost all the time we are given in Photoshop so we think of this as the main production process.
Compositing
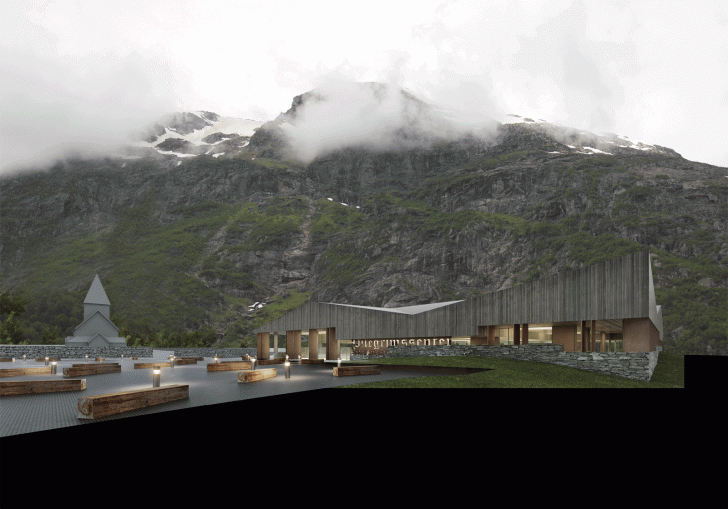
We instantly knew we wanted the image to have a cold moody feel to it. We stared to lay out the main elements on separate layers: the church, the mountains, the grass, the trees.
Over the years we have collected a fairly big amount of textures in our library so we had lots to choose from. We used many photos of nature to recreate the existing surroundings.
We wanted to get a neutral composition so we could easily manipulate it with color and contrast correction later on. Using various adjustment layers (curves, hue/saturation) we got the elements of the image to work together.
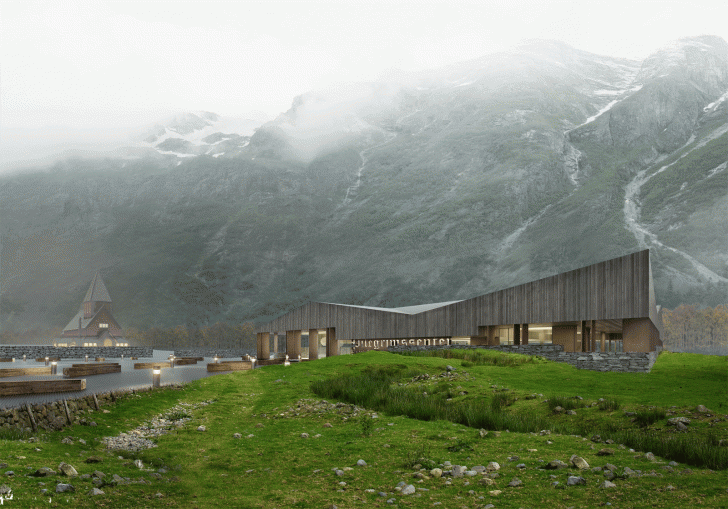
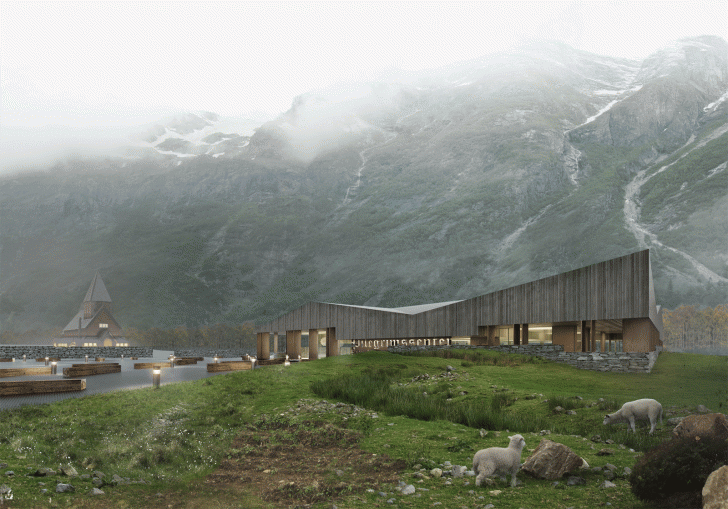
Below you can see the various breakdowns (click the images to enlarge them and see the sequences).
The Church Breakdown
The Mountains Breakdown
The Grass Breakdown
The Fog Breakdown
Color correction and Final Touches
After completing this process we were able to easily take advantage of the adjustment layers creating the final atmosphere of the image.
(click the images to enlarge them and see the sequences).
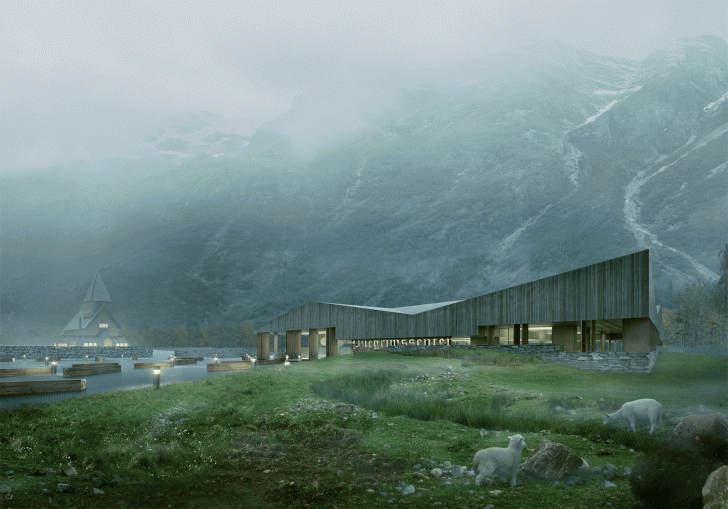
And here’s the final image
We hope we shed some light on how this image was made.
Best of luck.
Planktongroup.




Fascinated how little work is done with Setup/textures and rendering, to come up with the final result with Photoshop. Could you shed some light with the PS plugins used?
Regards
Rendell
Amazing work.
A more detailed step-by-step would be appreciated!
@kainfury Yep, maybe like fast video breakdown from Pixelflakes.Nevertheless thanks for sharing 🙂
@MickeyNovalin @kainfury you have to click the images !
@kainfury You did see the sequences posted here right?
@ronenbekerman
My bad. Thanks for the hint!
thank’s i’m very interesting in post production renders. A dedicated section would be a good idea
Mann .. Amazing Post – Work .. 🙂 🙂 Luv the Environment like anything 🙂 Gr8 Job .. thanks @ronenbekerman for this
And i always wondered, with “a lot Photoshop work” can i get a really big resolution, like 10000×10000 pixels. For this i need a really big references images, right?
@MickeyNovalin Yep, the same as you would need big images for texturing your pure 3d scene if rendered that big to prevent pixelization. Best way would be to got out – with a camera – and shoot like crazy.
Photoshop – the greatest rendering engine there is!
Why is there a red dot on one of the sheep? :]
@hughring appears to be a flare.
@Rendell @hughring Or a Sniper.
someone helpme to figure out the next question… how much time take do a work on photoshop like that … just thinking about the time photoshop v/s rendering and the phrase ‘Considering the short amount of time we had for making the image’
@JorgeERoa This type of workflow could go very fast, depending on your skill. It is also much more creative and fluid and very much WYSIWYG (What you see (or do) is what you get).
You don’t have to spend time on modeling every bit, and placing lights and so on so it will show in the final image… you can cover that with photos comped in PS later.
It is important to lock the viewpoints so that both you and the client agree on where to look from since changing the “camera” is not so simple with this workflow – it is doing a brand new image when you move the camera in most cases.
It can take a few hours or less than a day to get an image done this way. Although I usually let it sit and then check back a day later to see if I still like it before I send it out.
Maybe others that do this type of work could comment too, since the way we do this varies greatly from one to the next.
@JorgeERoa You should also check this articles if you didn’t yet :
https://www.ronenbekerman.com/making-of-ap002t-tower/
https://www.ronenbekerman.com/photoshop-postwork-the-shipyard-breakdown/
https://www.ronenbekerman.com/making-of-minoco-wharf/
This post was amazing. It’s a work of art. Thanks that you’ve shared it.
It would be great and more helpful if you can upload the .psd?thank you so much ~ ^_^