Making of ‘Memorial’ by Efim Armand
As promised, Efim Armand follows up on showcasing his latest work… ‘Memorial’, with a making-of article. What started as a testing ground for iToo’s Forest Pack plugin became a full-fledged project inspired by Efim’s visit to Berlin this Spring. Follow him as he describes the process that started from a simple Google Maps image all the way to the final animation.
Author: Efim ArmandEfim Armand is a 3d artist based in Russia, specializing in Architectural Visualization and the use of Nuke for advanced post production.
Introduction
Hello blog followers, I would like to describe to you the process of creating the Memorial scene and animation. This project became a spontaneous extension of my tests with iToo’s Forest Pro plugin‘ and inspired by a visit to Berlin this spring.
Modeling
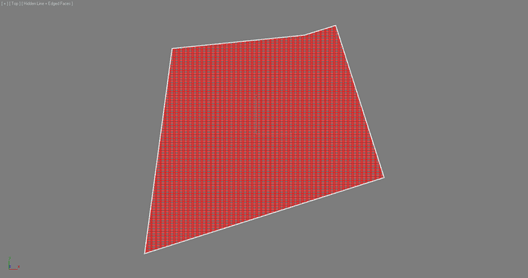
First of all, I got a Google map texture to have a general idea of the site borders, size, and grid of slabs (stelae). The scene units were in meters; according to measurements, I calculated the approximate width and length of the stelae as well as the distance between them.
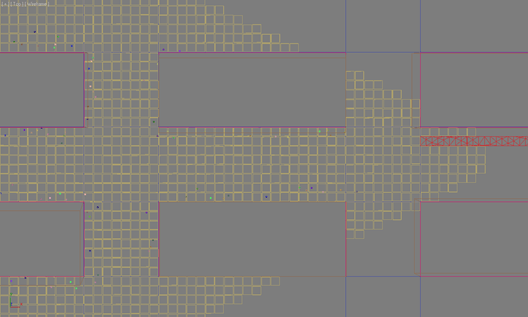
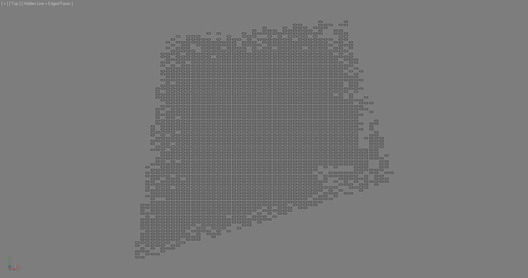
The base plane was created and sliced properly so that the stelae length was equal to 2.5 of its width. It was necessary for a further scattering of ground tiles 8 tiles between stelae and 20 tiles along the stelae length, all according to photo references.
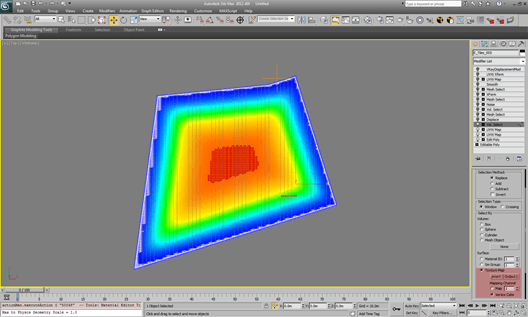
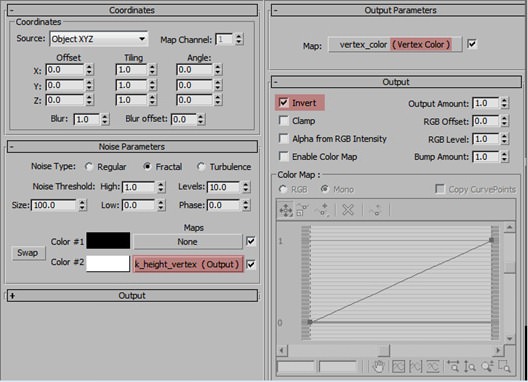
The relief of the memorial site decreases in its center. To make a height map for displacement modifier I used a script by Jon Seagull, which allows conversion of soft selections to paint grayscale vertex colors on Mesh or Poly objects. Generated vertex color was used later for all Select modifiers.
Vertex Color map (white to black color from site border to its center)
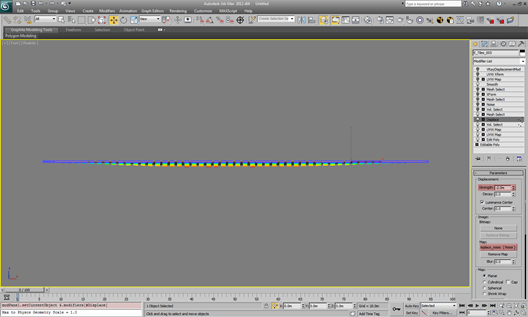
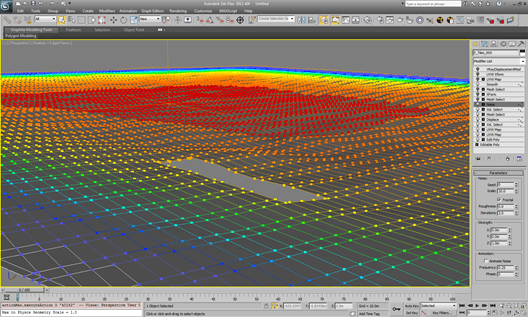
Displaced Geometry
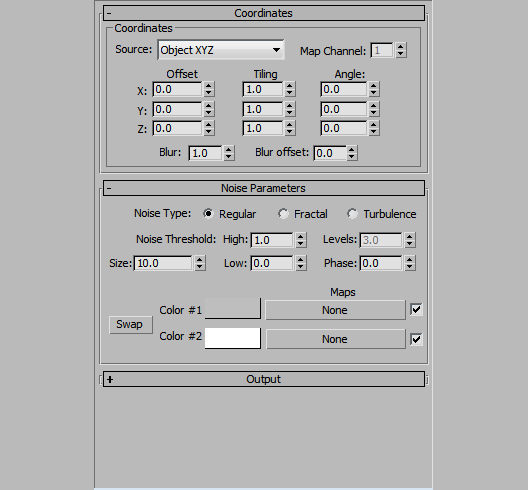
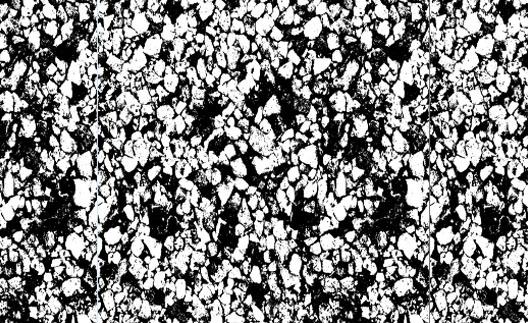
Displacement Noise Map (for irregularity)
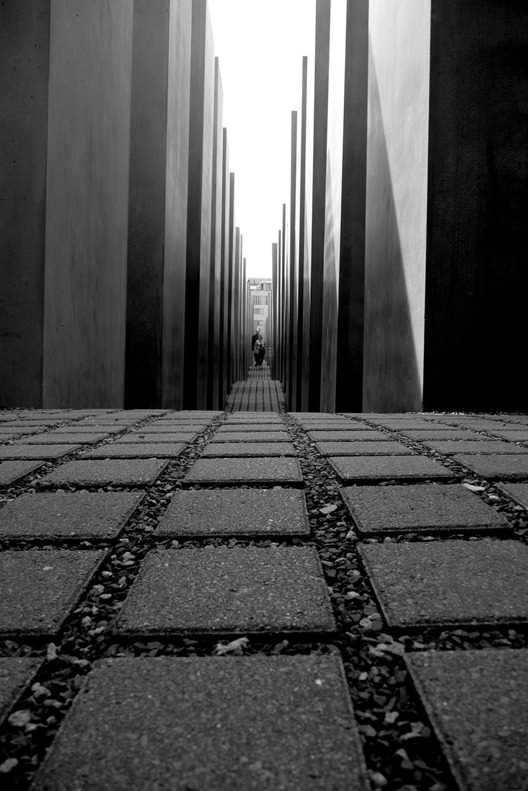
Noise modifier based on Vertex Color Selection to produce waves ground effect. Reference photo below
And my attempt at recreating this in 3d
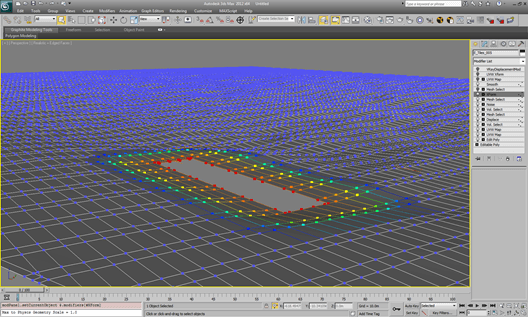
To flatten the ground around the stairs border vertices were selected using Mesh Select modifier and then scaled by Z axes
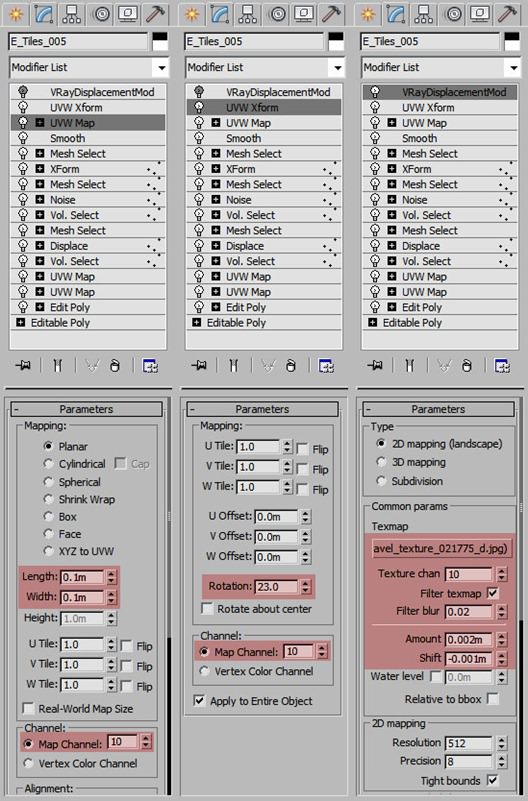
As the ground object is covered by tiles I applied VRay Displacement Modifier to make it look like a gravel surface. In combination with some actual scattered stones it produced a desirable effect.
Stelae Scattering
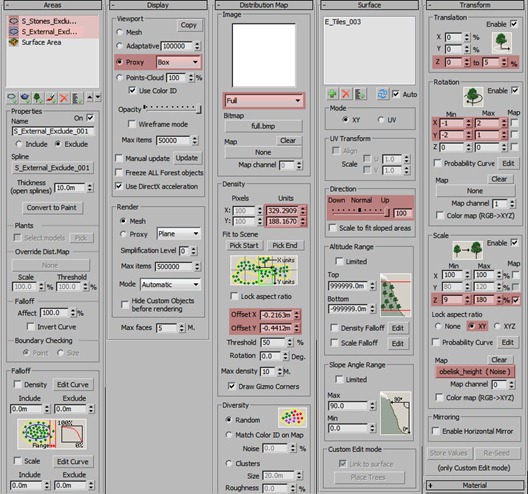
Area
The ground object was used as main scatter surface, a simple rectangle spline to exclude scattering of stelae over the ground (it is just a tip which worked for me) and the Stelae include spline for putting stelae to the right places on the ground.
Distribution
Density parameters are the result of tests, it is hard to remember how did I calculate the unit values, but I must say that calculation was based on the crossroad dimensions.
Surface
As mentioned above I used the base ground object as scatter surface. The important parameter was Direction value 100 (to make all the stelae point upwards).
Transform
Small Z translation, X and Y rotations and more complicated map-based Z scale were used to make the stelae higher in the center of the site and lower on its borders.
Main exclude spline (was used by all Forest objects in scene)
And the Forest settings
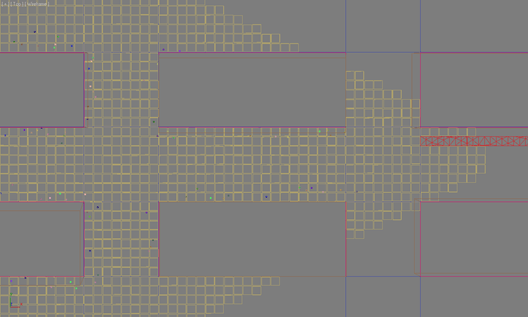
Tiles scattering
Stones Scattering
There were two Forest objects
First I scattered stones between the tiles, then… on the base ground surface with upwards offset. The settings for both were very similar and simple (stelae exclude spline, Forest plugin basic distribution maps, camera visibility limit, far clipping and Density falloff).
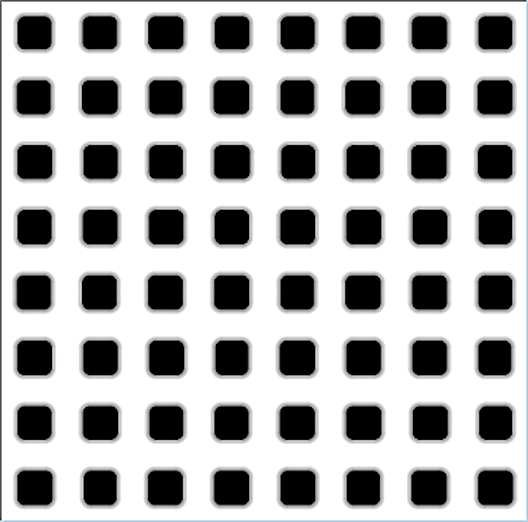
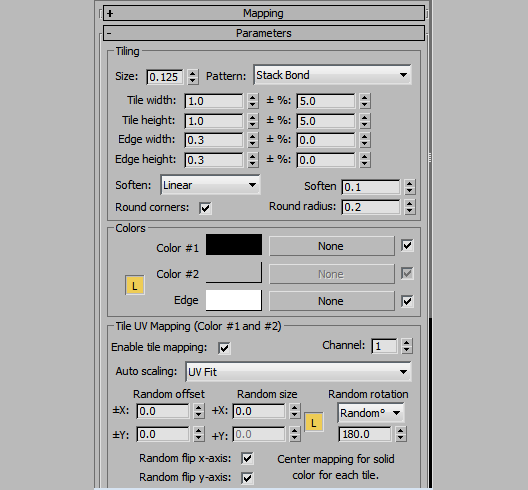
BerconTiles map was used as distribution map for the first Forest object.
Thats all with the scattering.
Texturing
Texturing has been the real challenge of this project, I would like to share some of my most important materials of the scene, such us concrete and ground tiles.
Concrete Material
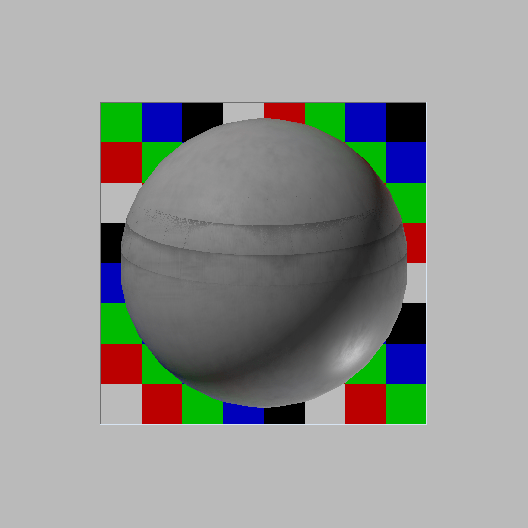
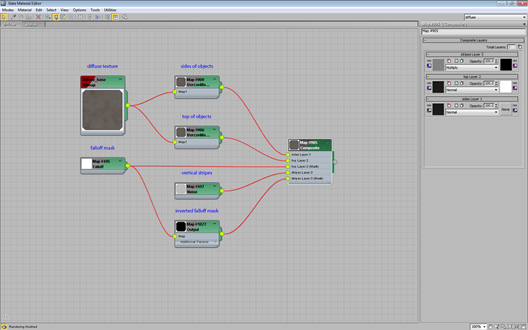
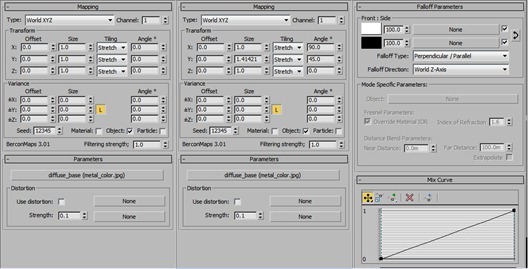
For all kinds of concrete objects in the scene I used a world-mapping based technique. the idea is that the texture is applied to the objects (stelae and concrete stair elements) depending on their position in the scene.
Below are basic diffuse settings
Sides, Top and Sides/Top mask maps
This Composite map was used for reflection/glossiness/bump (with some color adjustments).
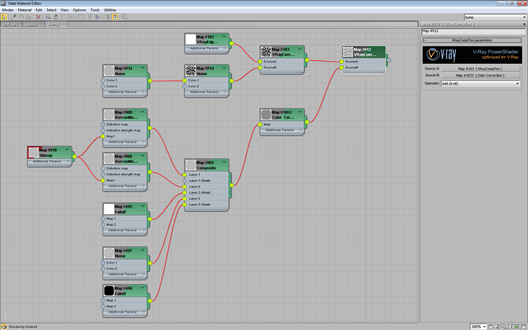
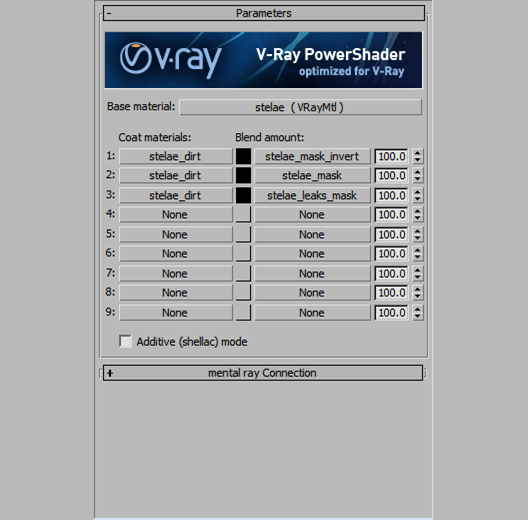
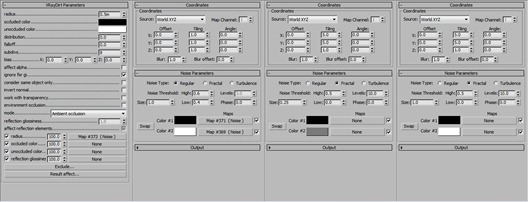
To make the concrete material looks rough around the edges and to add leaks the material was converted into VRayBlend. Dirty concrete material is a copy of base material, but with no reflection on it, diffuse is darker; with VRayDirt maps as Blend masks.
Leaks mask (base VRayDirt map, Radius Noise map, small leaks, big leaks):
Tiles Material
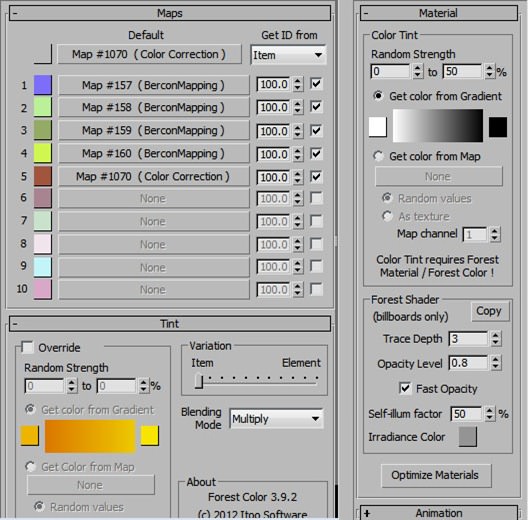
To randomize the tile colors and tiling I used Forest Color / Bercon Mapping maps. All the other settings were pretty simple and usual.
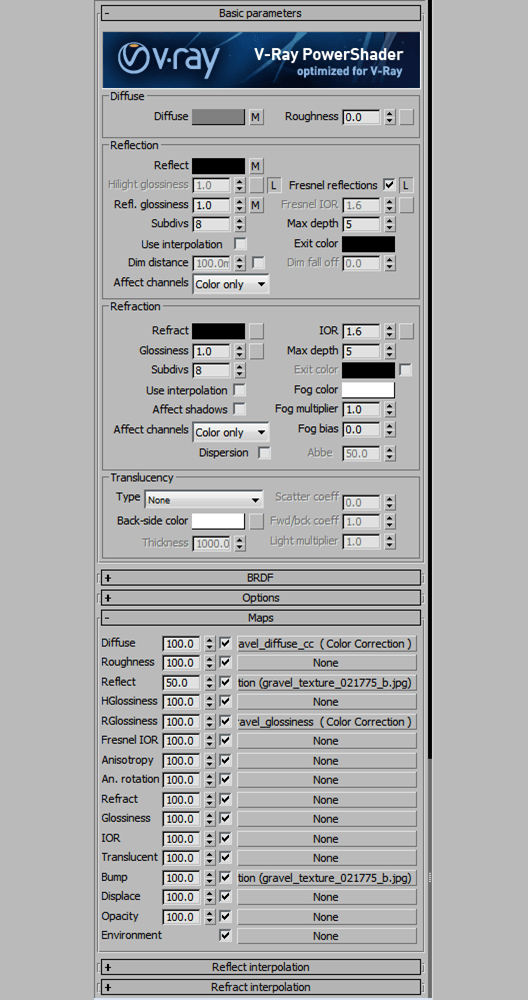
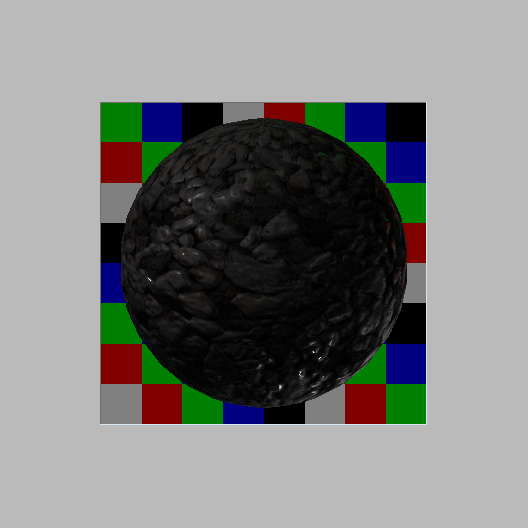
Stones Material
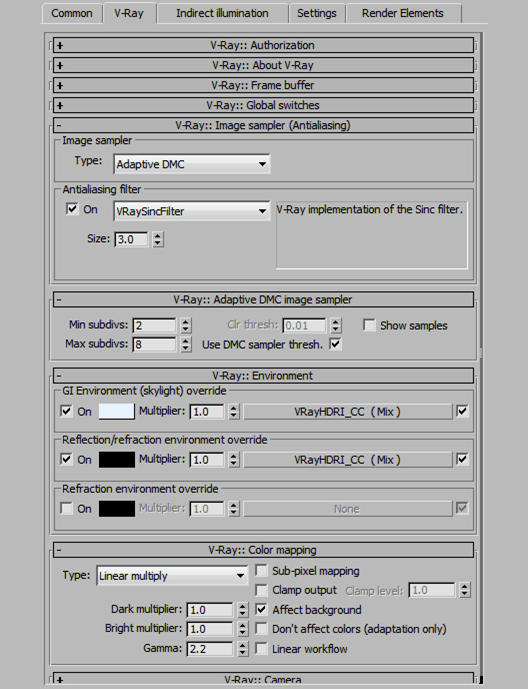
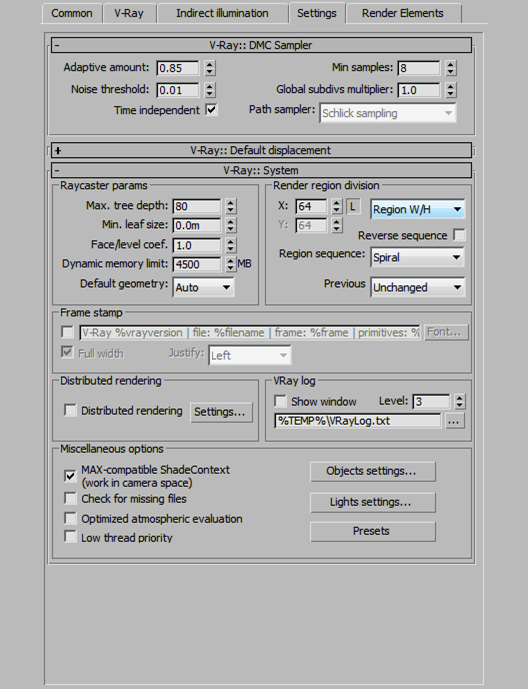
Render Settings
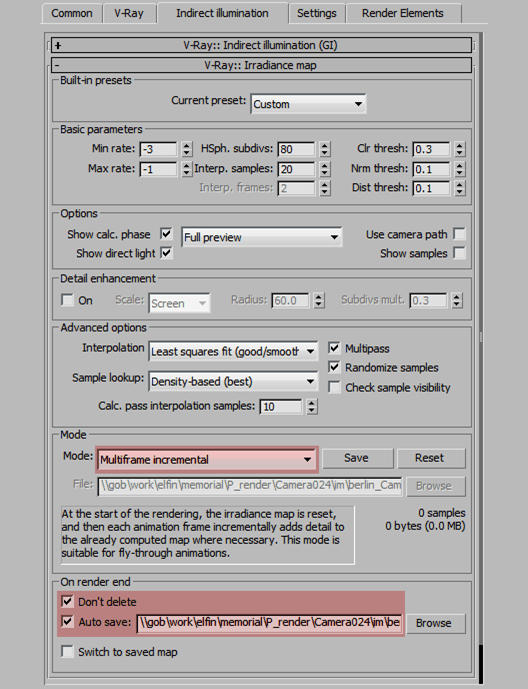
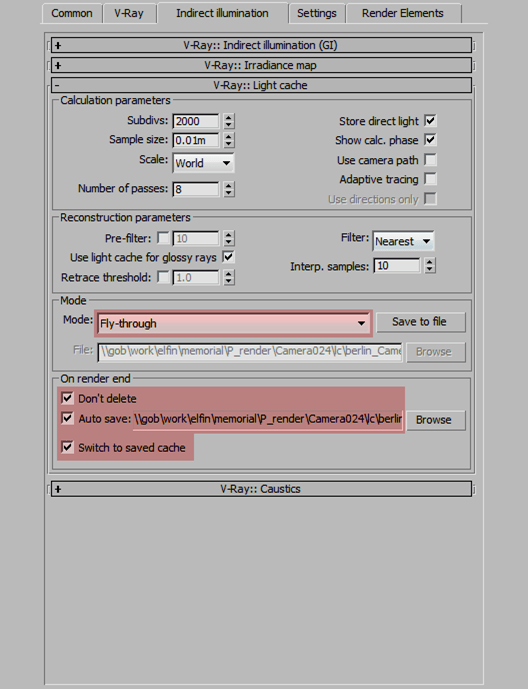
Rendering process had two stages for each animated camera in scene
- Irradiance + Light cache maps calculation; active range, every 25 frame.
- Final render; based on pre-rendered Irradiance and Light cache maps.
Compositing
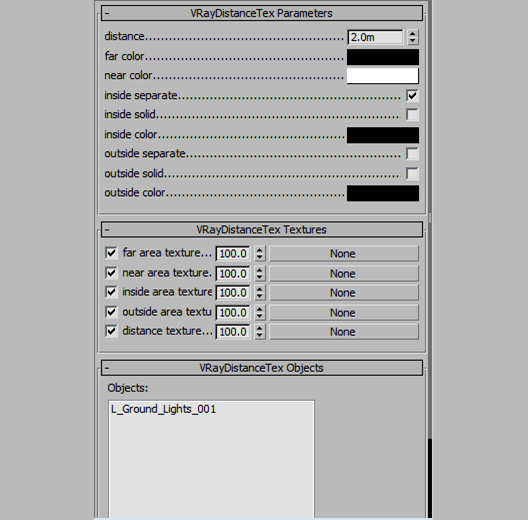
Besides the standard V-Ray passes (such as ZDepth, Reflection, Specular, Lighting and all kinds of ID passes) I added two VRayExtraTex-based passes for Ambient Occlusion (VRaytDirt map) and Lights mask (VRayDistanceTex map):
berlin_Camera031.VRayExtraTex_AO.0300.jpg
berlin_Camera031.VRayExtraTex_LIGHTS.0300.jpg
berlin_Camera013.VRayExtraTex_LIGHTS.0000.jpg
Sample compositing process is shown in a short breakdown below
I hope youve enjoyed this making of, thanks for checking this out… and ask anything you like in the comment section below!
Regards, Efim.









Gr8 Job man 🙂 I can see lots of Hard work there . Im Really intrested to know how long did it take you to finish this project start till final render frame ?
anwar522 tnx Anwar, appreciated!This project was started on the second part of May after my coming back from Berlin. After some tests with Forest I decided to make a short animation so it took me about 2 months from start to finish. Unfortunately I had not enough free time to work on it sometimes. As to the render time: the whole animation was rendered on my studio’s renderfarm (40 servers), ~40-60 minutes per frame. The compositing process became the most difficult part of the project, because of the grayscale colors, that’s why I added some lights for color contrast.
Efim Armand Yes the Composition takes the most time . but you have done it and the project has come out Really Gr8 🙂 I have watched it like more than 5times 🙂
Efim Armand 40 -60 minutes per frame [shock!!!]…
nnamdiakubuiro is it too long? 🙂
Efim Armand well with a 40 server renderfarm, it probably isn’t…you probably cranked up the setting to get the best…It’s a really good job and was worth the minutes…Well done
nnamdiakubuiro yes you are right, I didn’t care about the rendertime due to this 😉
Fantastic… I had the chance to visit the site when I was in Berlin in January of this year. You have definitely captured the feeling present at the memorial. Thanks for sharing.
Here are some photos I tookhttp://www.visoo.co.za/Images/381768_169097829860896_1062120467_n.jpghttp://www.visoo.co.za/Images/383101_169097783194234_1679084570_n.jpg http://www.visoo.co.za/Images/405643_169097799860899_357202354_n.jpg
AlexanderDarby cool! I saw photos of these slabs covered with water drops, fascinating. Unfortunately I didn’t try to reproduce it in this project 🙁
Fantastic work but can you write little more how you did the lens effect and this little effect of dirt flying on the front of camera.
viclow Lens efffects were done in post by blending some textures in Screen mode.http://e-armand.com/_screens/memorial/Spaztic.pngFlying dirt is 3dsMax particles rendered with mentalRay and DOF into separate sequence, which was later used in some shots.
great work, efim!i really love how the music goes together with it!all the best from berlinlasse
xoio thank you Lasse! Ich vermisse euch alle!
????????? ???????, ?? ????? ?????????? ?? ????????? ???? ?????????? ?? ??????/??????
ShdDenis ???????, Shadow. ???????? ???????? ?????????? ??? ????????? ????? ???????????, ??? ??? ????? ? ?????????? ???????, ???? ???????? ????????. ?? ????????, ? ????? ????? ????? ???? ?? ???????? ?????????? ??????????.